Caulking and Sealing Interior Surfaces for a Professional Look
Are you in search of expert guidance on achieving a professional look for your interior surfaces through caulking and sealing? Look no further! Welcome to our comprehensive guide on Caulking and Sealing Interior Surfaces as a part of surface preparation for a Professional Look.
If you’re a homeowner eager to paint your house flawlessly or simply seeking valuable information on house painting, you’ve landed in the right place. In this article, we’ll delve into the intricacies of caulking and sealing, equipping you with the knowledge and techniques to transform your home’s interior into a picture-perfect space.
So, let’s dive in and discover the secrets to achieving a professional finish that will leave you in awe.
What is Caulking?
Caulking is the process of sealing gaps, joints, and cracks in various surfaces, such as walls, windows, doors, and baseboards. It involves filling these openings with a flexible material called caulk, which creates a barrier against air and moisture infiltration. Caulk not only enhances the aesthetics of a space but also provides insulation and prevents the entry of dust, insects, and noise.
When applied properly, caulk adheres to different materials like wood, drywall, and concrete, creating a seamless and watertight seal. It acts as a protective barrier, preventing water damage, mold growth, and energy loss. Caulking is an essential step in maintaining the integrity and longevity of your home’s interior surfaces.
What is Sealing?
Sealing, on the other hand, involves applying a protective coating or sealant to surfaces to enhance their durability, appearance, and resistance to damage. In the context of interior surfaces, sealing typically refers to applying a clear topcoat or protective layer to painted or stained surfaces.
Sealing serves multiple purposes. It helps to prevent stains, wear, and fading caused by daily use, sunlight, or moisture exposure. By creating a protective barrier, sealing preserves the color, finish, and texture of the painted or stained surfaces, ensuring they remain vibrant and fresh-looking for years to come.
Difference between Caulking and Sealing
While both caulking and sealing involve creating barriers and protecting surfaces, they differ in their application and purpose. Caulking is primarily used to fill gaps and joints to prevent air and moisture infiltration, whereas sealing is focused on applying a protective coating to surfaces to enhance their longevity and appearance.
Caulking typically involves using a flexible caulk material, whereas sealing often requires the application of clear topcoats or sealants. Caulk is commonly used around windows, doors, baseboards, and other areas where gaps or joints exist. Sealing is more frequently performed on painted or stained surfaces to provide an extra layer of protection.
Tools and Materials Needed for Caulking and Sealing
Caulk
When undertaking caulking and sealing projects, it is crucial to choose the right caulk for the job. There are various types of caulk available, each designed for specific applications. Common options include silicone caulk, acrylic latex caulk, and polyurethane caulk. Consider the surface material, location, and intended use when selecting the appropriate caulk.
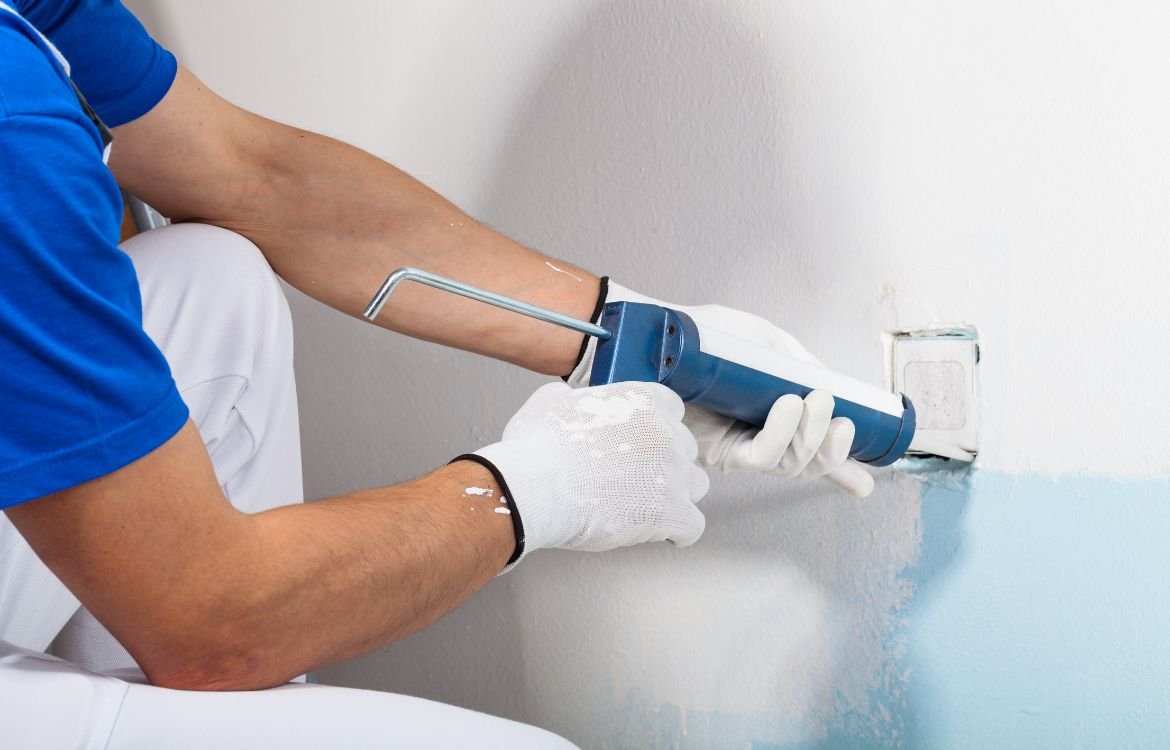
Caulk Gun
A caulk gun is an essential tool for dispensing caulk smoothly and precisely. It holds the caulk tube and allows for controlled application. Look for a high-quality caulk gun with a comfortable grip and a smooth trigger mechanism for better control and ease of use.
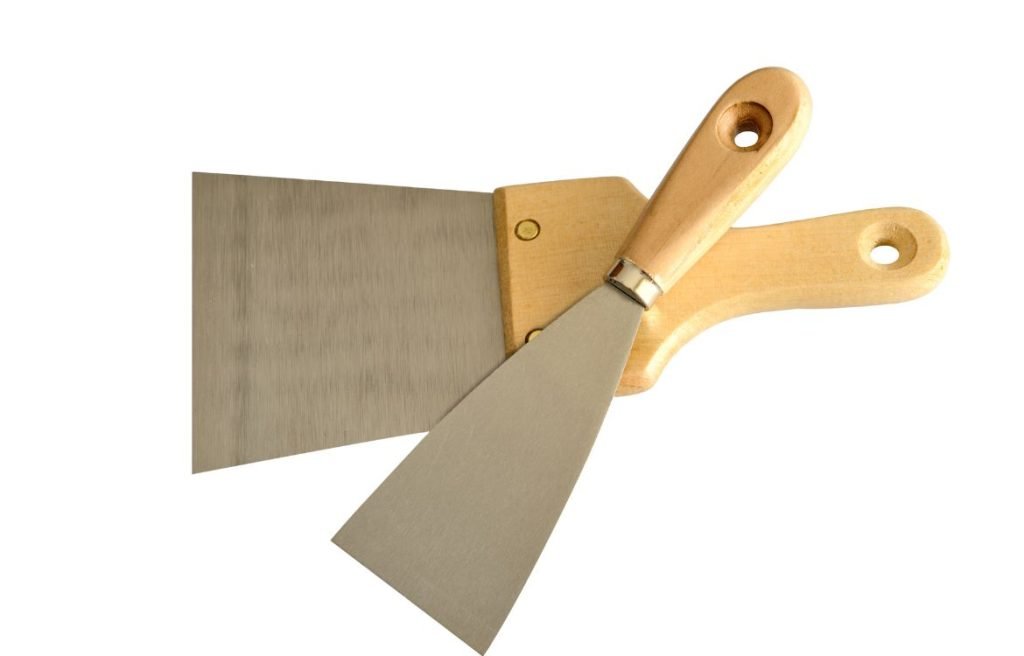
Utility Knife
A utility knife is a versatile cutting tool that comes in handy during caulking and sealing projects. It allows you to trim excess caulk, open caulk tubes, and make precise cuts when needed. Opt for a sharp utility knife with replaceable blades to ensure clean and accurate cuts.
Painter’s Tape
Painter’s tape is useful for creating clean, straight lines and preventing caulk from smearing onto adjacent surfaces. Apply painter’s tape along the edges of the area you want to caulk or seal to achieve neat and professional results. Ensure the tape adheres firmly without leaving any residue when removed.
Soft Rag or Paper Towel
Having a soft rag or paper towel nearby is essential for wiping away excess caulk, cleaning up spills, and achieving a neat finish. Keep a damp cloth or paper towel within reach to quickly remove any caulk smudges or mishaps, ensuring a clean and polished result.
Types of Caulk
Silicone Caulk
Silicone caulk is a popular choice for caulking projects due to its excellent flexibility, durability, and resistance to water and temperature extremes. It adheres well to a wide range of materials, including glass, metal, tile, and plastic. Silicone caulk is commonly used in areas exposed to moisture, such as bathrooms, kitchens, and exterior applications. It offers superior waterproofing and is resistant to mold and mildew growth. However, silicone caulk can be more challenging to apply and clean up compared to other types.
Latex Caulk
Latex caulk, also known as acrylic caulk, is a versatile and easy-to-use option for caulking interior surfaces. It is water-based, making it quick-drying and easy to clean up with water. Latex caulk adheres well to porous surfaces like wood, drywall, and plaster. It is an excellent choice for areas that don’t experience heavy moisture exposure, such as living rooms, bedrooms, and offices. Latex caulk is available in a variety of colors, allowing you to match it to your desired finish.
Hybrid Caulk
Hybrid caulk combines the best features of silicone and latex caulks. It offers the flexibility and durability of silicone caulk with the easy application and cleanup of latex caulk. Hybrid caulk adheres well to both porous and non-porous surfaces, making it suitable for a wide range of applications. It provides good resistance to moisture, mildew, and UV rays. Hybrid caulk is an excellent choice for both interior and exterior projects, offering versatility and long-lasting performance.

Preparing for Caulking and Sealing
Cleaning the Surface
Before starting the caulking and sealing process, it is crucial to ensure that the surface is clean and free of dust, debris, grease, or old caulk remnants. Use a mild detergent or surface cleaner and a sponge or cloth to thoroughly clean the area you intend to caulk or seal. Allow the surface to dry completely before proceeding.
Removing Old Caulk
If there is an existing caulk that is worn, cracked, or no longer effective, it’s essential to remove it before applying new caulk or sealant. Use a utility knife or a caulk removal tool to carefully cut or scrape away the old caulk. Ensure that the surface is clean and smooth after the removal process.
Drying the Surface
Before applying caulk or sealant, make sure the surface is completely dry. Moisture on the surface can compromise the adhesion and effectiveness of the caulk. Allow the cleaned surface to air dry or use a cloth to ensure it is moisture-free before proceeding with the caulking and sealing process.
The Process of Caulking and Sealing
Choosing the Right Caulk
Selecting the appropriate caulk is crucial for achieving a professional look. Consider the type of surface, location, and specific requirements of your project. Determine whether silicone, latex, or hybrid caulk is most suitable. Read product labels and consult with experts if needed to ensure you have the right caulk for the job.
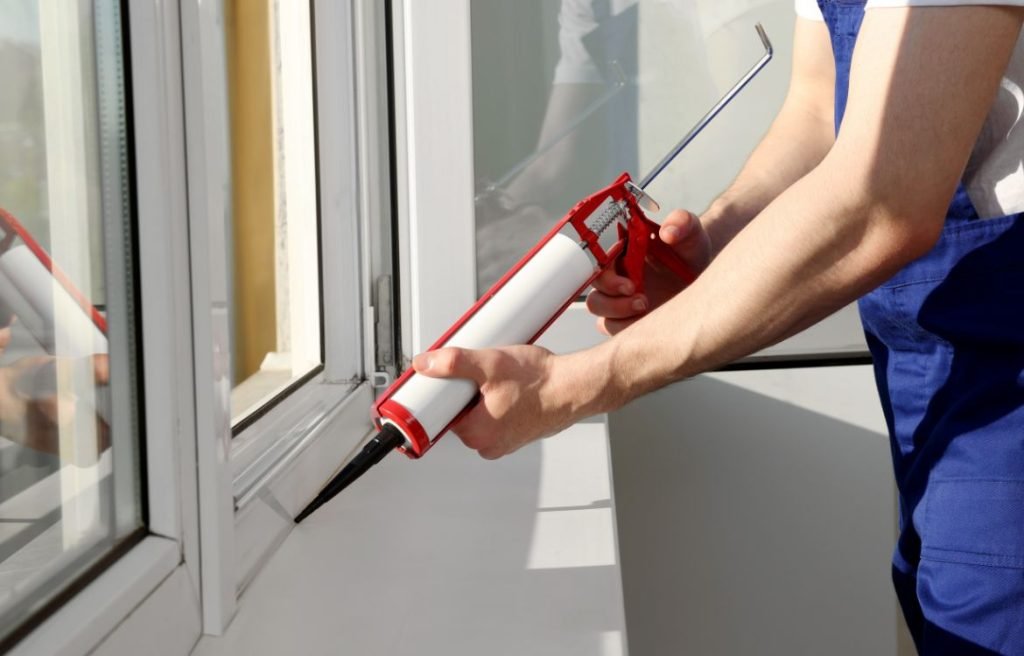
Applying the Caulk
Start by loading the caulk tube into a caulk gun. Cut the tip of the caulk tube at a 45-degree angle, ensuring the opening matches the width of the gap you’re filling. Insert the caulk tube into the caulk gun and squeeze the trigger, applying a smooth and consistent bead of caulk along the gap or joint. Move steadily and maintain a steady hand for an even application.
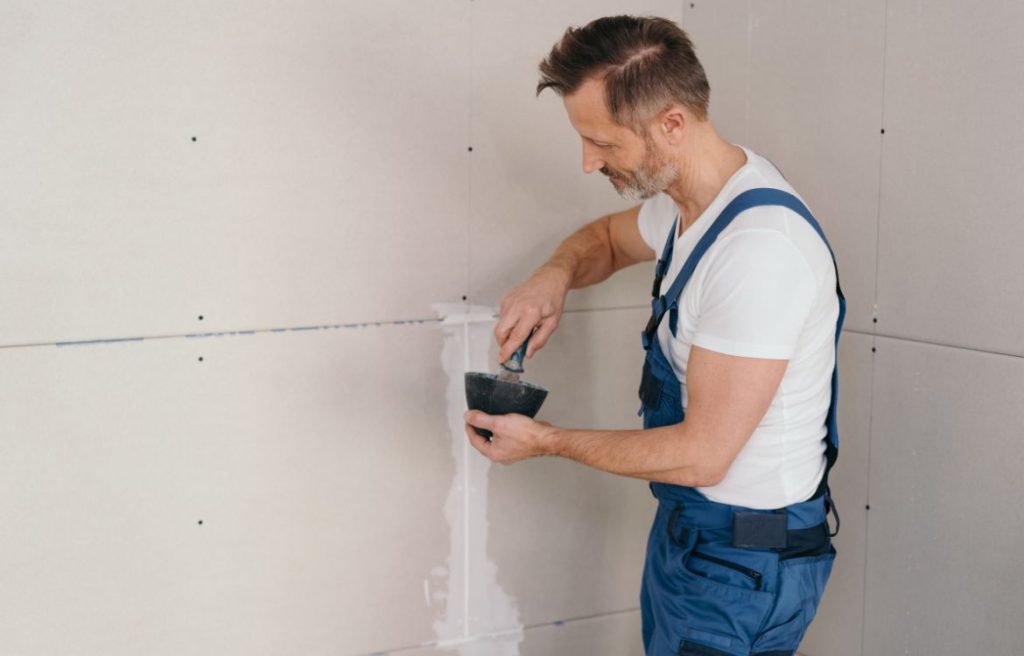
Smoothing the Caulk
After applying the caulk, use a caulk smoothing tool or a damp finger to create a clean and professional finish. Angle the smoothing tool or your finger slightly and gently glide it along the caulk, smoothing out any unevenness or excess caulk. This step helps create a seamless and professional look.
Cleaning Up
Promptly clean up any excess caulk using a damp rag or paper towel. Wipe away any smudges or spills, ensuring a neat appearance. Be cautious not to disturb the freshly applied caulk while cleaning up. Leave the caulk undisturbed for the recommended drying time mentioned on the product label.

Tips for a Professional Look
Using Painter’s Tape for Neat Lines
For straight and precise lines, apply painter’s tape on both sides of the gap or joint before caulking. This technique helps create clean edges and prevents caulk from smearing onto adjacent surfaces. Remove the painter’s tape while the caulk is still wet for the best results.
Cutting the Caulk Tube Correctly
Take care when cutting the caulk tube tip to ensure the opening matches the width of the gap or joint. Cutting the tip too small may result in difficulty in applying the caulk smoothly. Conversely, cutting it too large can lead to excessive caulk application. Aim for a precise cut to achieve optimal control during the caulking process.
Applying Consistent Pressure
Maintaining consistent pressure on the caulk gun trigger while applying the caulk is essential for a professional look. Avoid uneven pressure that can result in an inconsistent bead of caulk. Apply steady and controlled pressure to achieve a smooth and uniform line.
Smoothing the Caulk with a Damp Finger
Using a damp finger to smooth the caulk can yield excellent results. Wet your finger slightly and run it along the caulk, exerting gentle pressure to create a professional finish. Keep a damp cloth nearby to periodically clean your finger during the smoothing process.
Common Mistakes to Avoid
Not Removing Old Caulk
One common mistake is neglecting to remove old caulk before applying new caulk. Failing to remove the old caulk properly can prevent the new caulk from adhering correctly and compromise the effectiveness of the seal. Take the time to carefully remove any old caulk to ensure a clean and smooth surface for the new application.
Applying Caulk to a Wet Surface
Applying caulk to a wet surface is another mistake to avoid. Moisture on the surface can hinder the caulk’s adhesion and affect its performance over time. Ensure that the surface is completely dry before applying caulk to achieve optimal results. Take the time to thoroughly dry the surface before proceeding with the caulking process.
Cutting the Caulk Tube Too Wide
Cutting the caulk tube opening too wide is a mistake that can lead to excessive caulk application. This can result in messy caulking lines and wastage of caulk. Aim for a precise cut that matches the width of the gap or joint you are filling. This allows for better control and a neater application.
Maintaining Caulked and Sealed Surfaces
Regular Cleaning
To maintain caulking and sealed surfaces, regular cleaning is essential. Wipe down the surfaces periodically using a mild detergent or surface cleaner and a soft cloth or sponge. This helps remove dirt, grime, and any buildup that can compromise the integrity of the caulk and sealant. Regular cleaning helps prolong the lifespan of the caulking and sealing work.
When to Re-caulk
Over time, caulk may deteriorate, crack, or separate from the surface. It is important to monitor the condition of the caulk and re-caulk as necessary. Signs that re-caulking is needed include visible cracks, gaps, or water seepage. Regularly inspect the caulking and sealing work and address any issues promptly to maintain the professional look and effectiveness of the seal.
Dealing with Mildew and Mold
Mildew and mold can sometimes develop in areas exposed to moisture, such as bathrooms and kitchens. To prevent and address mildew and mold growth, it is important to maintain proper ventilation in these areas. If mildew or mold appears on the caulked surfaces, clean it using a mildew/mold remover or a mixture of bleach and water. Be sure to follow the manufacturer’s instructions and take necessary precautions when using cleaning products.
FAQ
How do you get a professional finish with sealant?
To achieve a professional finish with sealant, follow these tips: – Clean and prepare the surface properly before applying the sealant. – Use a high-quality sealant and select the appropriate type for the application. – Cut the tip of the caulk tube at a 45-degree angle for a smooth and controlled bead. – Apply the sealant evenly and with steady pressure, using a caulk gun or a precision applicator. – Smooth the sealant bead with a caulk finishing tool or a damp finger for a neat and professional appearance. – Remove any excess sealant before it dries for a clean finish. – Allow the sealant to dry and cure according to the manufacturer’s instructions.
What caulk do professionals use?
Professionals often use high-quality caulks that offer good adhesion, flexibility, and durability. Some popular caulk options preferred by professionals include: – Silicone caulk: Provides excellent adhesion and flexibility, suitable for various applications and surfaces. – Polyurethane caulk: Offers superior adhesion, flexibility, and resistance to moisture and movement. – Hybrid caulks: These combine the benefits of silicone and polyurethane, providing a versatile solution for many applications. – Acrylic latex caulk: Commonly used for interior applications, easy to work with and paintable.
How do you apply caulking like a pro?
To apply caulking like a pro, follow these steps: – Clean and prepare the surface, removing old caulk and ensuring it is dry and free of debris. – Cut the caulk tube tip at a 45-degree angle for a precise application. – Load the caulk tube into a caulk gun and apply even pressure while squeezing the trigger. – Apply a smooth and consistent bead of caulk along the joint or seam, moving steadily. – Use a caulk smoothing tool or a damp finger to smooth the caulk bead and remove any excess. – Clean up any mistakes or excess caulk with a damp cloth or caulk remover before it dries.
What is the best interior caulking?
The best interior caulking depends on the specific application and requirements. However, some popular choices for interior caulking include: – Acrylic latex caulk: Suitable for general interior applications, easy to use, and paintable. – Silicone caulk: Provides excellent adhesion and flexibility, suitable for areas prone to moisture or movement. – Hybrid caulks: These combine the benefits of silicone and acrylic, offering a versatile solution for various interior applications.
Is there anything better than caulking?
While caulking is a commonly used sealant, there are alternative options for specific applications. Some alternatives to caulking include: – Weatherstripping: Used for sealing gaps around windows and doors to improve energy efficiency. – Foam sealants: Ideal for filling larger gaps and voids, expanding to create a tight seal. – Sealant tapes: These adhesive-backed tapes provide a simple and quick solution for sealing joints and seams.
What is the best caulking to use on baseboards?
For caulking baseboards, consider using a flexible and paintable caulk that adheres well to both wood and painted surfaces. Some suitable options include: – Acrylic latex caulk: Easy to work with, paintable, and suitable for interior applications. – Siliconeized acrylic latex caulk: Provides better flexibility and adhesion than standard acrylic caulk. – Paintable silicone caulk: Offers good adhesion and flexibility, suitable for both wood and painted surfaces.
Conclusion
Thank you for joining us on this journey through the world of caulking and sealing interior surfaces. We hope that our comprehensive guide has provided you with the knowledge and inspiration you need to tackle your home improvement projects with confidence.
Remember, at Horizon Painting, we’re always here to assist you on your painting endeavors. Whether you need further guidance, professional assistance, or a helping hand, don’t hesitate to reach out to us. Contact us today, and let’s bring your vision to life. Your dream home awaits!