
Applying Fillers and Putties to Prepare Interior Surfaces
Are you in search of expert guidance on applying fillers and putties to prepare interior surfaces? Look no further! Welcome to our comprehensive guide where we’ll equip you with the knowledge and techniques you need to prepare your surface for painting.
In this article, we’ll delve into the art of applying fillers and putties, providing you with practical insights and insider tips. So, let’s dive in and discover the secrets to transforming your interior surfaces into a canvas of perfection.
Definition of Fillers and Putties
When it comes to achieving a flawless paint job on your interior surfaces, fillers and putties play a crucial role. Fillers and putties are versatile materials used to repair imperfections, smooth out uneven surfaces, and create a seamless foundation for painting. These substances are typically applied to cracks, dents, nail holes, or other damaged areas before painting. By filling in gaps and leveling out the surface, fillers and putties help ensure a professional and polished end result.
Different Types of Fillers and Putties
- Wood Fillers Wood fillers are specifically designed for repairing and enhancing wooden surfaces. They are commonly used to address cracks, holes, or gouges in wooden furniture, cabinets, or trim. Wood fillers come in various shades to match different wood tones, allowing for seamless blending with the surrounding surface.
- Wall Fillers Wall fillers, also known as spackling compounds or patching compounds, are primarily used for repairing drywall or plaster surfaces. They are ideal for covering small holes, dents, or blemishes on walls or ceilings. Wall fillers come in paste or powder form and are easy to apply, sand, and paint over.
- Epoxy Fillers Epoxy fillers are a durable and long-lasting option for repairing a wide range of materials, including metal, concrete, and fiberglass. They offer excellent adhesion and strength, making them suitable for more extensive repairs or for areas that require added durability and resistance to moisture or temperature fluctuations.
Choosing the Right Filler or Putty for Your Project
Selecting the appropriate filler or putty for your project is essential to ensure optimal results. Consider the following factors:
- Surface Material: Identify the material you need to repair, such as wood, drywall, or metal. Different fillers and putties are formulated to work effectively on specific surfaces.
- Size and Type of Damage: Assess the extent of the damage or imperfection you need to address. Some fillers are better suited for smaller repairs, while others are designed to handle larger cracks or holes.
- Drying Time and Sandability: Take into account the drying time and sanding requirements of the filler or putty. Faster-drying options may be more convenient for time-sensitive projects, while some fillers may require additional sanding to achieve a smooth surface.
- Paint Compatibility: Ensure that the filler or putty you choose is compatible with the paint you plan to apply. Some fillers may require priming or have specific recommendations for the type of paint to use.
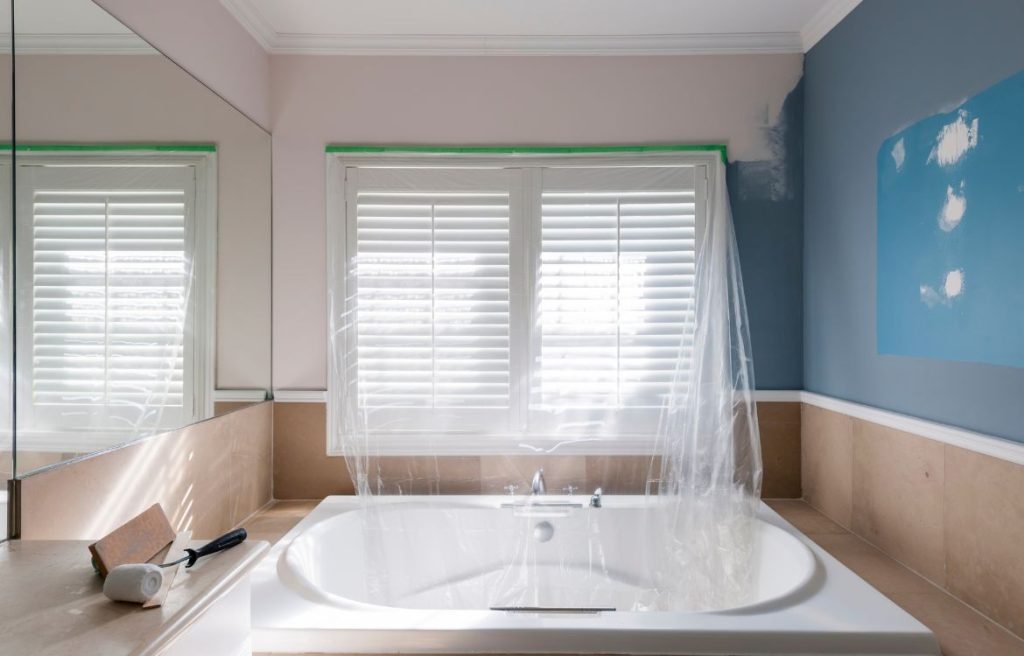
Preparing the Surface
Cleaning the Surface
Before applying fillers and putties, it’s essential to prepare the surface by thoroughly cleaning it. Remove any dirt, dust, grease, or loose particles from the area to ensure proper adhesion of the filler. Use a mild detergent solution and a clean cloth or sponge to gently clean the surface. Allow it to dry completely before proceeding to the next step.
Sanding the Surface
Sanding the surface helps create a smooth and even substrate for the fillers and putties. Use fine-grit sandpaper or sanding blocks to lightly sand the area, focusing on any rough or uneven spots. This step promotes better adhesion and ensures a more seamless repair. Remember to wipe away any dust or debris resulting from the sanding process.
Removing Dust and Debris
Before applying the fillers or putties, it’s crucial to remove any remaining dust or debris from the surface. A clean and debris-free surface will enhance the bonding properties of the filler and contribute to a more professional-looking finish. Use a clean, dry cloth or a tack cloth to gently wipe away any residual dust particles.
How to Apply Wood Filler
- Preparing the Wood Filler Start by selecting a wood filler that matches the color of the wood or can be stained to match later. Follow the manufacturer’s instructions to prepare the filler, which typically involves mixing or stirring the product until it reaches a smooth and consistent texture.
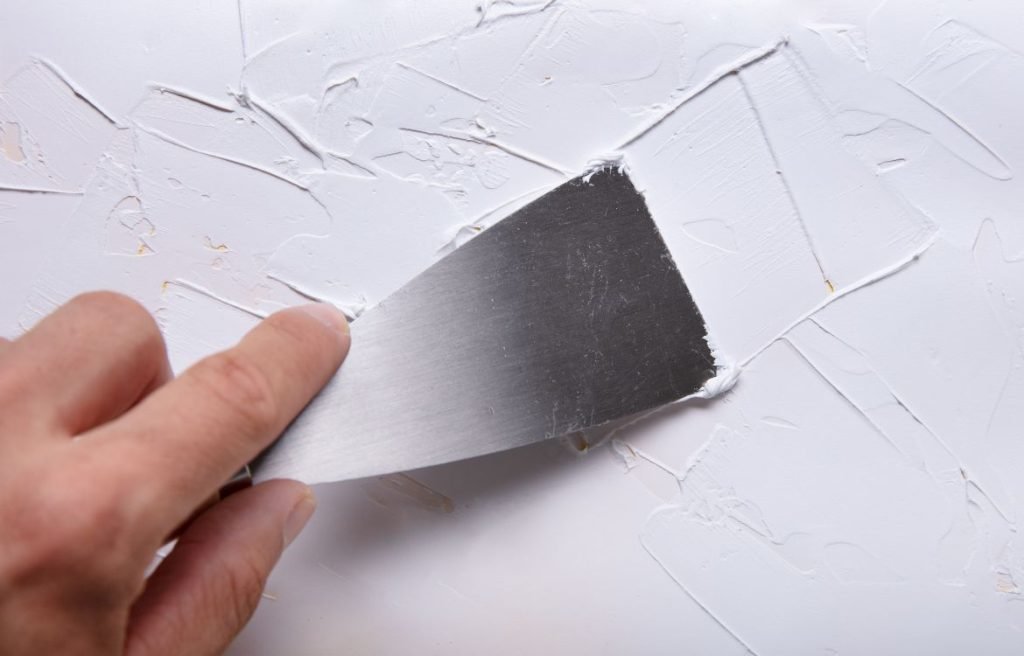
- Applying the Filler to the Wood Using a putty knife or a filling knife, scoop a small amount of wood filler onto the blade. Apply the filler directly into the damaged area, ensuring it completely fills the crack, hole, or gouge. Press the filler firmly into the wood to ensure proper adhesion.
- Smoothing the Filler Once the filler is applied, use the edge of the putty knife to smooth and level the surface. Gently scrape off any excess filler, working in line with the wood grain for a seamless blend. Continue smoothing until the filler is flush with the surrounding wood surface.
- Letting the Filler Dry Allow the wood filler to dry according to the manufacturer’s instructions. Drying times can vary depending on the product and the depth of the repair. Avoid sanding or painting over the filler until it is completely dry to ensure a durable and smooth finish.
How to Apply Wall Filler
- Preparing the Wall Filler Choose a high-quality wall filler or spackling compound suitable for your specific surface. Prepare the filler as instructed by the manufacturer, typically by adding water to achieve the desired consistency. Stir the mixture until it becomes smooth and free of lumps.
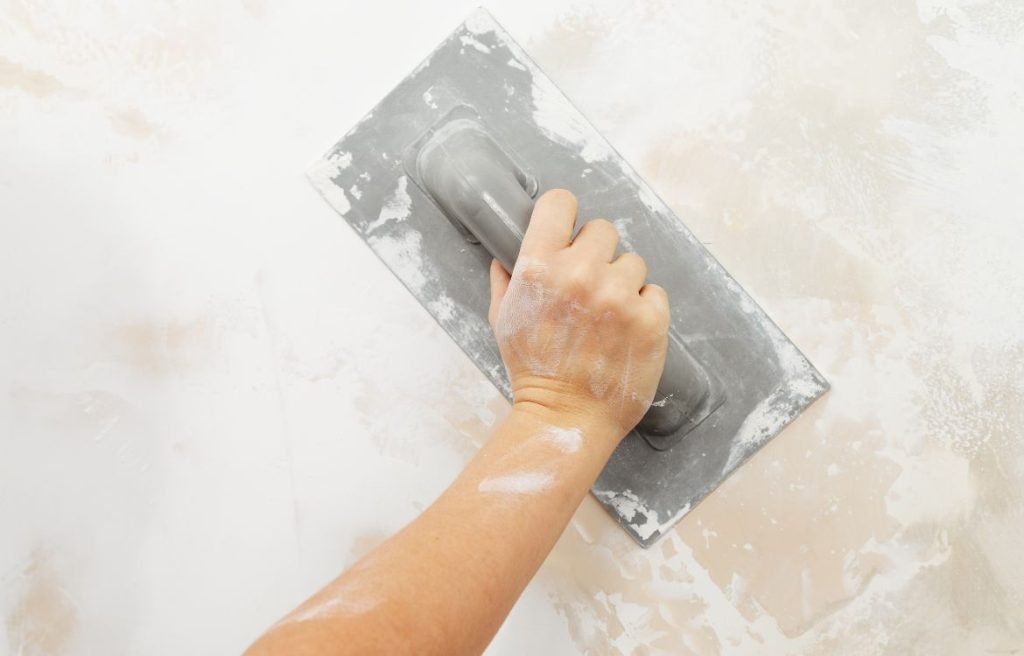
- Applying the Filler to the Wall Using a putty knife or a trowel, scoop a small amount of wall filler onto the tool. Apply the filler directly to the damaged area, starting from the center and working outward. Press the filler into the hole or dent, ensuring it completely fills the space.
- Smoothing the Filler After applying the filler, use the putty knife or trowel to smooth the surface. Hold the tool at a slight angle and apply even pressure to spread the filler smoothly over the damaged area. Feather the edges of the filler to blend it seamlessly with the surrounding wall.
- Letting the Filler Dry Allow the wall filler to dry according to the manufacturer’s instructions. Drying times can vary based on the product and the thickness of the application. Avoid sanding or painting over the filler until it is fully dry to achieve a seamless and professional result.
Sanding the Filler
After the filler has dried completely, it’s time to sand the surface to achieve a smooth finish. Start by using fine-grit sandpaper or a sanding block. Lightly sand the filled area, focusing on blending the filler with the surrounding surface. Sand in gentle, circular motions, keeping the sandpaper flat against the surface. Regularly check the smoothness with your hand to ensure an even texture.
Checking the Smoothness of the Surface
Once you’ve sanded the filled area, run your hand over the surface to check for any remaining roughness or imperfections. If you detect any uneven spots, repeat the sanding process until the surface feels uniformly smooth. Wipe away any dust generated from sanding with a clean, dry cloth.
Applying Primer and Paint
Before applying paint, it’s essential to prime the surface to enhance adhesion and ensure a consistent finish. Choose a primer suitable for the type of surface and filler you’ve used. Apply the primer according to the manufacturer’s instructions, using a brush or roller. Allow the primer to dry completely before proceeding with painting.
Tips and Tricks for Applying Fillers and Putties
Safety Tips
- Wear appropriate safety gear, such as gloves and goggles, when handling fillers and putties.
- Ensure the area is well-ventilated by opening windows or using fans to disperse fumes.
- Read and follow the safety instructions provided by the manufacturer of the filler or putty.
Tips for Achieving a Smooth Finish
- Apply fillers or putties in thin layers, building up as needed, to avoid excessive drying and cracking.
- Use a putty knife or trowel with a flexible blade for better control and smoother application.
- Feather the edges of the filler or putty to blend it seamlessly with the surrounding surface.
- Sand lightly and gradually when smoothing the filler to avoid damaging the underlying surface.
How to Handle Common Problems
- Shrinkage: If the filler or putty shrinks as it dries, apply an additional layer to fill the depressions and sand accordingly.
- Air Bubbles: To prevent air bubbles in the filler, mix it thoroughly and avoid trapping air during application. Use a putty knife to press out any bubbles that may occur.
- Overfilling: If you overfill the area with filler or putty, carefully scrape away the excess using a putty knife before it dries. Sand the surface gently to achieve a smooth finish.
FAQ
How do you use interior fillers?
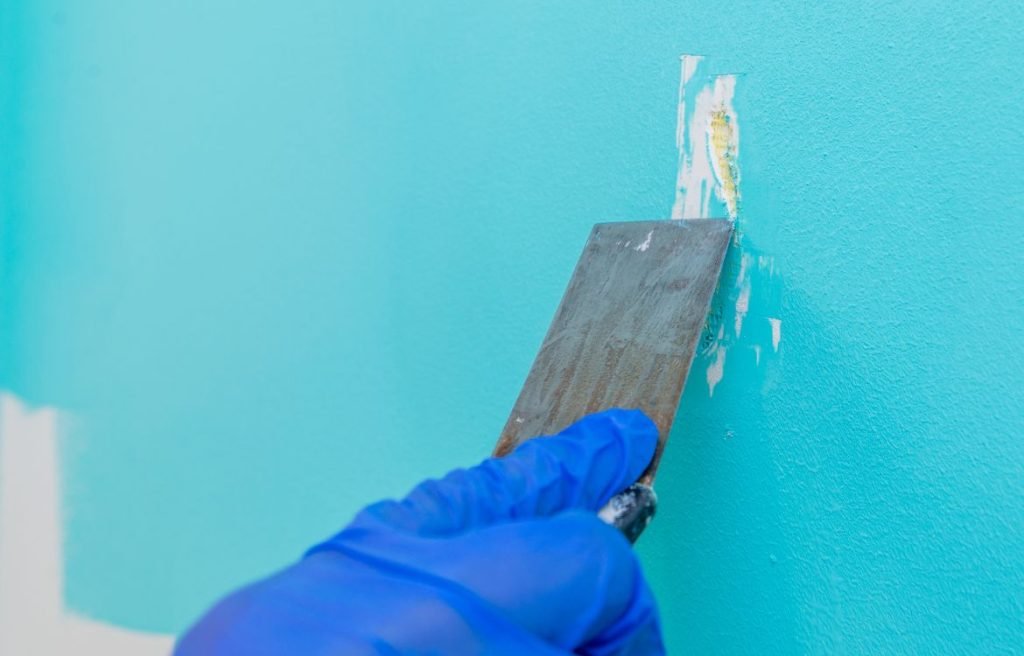
To use interior fillers, follow these steps: – Clean the area to be filled and remove any loose debris. – Take a small amount of filler on a putty knife or spatula. – Apply the filler to the damaged or uneven surface. – Use the putty knife or spatula to spread and smooth the filler. – Remove any excess filler and ensure a level surface. – Allow the filler to dry completely. – Sand the filled area for a smooth finish if needed. – Prime and paint the repaired surface as required.
What is putty filler used for?
Putty filler is a type of interior filler used for various purposes, including: – Filling small cracks, holes, and dents in wood, plaster, or drywall surfaces. – Repairing minor surface imperfections and blemishes. – Smoothing out uneven areas and creating a level surface. – Preparing surfaces for painting, staining, or varnishing. – Providing a strong and durable base for further finishing.
Do you apply wood filler before or after staining?
Wood filler is typically applied before staining. The process generally involves: – Selecting a wood filler that matches the color and grain of the wood. – Applying the filler to the wood surface using a putty knife or spatula. – Smoothing and leveling the filler to create a seamless appearance. – Allowing the filler to dry completely as per the manufacturer’s instructions. – Sanding the filled area to achieve a smooth and even surface. – Applying the stain to the wood surface, following the staining instructions.
How do you use fillers before painting?
To use fillers before painting, follow these steps: – Clean the surface and ensure it is free from dust and debris. – Choose a suitable filler based on the type and size of imperfections. – Apply the filler to the damaged or uneven areas using a putty knife or spatula. – Spread and smooth the filler to achieve a level surface. – Remove any excess filler and allow it to dry completely. – Sand the filled area to create a smooth and even finish. – Clean the surface again to remove any sanding dust. – Apply a suitable primer to the filled areas before painting.
Do you put filler on before or after primer?
Generally, fillers are applied before primer. The sequence of steps is as follows: 1. Clean the surface and remove any loose debris. 2. Apply the filler to repair cracks, holes, or imperfections. 3. Smooth and level the filler to create a seamless surface. 4. Allow the filler to dry completely. 5. Sand the filled area to achieve a smooth finish. 6. Clean the surface to remove any dust or residue. 7. Apply primer to the prepared surface before painting.
Do you put filler on first or primer?
When preparing a surface for painting, it is generally recommended to follow this order: 1. Clean the surface and remove any loose debris. 2. Apply the filler to repair cracks, holes, or imperfections. 3. Smooth and level the filler to create a seamless surface. 4. Allow the filler to dry completely. 5. Sand the filled area to achieve a smooth finish. 6. Clean the surface to remove any dust or residue. 7. Apply primer to the prepared surface before painting.
Conclusion
Thank you for investing your time in reading our in-depth guide on applying fillers and putties to prepare interior surfaces. We hope you found it informative, engaging, and valuable in your journey towards achieving a beautifully painted home. Remember, at Horizon Painting, we are always here to support and assist you with your painting needs. Don’t hesitate to reach out to us for professional advice or to schedule a consultation. Let’s work together to bring your vision to life and create the home of your dreams. Contact us today and let the transformation begin!