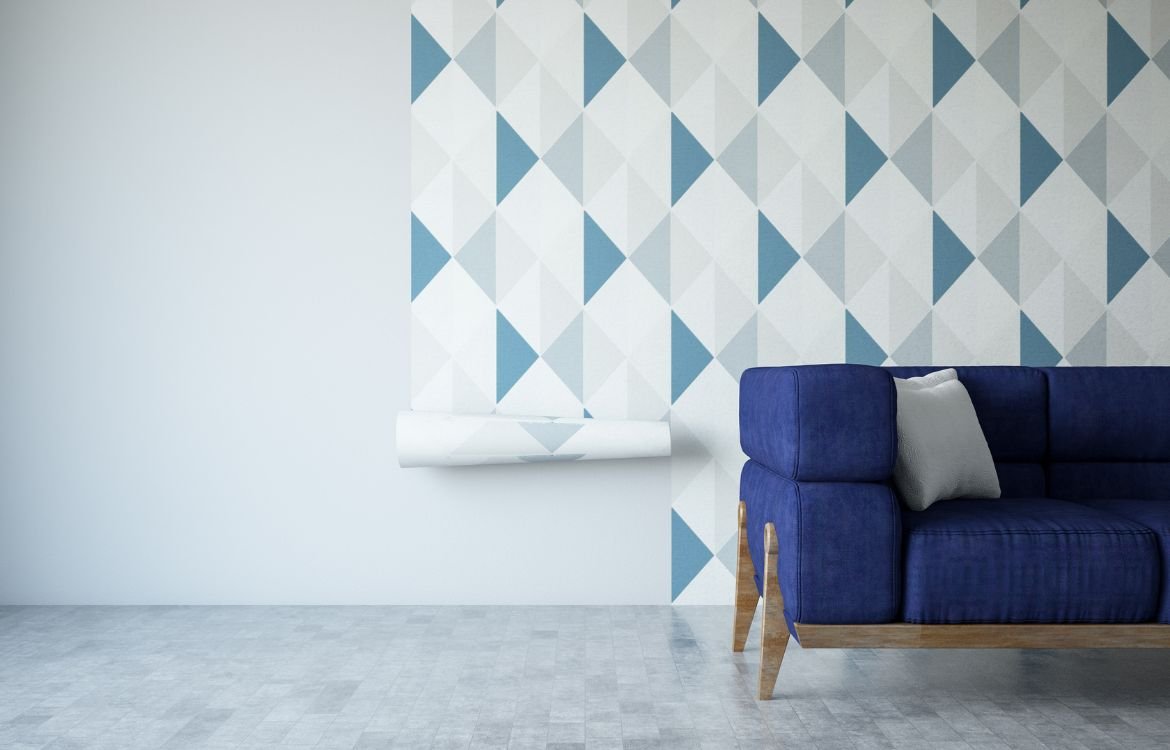
Removing Wallpaper and Preparing Interior Surfaces for Painting
Are you ready to transform your home into a stunning masterpiece? If you’re a homeowner looking to paint your house and seeking valuable information on removing wallpaper and preparing interior surfaces for painting, you’ve landed in the right place.
Welcome to our comprehensive guide that will equip you with the knowledge and techniques you need to achieve professional-quality results. Say goodbye to outdated wallpaper and hello to a fresh new look that will breathe new life into your space. So, grab your paintbrush and let’s dive into the world of Removing Wallpaper and Preparing Interior Surfaces for Painting.
Preparing the Space: Setting the Stage for Successful Wallpaper Removal
- Understanding the Importance of Preparation When it comes to removing wallpaper, preparation is key. Taking the time to prepare the space properly ensures a smoother and more efficient removal process. It allows you to protect your furniture, floors, and other belongings from potential damage. Additionally, proper preparation sets the foundation for a flawless paint job once the wallpaper is gone.
- Removing Curtains, Outlet Covers, Switchplates, and Artwork Before diving into the wallpaper removal process, it’s essential to remove any items that might get in the way. Take down curtains, remove outlet covers and switchplates, and carefully take artwork off the walls. Clearing the space will make the removal process easier and prevent any accidental damage.
- Laying a Drop Cloth To safeguard your floors and keep the area tidy, lay down a drop cloth or plastic sheeting. This protective barrier will catch any wallpaper scraps, adhesive residue, or water drips, making cleanup a breeze. A drop cloth also helps maintain a clean and organized workspace, allowing you to focus on the task at hand.
Testing the Wallpaper’s Adhesion: Starting the Removal Process
- Starting at a Corner or Seam Begin the wallpaper removal process by locating a corner or seam of the wallpaper. These areas are usually the easiest to peel away from the surface. Gently lift the corner using your fingers or a putty knife.
- Peeling the Wallpaper Away from the Surface Once you’ve found a starting point, carefully peel the wallpaper away from the wall surface. Work slowly to avoid tearing or damaging the underlying wall. If the wallpaper doesn’t come off easily, don’t worry—we’ll address tougher wallpapers in the next steps.
Making the Solution: Preparing a Powerful Wallpaper Removal Solution
- Filling a Pump Sprayer with Hot Water and Boiling Water To create an effective wallpaper removal solution, fill a pump sprayer with a mixture of hot water and boiling water. The hot water helps loosen the adhesive, making the wallpaper easier to remove. It’s important to handle boiling water with caution, ensuring your safety throughout the process.
- Adding Fabric Softener for Difficult Wallpapers For wallpapers that are particularly stubborn, add a small amount of fabric softener to the water mixture. Fabric softener helps break down the adhesive, making it easier to separate the wallpaper from the wall. However, be cautious not to oversaturate the solution, as excessive moisture can damage the wall surface.
Spraying the Walls: Prepping for Effortless Wallpaper Removal
- Saturating the Wallpaper Evenly Using the pump sprayer, evenly saturate the wallpaper with the hot water mixture. Pay close attention to ensure that the solution reaches all areas of the wallpaper, including seams and edges. The goal is to thoroughly moisten the wallpaper to activate the adhesive.
- Beginning the Removal Once the Wallpaper Begins to Bubble Allow the hot water mixture to penetrate the wallpaper for a few minutes. As the adhesive softens, you’ll notice the wallpaper starting to bubble or lift. This is a positive sign that the removal process is progressing. Once bubbling occurs, it’s time to move on to the next step—removing the wallpaper.

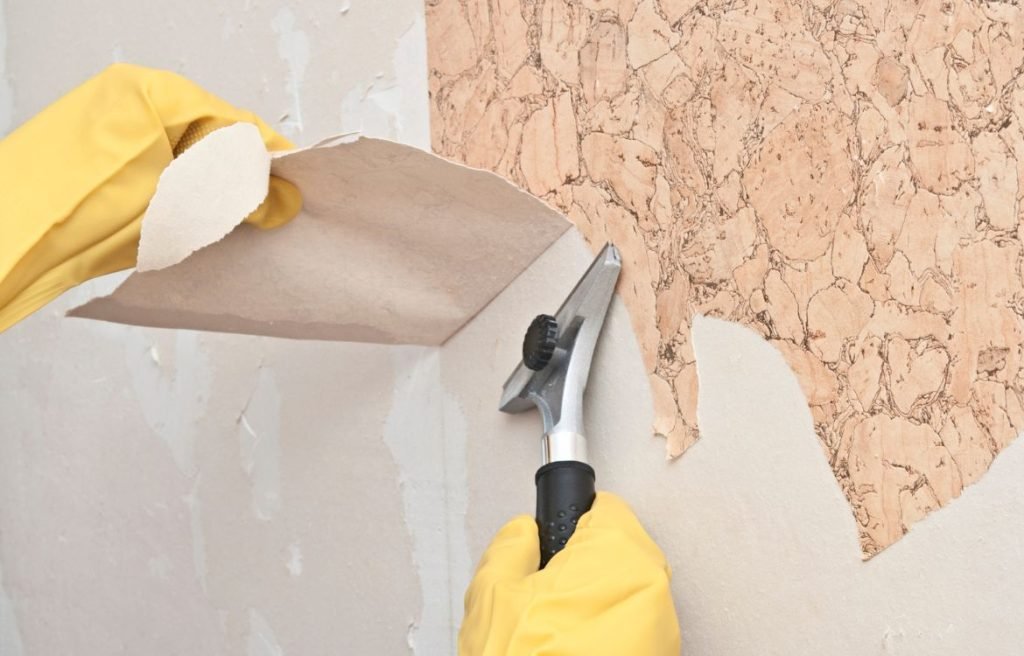
Removing the Wallpaper: Mastering the Art of Efficient Removal
- Using a Wide Putty Knife Armed with a wide putty knife, gently slide the blade under the bubbled sections of wallpaper. Apply even pressure as you carefully lift and peel the wallpaper away from the wall surface. Work methodically, starting at the seams and targeting the areas where the wallpaper has loosened the most.
- Starting at the Seams and Bubbling Sections Focus on removing the wallpaper in sections, starting from the seams and areas where the bubbles are most prominent. Peel the wallpaper away in a slow and controlled manner, ensuring you don’t rush or apply excessive force that may damage the wall beneath.
- Avoiding Gouging the Wall Surface While removing the wallpaper, it’s crucial to be gentle and avoid gouging or scratching the wall surface. Use the putty knife as a guide to lift the wallpaper while maintaining a steady hand. If you encounter stubborn spots, apply a bit more hot water solution and allow it to penetrate for a few minutes before attempting removal again.

Cleaning up the Leftovers: Achieving a Smooth Surface for Painting
- Dealing with Residue Once the wallpaper is removed, you may encounter residual adhesive or small bits of wallpaper stuck to the wall. Don’t worry; we have a solution for that too.
- Making a Mixture of Hot Water and Tri-Sodium Phosphate (TSP) Create a mixture of hot water and tri-sodium phosphate (TSP), a powerful cleaning agent. Follow the instructions on the TSP packaging to ensure proper dilution. This solution will effectively remove any remaining adhesive or stubborn residue from the wall surface.
- Wiping Down the Walls with a Large Sponge Using a large sponge or soft cloth, dip it into the TSP solution and gently wipe down the walls. Take care to cover the entire surface, paying extra attention to areas with residue. This step helps ensure a clean and smooth surface for your upcoming paint job.
- Spraying or Wiping Walls with Clean Water One Final Time After removing the adhesive residue, rinse the walls thoroughly with clean water. You can either use a spray bottle to mist the walls or wipe them down with a clean, damp cloth. This final rinse removes any remaining TSP solution and prepares the walls for painting.
- Letting the Walls Sit for a Few Days to Completely Dry Allow the walls to air dry completely before proceeding with your paint application. This drying period ensures that the walls are free from moisture and ready for the next steps of your home improvement project.

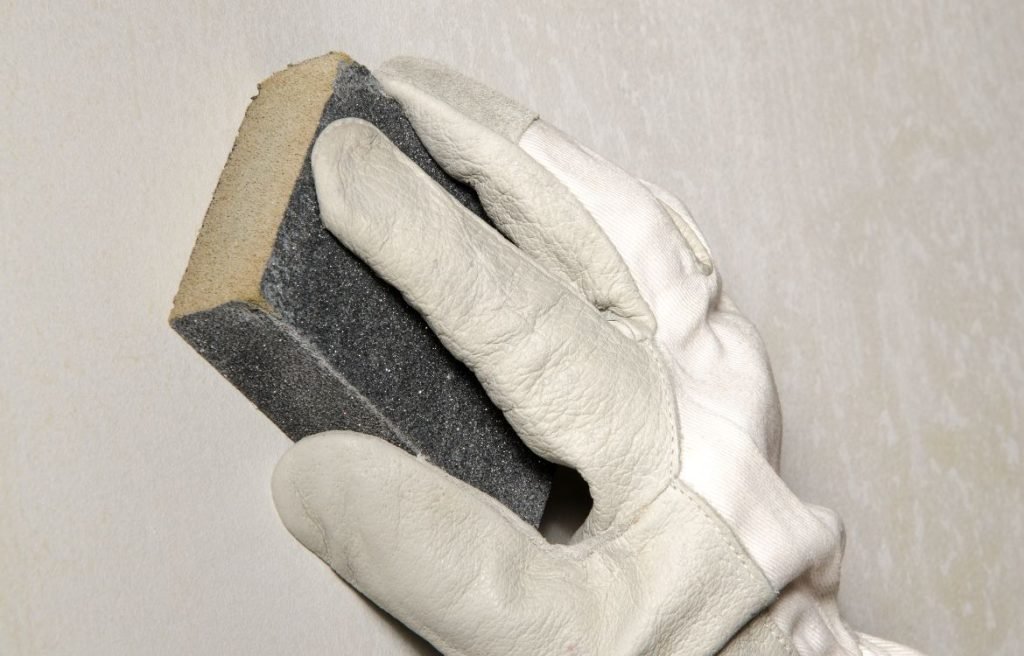
Sanding the Walls: Creating a Smooth Canvas
- Importance of a Smooth Surface Before diving into the paint application process, it’s crucial to ensure that your walls have a smooth and even surface. Sanding plays a vital role in achieving this goal. By sanding the walls, you remove any imperfections, rough spots, or inconsistencies, providing a flawless canvas for the paint to adhere to.
- Lightly Sanding Rough Spots Start by inspecting the walls for rough areas, bumps, or uneven textures. Using a fine-grit sandpaper, lightly sand these spots in a circular motion. The goal is not to remove a significant amount of material but to create a smooth surface that will enhance the overall finish of the paint.
Patching the Walls: Repairing and Restoring
- Checking for Damaged Areas, Including Holes and Cracks Thoroughly examine the walls for any signs of damage, such as holes, cracks, or dents. Addressing these issues before painting ensures a professional-looking result. Make note of the damaged areas that require patching.
- Using Drywall Mud and a Putty Knife to Fill in Holes To patch holes, use drywall mud and a putty knife. Apply the mud generously to the hole, using the putty knife to smooth it out and create a level surface. For larger holes, you may need to apply multiple layers, allowing each layer to dry before adding the next.
- Waiting for the Patches to Dry and Sanding for a Smooth Surface Allow the patched areas to dry completely according to the manufacturer’s instructions. Once dry, use a fine-grit sandpaper to gently sand the patched areas until they are flush with the surrounding wall surface. Sanding provides a seamless transition, ensuring that the patched areas blend seamlessly with the rest of the wall.
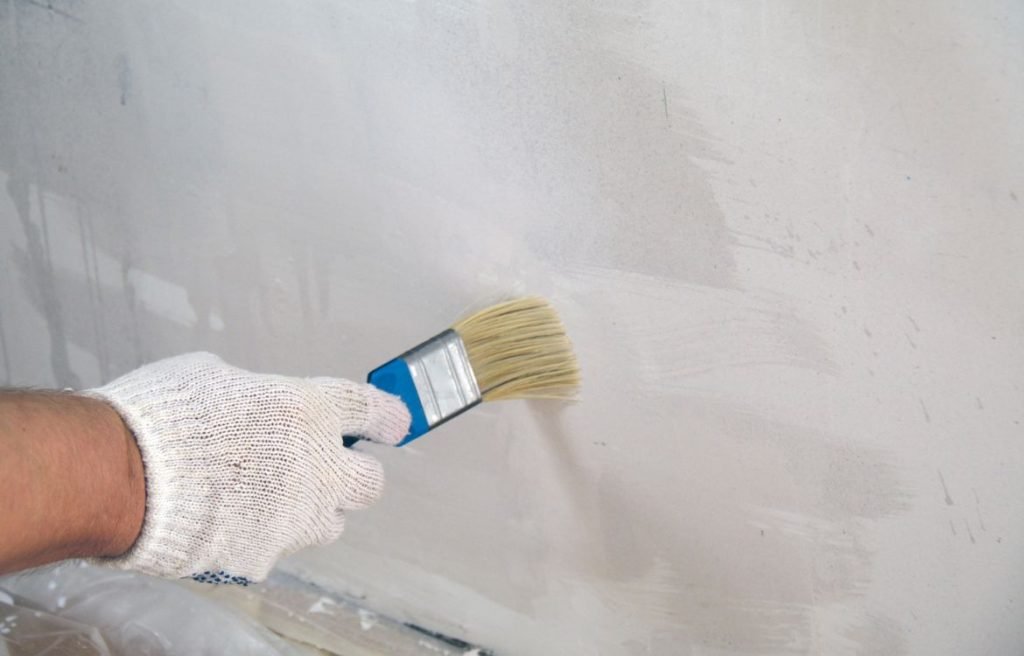
Priming the Walls: Enhancing Adhesion and Coverage
- Applying a Coat of High-Quality Latex Primer Priming the walls is an essential step in the preparation process. Apply a coat of high-quality latex primer to the entire surface you plan to paint. Priming enhances adhesion, improves paint coverage, and helps create a uniform surface for the paint to adhere to. Use a roller or paintbrush to apply the primer evenly.
- Using a Roller or Paintbrush for Application When applying the primer, choose a roller or paintbrush that is appropriate for your specific needs. A roller is ideal for larger wall surfaces, providing quick and even coverage. A paintbrush works well for cutting in along edges, corners, and trim, ensuring precise application. Use long, smooth strokes to achieve an even coat of primer.
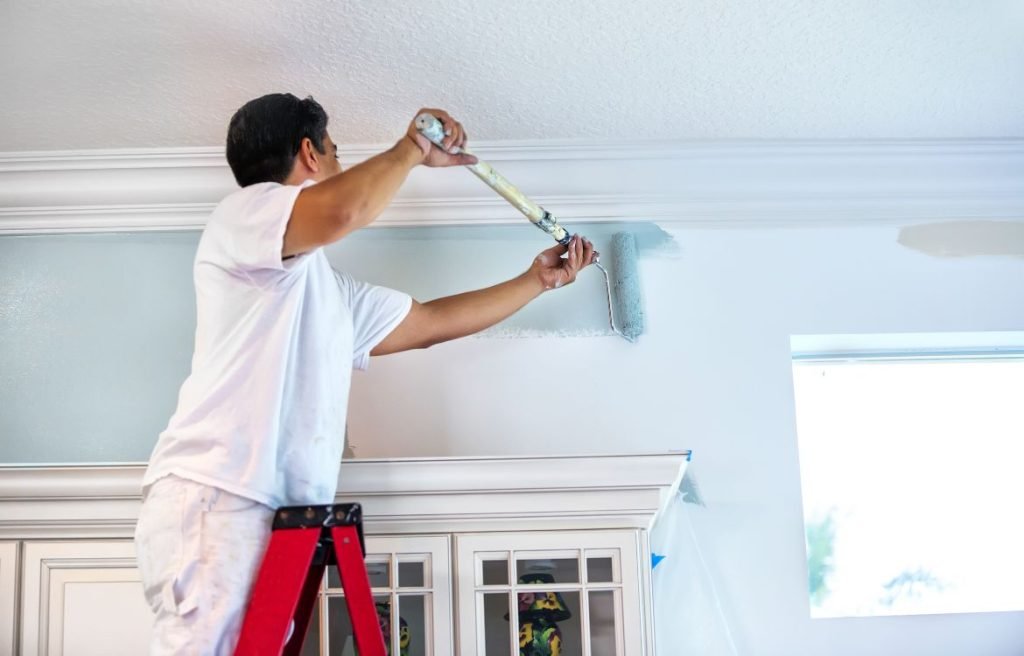
Painting the Walls: Bringing Your Vision to Life
- Choosing the Right Paint Selecting the right paint is crucial for achieving the desired look and longevity. Consider factors such as paint type, finish, and color. Opt for high-quality paint that suits your specific project requirements. Consult with a paint professional or refer to paint manufacturer guidelines for guidance in choosing the perfect paint.
- Applying the Paint Once the primer has dried completely, you’re ready to apply the paint. Start by cutting in along the edges and corners using a high-quality paintbrush. Then, use a roller to cover the larger wall areas, working in sections. Apply the paint evenly and consistently, maintaining a wet edge to avoid visible brush or roller marks. Allow the first coat to dry according to the paint manufacturer’s instructions before applying additional coats as needed.
FAQ
How do you prep walls for paint after removing wallpaper?
After removing wallpaper, prep walls for paint by first ensuring all wallpaper residue is removed. Repair any wall damage, such as holes or dents, with spackling compound. Sand the walls to create a smooth surface and remove any remaining adhesive. Clean the walls with a mixture of warm water and mild detergent, then apply a primer before painting.
What to do before painting after removing wallpaper?
Before painting after removing wallpaper, ensure the walls are clean, smooth, and free from any adhesive or residue. Repair any wall imperfections, such as holes or cracks, with spackling compound. Sand the walls to create a smooth surface, and remove any dust or debris. Finally, apply a primer suitable for the surface and paint the walls with the desired color.
What kind of primer to use after removing wallpaper?
After removing wallpaper, it is recommended to use a high-quality primer specifically designed for the surface you’re painting. For most situations, a good choice is a high-adhesion primer that can help seal any remaining adhesive and promote paint adhesion. Consult with a paint specialist or professional to determine the best primer for your specific project.
Do you have to sand walls after removing wallpaper?
Sanding the walls after removing wallpaper is typically necessary to create a smooth surface for painting. Sanding helps remove any remaining adhesive residue and evens out the wall texture. However, if the walls are in good condition and there are no noticeable imperfections, sanding may not be required. Assess the condition of the walls and sand as needed.
What is the best way to clean walls after removing wallpaper?
To clean walls after removing wallpaper, start by removing any loose wallpaper remnants or adhesive residue. Use warm water and mild detergent to wash the walls, using a sponge or soft cloth. For stubborn residue, you may need to use a wallpaper remover solution or vinegar diluted in water. Rinse the walls with clean water and allow them to dry thoroughly before proceeding with priming and painting.
How do professionals remove wallpaper?
Professionals typically remove wallpaper by scoring the surface with a wallpaper scorer tool, which allows the removal solution to penetrate. They apply a wallpaper removal solution or a mixture of water and fabric softener to loosen the adhesive. After allowing sufficient time for the solution to work, they carefully peel off the wallpaper using a putty knife or a wallpaper scraper.
Conclusion
We want to express our heartfelt gratitude for joining us on this journey to discover the art of Removing Wallpaper and Preparing Interior Surfaces for Painting. We hope this content has empowered you with the insights and guidance you need to tackle your painting project with confidence.
At Horizon Painting, we’re here to support you every step of the way. If you have any questions, need further assistance, or would like to enlist our professional painting services, don’t hesitate to contact us. Together, let’s bring your vision to life and create a home that truly reflects your personal style.