Scraping and Sanding Interior Surfaces for a Smooth Finish
Welcome to the ultimate guide on Scraping and Sanding Interior Surfaces for a Smooth Finish! Whether you’re a seasoned DIY enthusiast or embarking on your first home improvement project, this comprehensive guide will equip you with the knowledge and techniques to achieve flawlessly smooth interior surfaces.
Get ready to unlock the secrets of scraping, sanding and surface prep as we take you step by step through the process, ensuring professional-quality results that will transform your home. Let’s dive in!
Understanding the Materials
Different Types of Interior Surfaces
When it comes to interior surfaces, there are several common types found in homes, each requiring specific approaches during the scraping and sanding process. Let’s take a closer look at three primary surface materials:
- Drywall: Drywall, also known as gypsum board or plasterboard, is a popular choice for interior walls and ceilings. It offers a smooth and flat finish, making it relatively easy to work with. However, drywall is prone to damage, such as dents, scratches, or holes, which may require additional preparation before scraping and sanding.
Before scraping and sanding, ensure that any major damages or irregularities, such as dents or bulges, are addressed and repaired. This may involve using joint compound and sanding it down to create a seamless finish. - Wood: Wood surfaces bring warmth and natural beauty to interior spaces. They can include anything from solid wood panels to wooden accents or trim. Working with wood surfaces requires careful consideration, as they often have unique characteristics such as grain patterns and natural variations. During the scraping and sanding process, you may encounter challenges like uneven surfaces, knots, or previous finishes, which require special attention to achieve a smooth result.
Depending on the condition of the wood, you may need to remove old paint or varnish before proceeding with scraping and sanding. Take note of any knots, which may require special attention to achieve a uniform surface. Additionally, consider the direction of the wood grain when sanding to avoid creating visible scratches. - Plaster: Plaster surfaces have been used for centuries and offer a timeless appeal. Plaster walls and ceilings provide durability and a distinctive texture. However, plaster comes with its own set of challenges. It can develop cracks over time, and layers of old paint may be present. Thorough scraping and sanding techniques are necessary to ensure a smooth and even surface before painting.
Begin by assessing the condition of the plaster, addressing any cracks with appropriate repair techniques. The presence of old paint may require thorough scraping to remove any loose or flaking layers before sanding. Take care not to oversand, as excessive sanding can weaken the plaster.
Factors to Consider Before Starting the Scraping and Sanding Process
- Surface Condition: Before diving into the scraping and sanding process, evaluate the condition of the surface. Identify any damages, imperfections, or previous finishes that may require specific treatments. Repairing cracks, filling holes, and addressing surface irregularities will ensure a smoother final result.
- Safety Precautions: Prioritize safety by wearing appropriate protective gear such as goggles, masks, and gloves. Proper ventilation is crucial to minimize dust and fumes generated during the scraping and sanding process. Protect nearby surfaces and furniture with drop cloths to prevent accidental damage.
- Compatibility with Tools and Materials: Select tools and materials that are suitable for the specific surface type you are working with. Different surfaces may require different scrapers, putty knives, sandpaper grits, and sanding blocks. Ensure the tools and materials you choose are compatible to achieve the best results.
Tools and Equipment
Essential Tools for Scraping Interior Surfaces
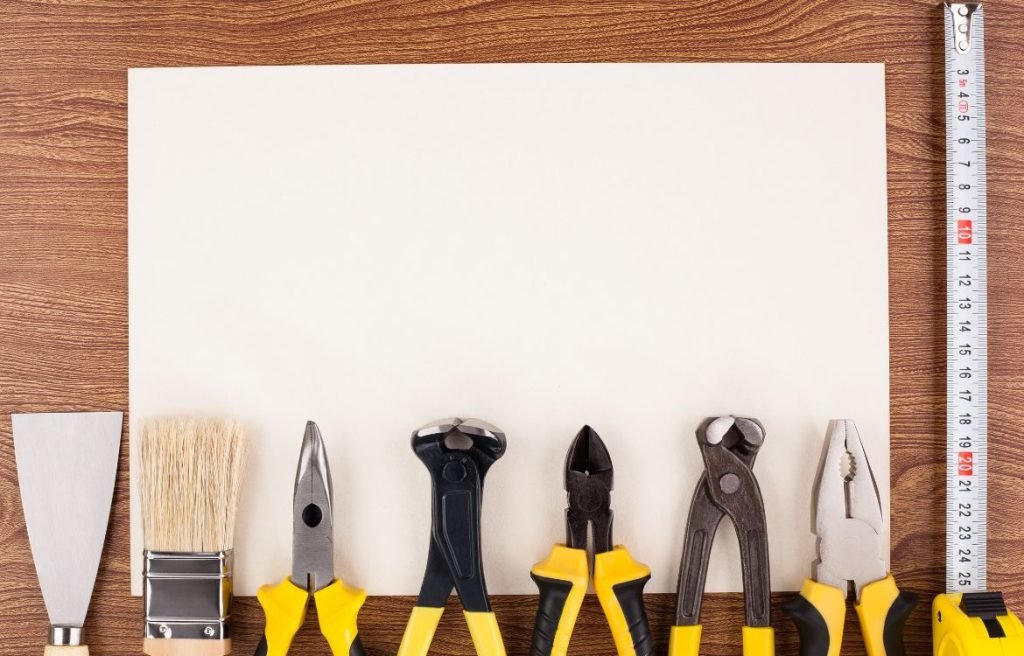
When it comes to scraping interior surfaces, having the right tools can make a significant difference in the effectiveness and efficiency of the process. Here are some essential tools to consider:
- Scrapers: Scrapers are versatile tools used for removing old paint, wallpaper, or other coverings from surfaces. They come in various sizes and shapes, including flat-edged scrapers, contour scrapers, and corner scrapers. Choose a scraper that suits the specific surface and area you are working on.
- Putty Knives: Putty knives, also known as filling knives, are handy for filling cracks, holes, or imperfections in the surface. They can also be used for scraping off excess filler or putty. Opt for a putty knife with a flexible and sturdy blade for better control and precision.
Various Types of Sanding Tools
Sanding plays a crucial role in achieving a smooth surface before painting. Here are some common sanding tools to consider:
- Sandpaper: Sandpaper comes in different grits, ranging from coarse to fine. Lower grits (e.g., 60 to 80) are suitable for initial surface preparation and removing rough imperfections, while higher grits (e.g., 120 to 220) are used for finer sanding and achieving a smooth finish. Use sandpaper sheets or rolls, depending on the size of the area you need to sand.
- Sanding Blocks: Sanding blocks provide a firm and even surface for sanding. They come in various shapes and sizes, including rectangular and contoured blocks. Sanding blocks are ideal for hand sanding, allowing for better control and preventing uneven sanding.
- Orbital Sanders: Orbital sanders are power tools that use circular or random orbital motions to sand surfaces. They are efficient for larger areas and provide consistent sanding action. However, they may require more caution and experience to avoid over-sanding or damaging the surface.
Choosing the Right Tools for Different Surface Types and Conditions
When selecting tools for scraping and sanding, it’s essential to consider the specific surface type and its condition. Here are some factors to keep in mind:
- Surface Material: Different surfaces, such as drywall, wood, and plaster, may require specific tools for optimal results. For example, wood surfaces may benefit from using a gentle scraper or sanding block to avoid damaging the grain, while plaster surfaces may require a sturdier scraper to remove old paint layers.
- Surface Condition: The condition of the surface, including its smoothness, roughness, or the presence of existing coatings, can influence tool selection. For rough surfaces or stubborn residue, more aggressive scrapers or lower grit sandpaper may be necessary. On the other hand, smoother surfaces may require finer sandpaper or sanding blocks for a delicate touch.
- Personal Preference and Experience: Consider your comfort level and experience with different tools. Some individuals may find certain tools more intuitive or easier to handle. Experimenting with various tools can help you find the ones that work best for you.
Safety Precautions
Ensuring safety during the scraping and sanding process is crucial to protect yourself and maintain a healthy environment. Here are important safety precautions to consider:
Importance of Personal Protective Equipment (PPE)
- Respiratory Protection: Wear a properly fitted dust mask or respirator to prevent inhalation of dust, particles, or harmful substances. Choose a mask with a high-efficiency particulate air (HEPA) filter to effectively filter out fine particles.
- Eye Protection: Use safety goggles or protective glasses to shield your eyes from dust, debris, or flying particles. This will prevent eye irritation or potential injuries from scraping or sanding activities.
- Skin Protection: Wear long-sleeved shirts, long pants, and gloves to protect your skin from contact with potentially irritant substances or sharp tools. Select gloves made from materials appropriate for the task, such as nitrile gloves for handling chemicals or abrasion-resistant gloves for rough surfaces.
Safety Measures to Prevent Inhalation of Dust and Particles
- Adequate Ventilation: Ensure proper ventilation in the working area. Open windows or use fans to circulate fresh air and minimize the concentration of airborne dust particles.
- Dust Containment: Use plastic sheets or drop cloths to isolate the work area and prevent dust from spreading to other parts of the house. This containment will facilitate easier cleanup and reduce the risk of dust exposure in other living areas.
- Wet Sanding Technique: When sanding, consider using the wet sanding technique by dampening the surface or using a water spray bottle. This helps to minimize dust production and keep it from becoming airborne.
Tips for Handling and Disposing of Hazardous Materials
- Lead-Based Paint: If your home has lead-based paint, take extra precautions due to the potential health risks associated with lead exposure. Follow lead-safe work practices, such as wet scraping and sanding, to prevent lead dust from spreading. Use plastic sheeting to contain debris and dispose of it properly as hazardous waste.
- Hazardous Chemicals: Some paint strippers, solvents, or cleaning agents used during the scraping and sanding process may be hazardous. Read and follow the manufacturer’s instructions carefully. When handling chemicals, wear appropriate PPE, work in a well-ventilated area, and dispose of chemicals according to local regulations.
- Proper Waste Disposal: Dispose of waste materials, including paint chips, sanding debris, or used disposable PPE, in accordance with local regulations. Separate hazardous waste from regular household waste and dispose of it appropriately to minimize environmental impact.
Surface Preparation
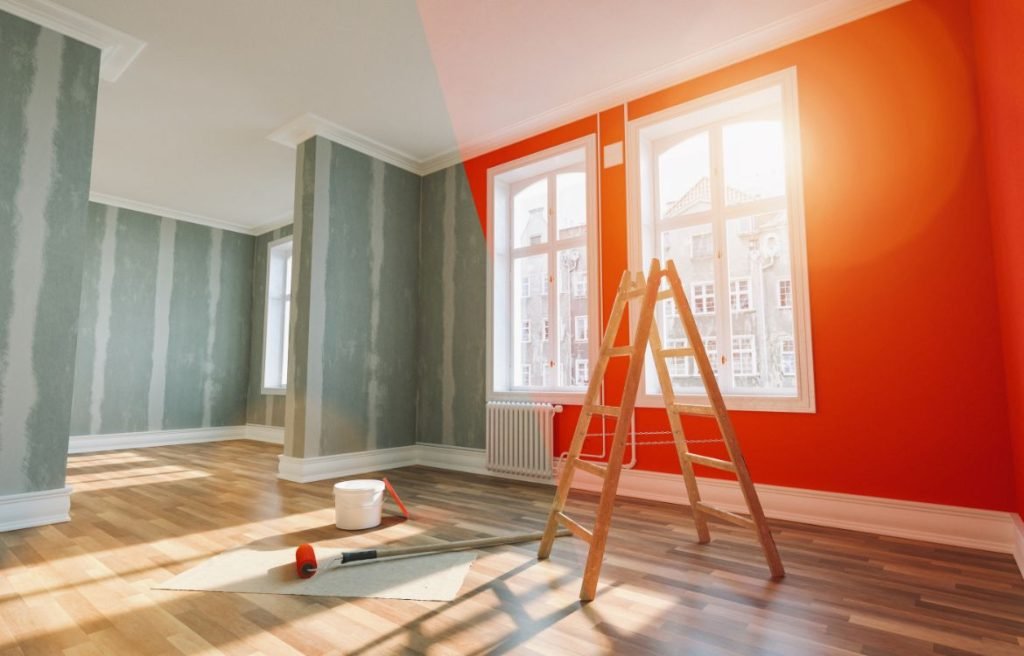
Proper surface preparation is essential to achieve a smooth finish when scraping and sanding interior surfaces. Here are the key steps involved:
Cleaning the Surface Before Scraping and Sanding
- Remove Dust and Debris: Start by thoroughly cleaning the surface to remove any loose dust, dirt, or debris. Use a vacuum cleaner with a brush attachment or a soft cloth to wipe away particles. This step ensures a clean surface for better adhesion of new paint or finish.
- Grease and Grime Removal: For surfaces that have accumulated grease, oils, or grime, use a mild detergent mixed with water to gently scrub away the buildup. Rinse the surface with clean water and allow it to dry completely before proceeding.
Removing Loose Paint, Wallpaper, or Other Coverings
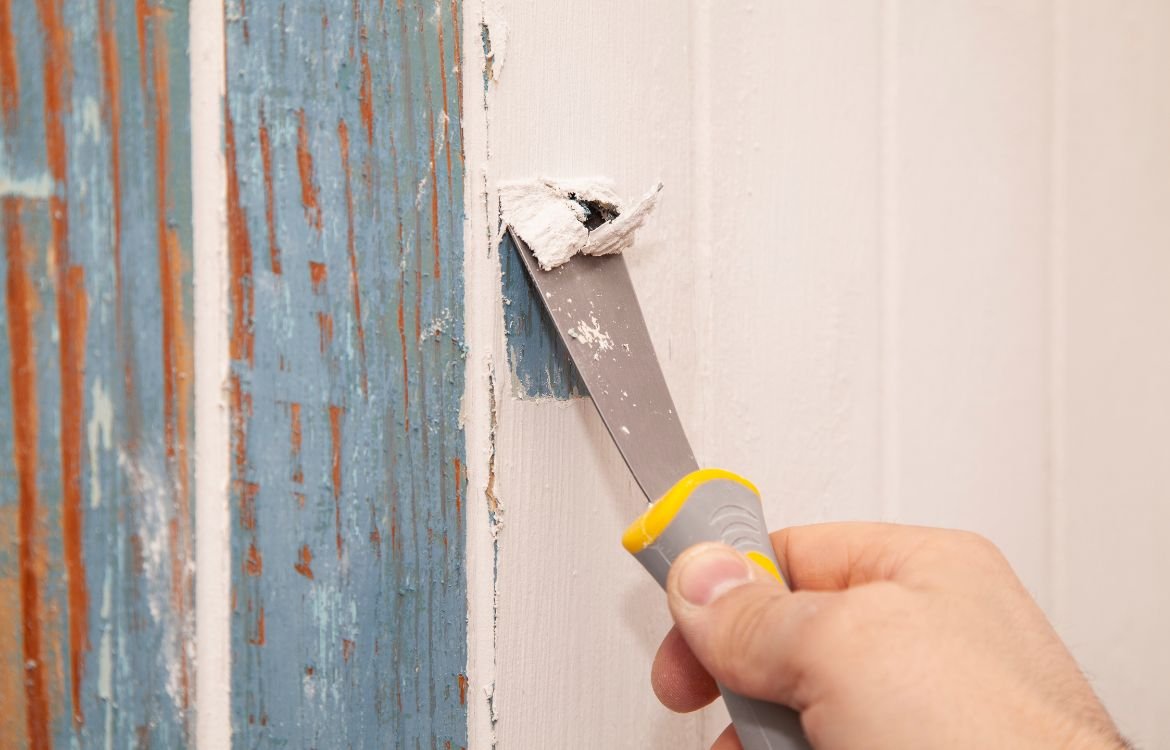
- Paint Removal: Use a scraper or putty knife to carefully scrape away any loose or peeling paint from the surface. Work in a methodical manner, following the grain or contours of the material. Dispose of the scraped paint chips properly according to local regulations.
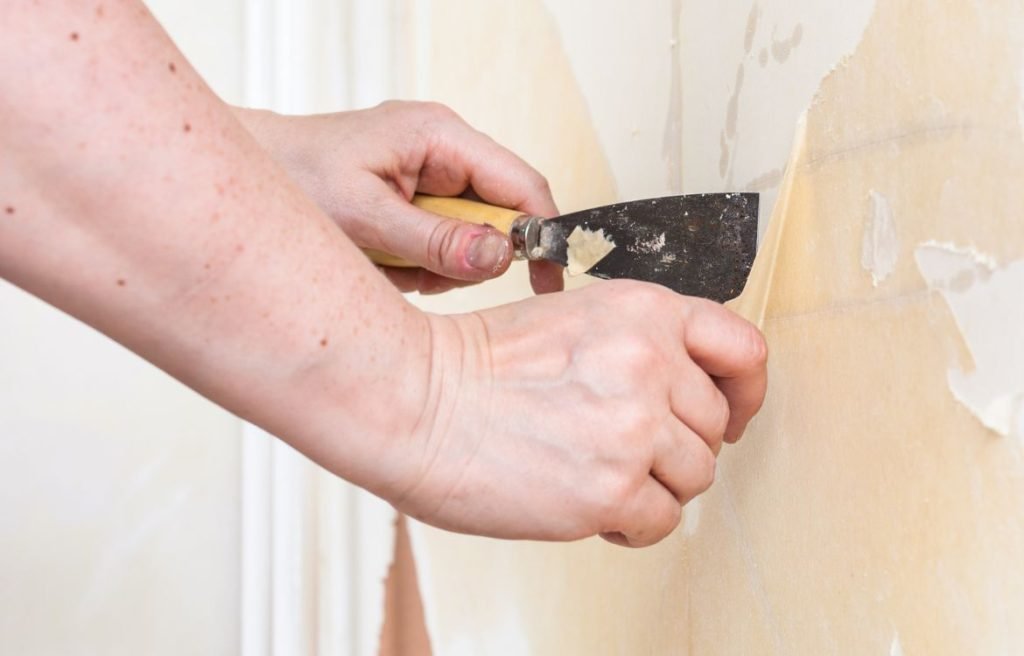
- Wallpaper Removal: If the surface is covered with wallpaper, start by scoring the wallpaper with a scoring tool or sandpaper to allow moisture to penetrate. Apply warm water or a wallpaper removal solution to loosen the adhesive. Use a scraper to gently peel off the wallpaper, working from the edges towards the center.
Filling Cracks, Holes, and Imperfections with Appropriate Fillers
- Crack Repair: Inspect the surface for any cracks and use a flexible crack filler or caulk to seal them. Apply the filler using a putty knife or caulk gun, smoothing it out to create an even surface. Allow the filler to dry and sand it lightly to ensure a seamless blend with the surrounding area.
- Hole and Imperfection Filling: Fill small holes, dents, or imperfections with a suitable patching compound or spackle. Apply the filler using a putty knife, ensuring it is level with the surface. Once dry, sand the patched areas gently to achieve a smooth finish.
Scraping Techniques
To achieve a smooth finish when scraping interior surfaces, it’s important to employ the right techniques based on the specific surface material and the condition of the paint or finishes. Here are some key considerations:
Different Scraping Methods for Various Surfaces
- Drywall: When scraping drywall surfaces, use a wide putty knife or a drywall scraper. Hold the scraper at a slight angle and apply gentle pressure to remove any loose paint or imperfections. Take care not to gouge or damage the underlying drywall.
- Wood: Wood surfaces require a delicate touch to avoid damaging the grain. Utilize a gentle scraper or a contour scraper to remove old paint or finishes. Work with the wood’s natural grain direction, applying even pressure to prevent splintering or gouging.
- Plaster: Plaster surfaces may have multiple layers of paint or finishes. Use a sturdy scraper to remove the layers, ensuring the scraper’s edge is sharp. Work in small sections, applying controlled pressure to avoid causing cracks or damage to the plaster.
Tips for Effective Paint Removal Without Damaging the Surface
- Start with a Test Area: Before proceeding with scraping, test a small, inconspicuous area to ensure the surface can withstand the scraping technique without damage. This helps you determine the appropriate pressure and scraping angle.
- Apply Heat: For stubborn or thick layers of paint, consider using a heat gun to soften the paint before scraping. Heat the area evenly and gently scrape away the softened paint using a scraper. Be cautious not to overheat or scorch the surface.
- Maintain Sharp Blades: Ensure the scraping tool’s blade or edge remains sharp throughout the process. Dull blades may lead to ineffective scraping and potential surface damage. Sharpen or replace the blades as needed for optimal results.
Dealing with Stubborn Paint or Finishes
- Chemical Paint Strippers: If scraping alone is insufficient for paint removal, consider using a chemical paint stripper. Follow the manufacturer’s instructions carefully, applying the stripper and allowing it to penetrate the paint layers. Once softened, gently scrape away the paint using a scraper.
- Repeat the Process: In some cases, multiple scraping passes may be necessary to remove all layers of paint or finishes. Take your time and be patient, working systematically and ensuring thorough removal.
- Fine Sanding: After scraping, use fine sandpaper or sanding blocks to smooth any remaining rough patches or traces of paint. Sanding will further refine the surface, preparing it for the next steps in the painting process.
Sanding Techniques
Sanding is an essential step in achieving a smooth finish on interior surfaces. By employing the right sanding techniques, you can effectively smooth out imperfections and create an even surface. Here are some key considerations:
Choosing the Right Grit of Sandpaper for Different Stages
- Coarse Grit Sandpaper: Begin with a coarse grit sandpaper, such as 80 or 100 grit, to remove rough surfaces, stubborn paint, or imperfections. This grit level is ideal for initial sanding or shaping the surface.
- Medium Grit Sandpaper: Transition to a medium grit sandpaper, typically around 120 to 150 grit, for the next stage of sanding. This grit level helps to further smooth the surface and prepare it for the final stages.
- Fine Grit Sandpaper: Finish the sanding process with a fine grit sandpaper, such as 220 grit or higher. This finer grit removes any remaining imperfections, creating a smooth and polished surface ready for painting.
Proper Sanding Motions and Techniques
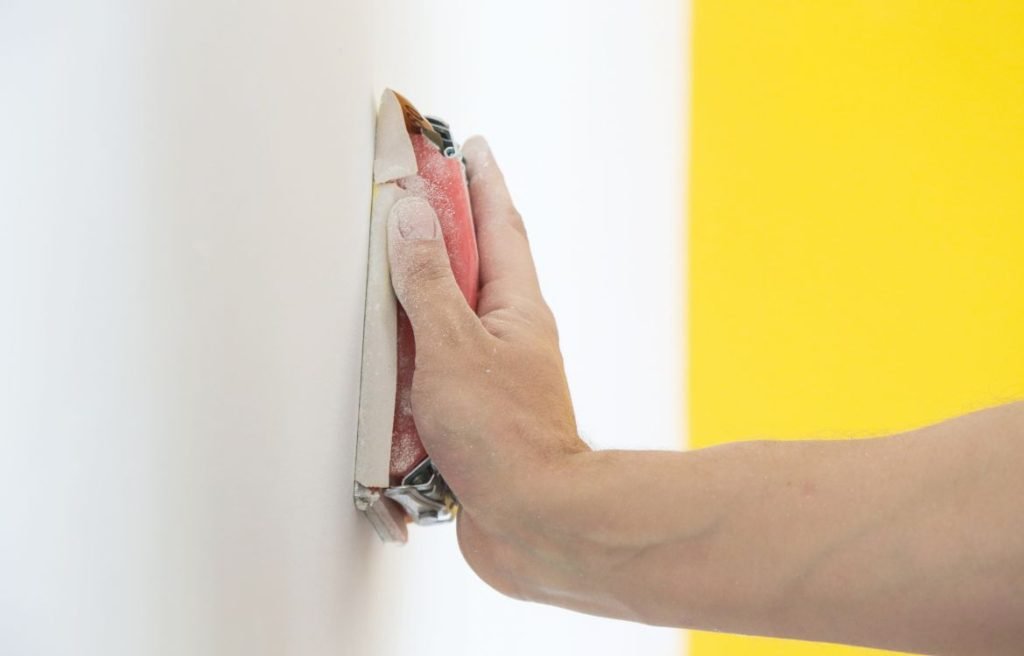
- Long, Even Strokes: Sand in long, even strokes, following the grain of the surface material. Applying consistent pressure, move the sandpaper back and forth or in a circular motion. Avoid applying excessive pressure, as it can result in uneven sanding or damage the surface.
- Change Direction: To achieve a more even surface, change the sanding direction periodically. For example, if you initially sand in a vertical motion, switch to a horizontal motion for the next pass. This helps to blend any sanding marks or scratches.
- Feather Edges: When sanding near the edges or transitions between different surfaces, use a feathering technique. Gradually decrease the pressure and sand in a gentle, overlapping motion to create a smooth transition and prevent noticeable edges.
Smoothing Out Imperfections and Achieving an Even Surface
- Check for Imperfections: Regularly inspect the surface for any remaining imperfections, such as ridges, bumps, or uneven areas. Use your hand to feel for inconsistencies and mark areas that require further sanding.
- Gradual Progression: Start with the coarse grit sandpaper to address major imperfections, then progressively move to finer grits. This gradual progression allows for more controlled and precise sanding, resulting in a smoother surface.
- Blend Edges: Pay particular attention to blending edges where paint or finishes meet. Use a light touch with fine grit sandpaper to feather the edges and create a seamless transition between surfaces.
Dealing with Challenges
Scraping and sanding interior surfaces can present various challenges, such as uneven surfaces, intricate details, or different surface conditions. Here are some techniques to overcome these challenges:
Addressing Issues like Uneven Surfaces, Intricate Details, or Curves
- Uneven Surfaces: If you encounter uneven surfaces, consider using a sanding block or a flexible sanding tool to contour to the surface contours. This allows for better control and ensures consistent sanding across the entire surface.
- Intricate Details: When dealing with intricate details, such as decorative molding or intricate carvings, utilize smaller tools like detail sanders, sanding sponges, or even toothbrushes. These tools can reach tight spaces and delicate areas without causing damage.
- Curves: For curved surfaces, employ sanding techniques that follow the natural curve. Use flexible sanding pads or wrap sandpaper around cylindrical objects to maintain a consistent and smooth sanding motion.
Techniques for Handling Different Surface Conditions
- Peeling Paint: When encountering peeling paint, focus on thoroughly scraping away the loose paint before sanding. Use a scraper or putty knife to remove the peeling areas, and then proceed with sanding to smooth out the remaining paint edges.
- Rough Patches: If you come across rough patches on the surface, perform targeted sanding in those areas using a finer grit sandpaper. Gradually smooth the rough patches, paying attention to blend them seamlessly with the surrounding surface.
Troubleshooting Common Problems During Scraping and Sanding
- Dust Control: Minimize dust by using a vacuum with a dust collection attachment or by using a damp cloth to wipe the surface during sanding. This helps to prevent excessive dust buildup and keeps the work area cleaner.
- Streaks or Scratches: If you notice streaks or scratches during the sanding process, double-check the sandpaper grit and technique being used. Adjust the pressure and switch to a finer grit if necessary. Lightly sand the affected area to blend and remove the imperfections.
- Clogging Sandpaper: Sandpaper can clog with paint residue or wood fibers. To prevent clogging, periodically clean the sandpaper surface by tapping or using a sandpaper cleaning tool. This maintains the sandpaper’s effectiveness and prolongs its usage.
Always adapt your techniques to suit the specific challenges you encounter. Take your time and approach each problem with patience and attention to detail. Remember to work in a well-ventilated area and wear appropriate personal protective equipment, especially when dealing with hazardous materials or dust.
Surface Preparation for Finishing
After the scraping and sanding process, proper surface preparation is essential to ensure a clean and well-prepared canvas for the application of paint or a new finish. Here are the key steps involved:
Cleaning the Surface After Scraping and Sanding
- Remove Residual Dust and Debris: Use a vacuum cleaner or a soft-bristle brush to carefully remove any loose dust or debris from the surface. Pay attention to corners, crevices, and hard-to-reach areas. Alternatively, you can wipe the surface with a slightly damp cloth to capture the remaining dust particles.
- Check for Remaining Imperfections: Inspect the surface for any remaining imperfections, such as rough patches, paint residue, or small chips. Use a scraper or sandpaper to address these issues, ensuring the surface is as smooth and clean as possible.
Removing Dust and Debris for a Clean Working Environment
- Clean the Surrounding Area: It’s crucial to maintain a clean working environment to prevent dust and debris from settling back onto the prepared surface. Vacuum or sweep the surrounding area, removing any loose particles that could potentially affect the final finish.
- Use a Tack Cloth: Before priming or painting, consider using a tack cloth to further remove any lingering dust or particles. Gently wipe the surface with the tack cloth, which is designed to capture fine particles effectively.
Priming the Surface for Painting or Applying a New Finish
- Choose the Appropriate Primer: Select a primer that is compatible with the surface material and the type of finish you intend to apply. Primers help create a smooth and uniform surface, improve paint adhesion, and seal any remaining imperfections.
- Apply the Primer: Following the manufacturer’s instructions, apply the primer evenly to the surface using a brush or roller. Ensure complete coverage and allow the primer to dry fully before proceeding with the next steps.
- Lightly Sand the Primed Surface: Once the primer is dry, lightly sand the surface using fine-grit sandpaper. This step helps smooth out any minor imperfections, enhances adhesion, and promotes a flawless finish.
- Remove Sanding Dust: After sanding, remove any sanding dust from the primed surface using a vacuum, a soft brush, or a tack cloth. It is essential to start with a clean and dust-free surface before proceeding with the application of paint or a new finish.
FAQ
How do I make my trim smooth?
How do you get a smooth paint finish on wood?
How do you get a smooth paint finish without spraying?
How do you get rid of brush strokes on trim?
How do you make baseboards smooth?
What grit sandpaper is best for a smooth finish?
Conclusion
We sincerely thank you for joining us on this journey of uncovering the art of Scraping and Sanding Interior Surfaces for a Smooth Finish. We hope this guide has provided you with valuable insights and practical techniques to tackle your upcoming painting projects with confidence.
Remember, at Horizon Painting, we are passionate about helping homeowners like you bring their vision to life. If you’re ready to take the next step, we invite you to reach out to us. Our team of experienced professionals is ready to assist you in achieving the flawless, smooth finish you desire.
Contact us today, and let’s embark on your painting journey together. Happy painting!
