Choosing the Right Primer for Interior Surfaces
Are you looking to embark on a painting project and searching for the ultimate guide on choosing the right primer for your interior surfaces? Well, you’ve landed in the perfect place. Welcome to our comprehensive content on Choosing the Right Primer to prepare your surface for painting.
If you’ve been wondering how to achieve a flawless, long-lasting paint job that enhances the beauty of your home, this is exactly what you need. Get ready to dive into a world of expert advice, valuable insights, and practical tips that will empower you to make the best decisions when it comes to primer selection. So, let’s get started and unlock the secrets to a successful painting endeavor!
Definition and Purpose of Primers
When it comes to painting interior surfaces, primers play a crucial role in achieving a flawless and long-lasting finish. But what exactly are primers? In simple terms, primers are specially formulated coatings that are applied to surfaces before painting. Their primary purpose is to prepare the surface, creating an ideal foundation for the paint to adhere to.
By acting as a bonding agent, primers ensure better adhesion between the surface and the subsequent layers of paint. This is particularly important for interior surfaces, as they are often subjected to wear and tear, moisture, and temperature fluctuations. Without a proper primer, the paint may not adhere properly, leading to issues such as peeling, cracking, or uneven coverage.
The Impact of Primers on Durability and Quality
The use of primers significantly impacts the durability and overall quality of your paint job. While it might be tempting to skip this crucial step, doing so can compromise the longevity of your paint and result in a less professional-looking finish. Primers create a smooth and uniform surface, allowing the paint to spread evenly and adhere securely.
Moreover, primers help to seal the surface, preventing moisture, stains, and other impurities from seeping through the paint. This is especially important when painting interior surfaces that are prone to exposure to water, humidity, or high-traffic areas that may be susceptible to stains. By providing an extra layer of protection, primers help to maintain the integrity of your paint job over time.
The Role of Primers in Sealing Porous Surfaces and Preventing Stains
One of the essential functions of primers is to seal porous surfaces, such as drywall or untreated wood. These surfaces tend to absorb paint unevenly, leading to a patchy and uneven finish. By applying a primer, you create a barrier that seals the pores, allowing the paint to spread more evenly and ensuring a consistent color and texture.
In addition to sealing porous surfaces, primers also help to prevent stains from bleeding through the paint. This is particularly crucial when painting over surfaces with water or smoke damage, or areas that have previously been stained. The primer acts as a barrier, blocking any stains or discoloration from affecting the final paint job.
Oil-Based Primer
Oil-based primers are a popular choice for many painting projects, thanks to their excellent adhesion and versatility. These primers contain a solvent base, usually mineral spirits or turpentine, which allows for better penetration and bonding with the surface. They are commonly used for both interior and exterior applications.
Oil-based primers are particularly effective in sealing and covering surfaces with stains, knots, or tannins. They have great blocking properties, making them suitable for surfaces prone to bleeding, such as cedar or redwood. Additionally, oil-based primers are an excellent choice for covering surfaces previously painted with oil-based paints.
- Strengths and Weaknesses
Oil-based primers offer several strengths that make them a valuable option. They provide exceptional adhesion, which ensures the paint adheres well and resists peeling or cracking. They also create a smooth and durable surface that enhances the final paint job’s longevity.
However, oil-based primers have a few drawbacks to consider. They have a strong odor due to the solvent content, requiring proper ventilation during application. They also take longer to dry compared to other primer types, which can prolong the overall painting process. Additionally, the cleanup of oil-based primers requires the use of harsh chemicals, such as paint thinner or mineral spirits.
- Ideal Surfaces for Oil-Based Primers
Oil-based primers are well-suited for various surfaces and situations. They are particularly effective on bare wood, metal, or surfaces with stains, such as water damage or smoke residue. If you’re painting over glossy surfaces, like previously painted trim or cabinets, an oil-based primer can help improve adhesion and durability.
It’s important to note that oil-based primers should not be used on surfaces that are prone to expansion and contraction, such as vinyl or certain plastics. Additionally, they may not be the best choice for surfaces in areas with high humidity, as they can take longer to dry.

Latex-Based Primer
Latex-based primers, also known as water-based primers, have gained popularity due to their ease of use and environmentally friendly nature. These primers are composed of water and synthetic polymers, offering excellent coverage and adhesion. They are widely used for both interior and exterior painting projects.
Latex-based primers are versatile and suitable for various surfaces. They provide a smooth and even base for the paint, allowing for better color accuracy and uniformity. They are often used on drywall, plaster, concrete, and previously painted surfaces.
- Strengths and Weaknesses
Latex-based primers offer several strengths that make them a go-to choice for many painters. They have a low odor, making them more pleasant to work with compared to oil-based primers. They also dry relatively quickly, allowing for faster recoating and completion of the painting project. Cleanup is easy, as soap and water are sufficient for cleaning brushes and tools.
However, latex-based primers may have some limitations. They are not as effective in blocking stains as oil-based primers, especially when dealing with severe stains like water damage or nicotine residue. In such cases, it may be necessary to use a stain-blocking primer or apply multiple coats of latex-based primer.
- Ideal Surfaces for Latex-Based Primers
Latex-based primers are suitable for a wide range of surfaces, including drywall, plaster, masonry, and wood. They are an excellent choice for most interior surfaces, as they provide good adhesion, coverage, and easy cleanup. If you’re painting over a surface that is in good condition and doesn’t require significant stain blocking, a latex-based primer is typically sufficient.
Shellac Primer
Shellac primers are known for their excellent stain-blocking properties and fast-drying nature. They are made from a natural resin called shellac, which is dissolved in alcohol. Shellac primers are commonly used to seal and cover surfaces with severe stains, such as water damage, smoke residue, or ink.
Due to their exceptional sealing capabilities, shellac primers are often used as a remedy for difficult surfaces. They effectively block stains, odors, and tannins, ensuring a clean and even surface for painting. Shellac primers are available in liquid form or as pre-mixed aerosol cans.
- Strengths and Weaknesses
Shellac primers offer several strengths that make them a valuable tool for challenging painting projects. They have unparalleled stain-blocking properties, effectively preventing stains from bleeding through the paint. They dry quickly, allowing for faster progress in the painting process.
However, shellac primers have a few considerations to keep in mind. They have a strong odor due to the alcohol content, necessitating proper ventilation during application. Cleanup requires the use of denatured alcohol or other alcohol-based solvents. Shellac primers also have a shorter shelf life compared to other primer types, so it’s important to check the expiration date before use.
- Ideal Surfaces for Shellac Primers
Shellac primers are ideal for surfaces with severe stains or odors that require strong stain-blocking capabilities. They are often used on water-damaged ceilings or walls, smoke-stained surfaces, and furniture with ink or marker stains. Shellac primers are also effective on knots or sap pockets in wood surfaces.
Keep in mind that shellac primers may not be suitable for all surfaces, especially those prone to high humidity or moisture. Additionally, they are not compatible with certain finishes, such as lacquer or shellac-based topcoats.
Factors to Consider When Choosing a Primer
When it comes to selecting the right primer for your interior surfaces, there are several factors to consider. These factors will ensure that you choose a primer that provides optimal adhesion, durability, and overall performance for your painting project. Here are some key factors to keep in mind:
- Surface Type: Different surfaces require specific types of primers. Consider whether you’re working with wood, metal, drywall, concrete, or other materials. Each surface may have different properties that influence the primer’s effectiveness.
- Stain Blocking: If your surface has stains, such as water damage or ink marks, opt for a primer with excellent stain-blocking properties. Oil-based or shellac primers are often the best choice for surfaces with severe stains.
- Adhesion: Ensure that the primer you select has good adhesion properties, allowing the paint to bond securely to the surface. This is particularly important for smooth or glossy surfaces that may be difficult for paint to adhere to.
- Compatibility: Consider the compatibility of the primer with the type of paint you plan to use. Different primers work better with certain types of paint, such as oil-based or latex-based paints.
- Environmental Factors: Take into account the environmental conditions of the area you’re painting. If the surface is exposed to high humidity or moisture, choose a primer that provides excellent moisture resistance.
- Drying Time: Evaluate the drying time of the primer. Some primers dry faster than others, which can impact the overall timeline of your painting project.
Primer Selection Based on the Type of Surface
- Wood: For wood surfaces, especially bare wood or those with knots and tannins, an oil-based primer is often recommended. It offers superior adhesion and helps seal the surface, preventing wood grain from bleeding through the paint.
- Metal: When painting metal surfaces, such as metal doors or railings, choose a primer specifically designed for metal. Look for primers with rust-inhibiting properties to protect the metal and enhance paint adhesion.
- Drywall: Drywall surfaces benefit from a latex-based primer that provides good adhesion and helps create a smooth base for the paint. Latex-based primers also dry quickly, allowing for faster progress in the painting process.
- Concrete: Concrete surfaces, such as basement walls or garage floors, require a primer designed for masonry and concrete. These primers help fill in porous areas, promote adhesion, and provide a suitable surface for painting.

Primer Selection Based on the Type of Paint
- Oil-Based Paints: When using oil-based paints, it’s best to choose an oil-based primer. Oil-based primers enhance the adhesion of oil-based paints and ensure better durability and longevity of the paint job.
- Latex-Based Paints: For latex-based paints, a latex-based primer is the most compatible option. These primers are specifically formulated to work well with latex paints, providing excellent adhesion and a smooth surface.
How to Apply Primer
Preparation of the Surface
Before applying primer to your interior surfaces, proper preparation is crucial. Follow these steps to ensure a clean and suitable surface for primer application:
- Clean the Surface: Remove any dust, dirt, grease, or loose particles from the surface using a mild detergent solution or a suitable cleaner. Rinse thoroughly and allow the surface to dry completely.
- Repair Imperfections: Fill in any holes, cracks, or imperfections in the surface using a suitable filler or spackling compound. Smooth out the repairs and let them dry according to the manufacturer’s instructions. Sand the repaired areas for a smooth finish.
- Sand the Surface: Lightly sand the entire surface to create a slightly rough texture that promotes better primer adhesion. Use sandpaper with a medium grit (around 120-150) and be sure to remove any sanding residue before proceeding.
- Remove Dust: Wipe down the sanded surface with a tack cloth or a damp cloth to remove any dust or debris. This step is essential to achieve a clean and smooth finish.
Tools and Techniques for Primer Application
To apply primer effectively, you’ll need the right tools and follow proper techniques. Here are some tips to consider:
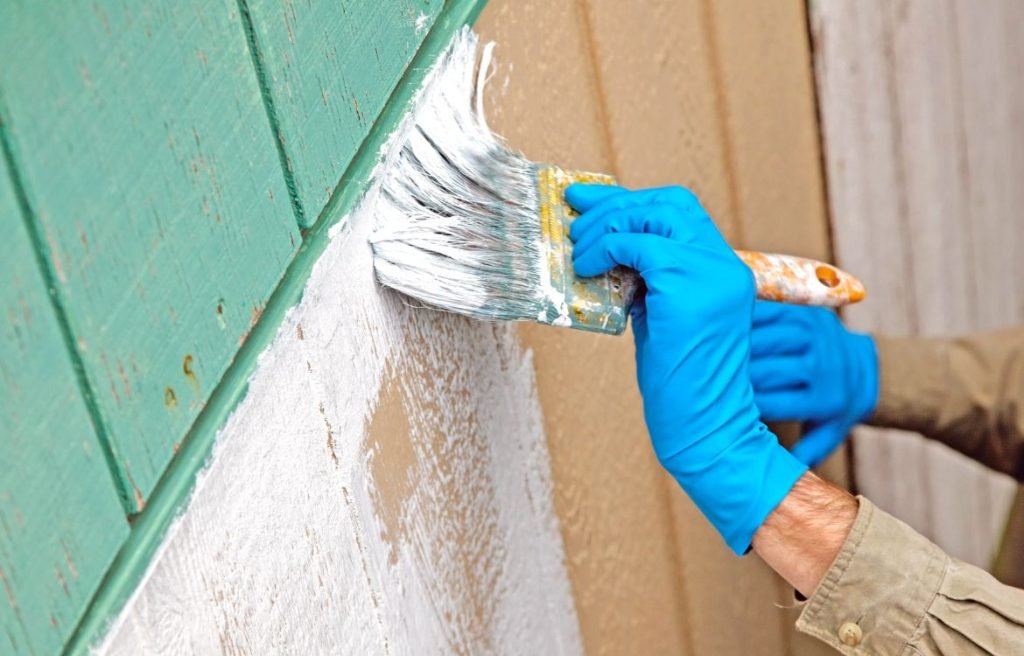
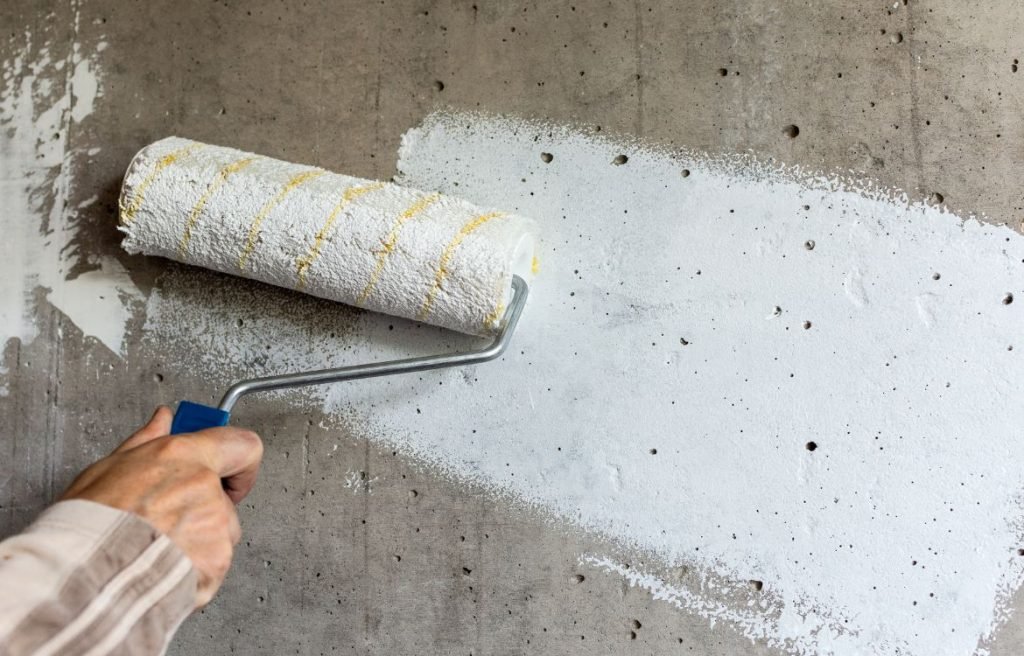
- Brushes or Rollers: Depending on the size of the surface, choose either a high-quality synthetic brush or a roller for primer application. Brushes work well for smaller areas or detailed work, while rollers are efficient for larger surfaces.
- Cutting-In Technique: When using a brush, start by cutting in the edges and corners of the surface before using a roller. This technique ensures even coverage and seamless blending between the primed areas and the rest of the surface.
- Roll in Sections: If you’re using a roller, work in small sections at a time. Begin by rolling the primer vertically and then horizontally, slightly overlapping each stroke to ensure even distribution.
- Feathering Technique: To avoid visible brush or roller marks, use a technique called feathering. After each stroke, lightly pass the brush or roller over the wet primer in a smooth, sweeping motion to blend the edges and create a seamless finish.
- Consistent Application: Maintain a consistent pressure and speed while applying the primer to achieve an even coat. Avoid overworking the primer, as it may result in an uneven texture.
Safety Measures During Primer Application
When working with primers, it’s important to prioritize safety. Follow these safety measures to protect yourself and ensure a safe application process:
- Ventilation: Ensure proper ventilation in the area you’re working in. Open windows and doors or use fans to circulate fresh air, especially if you’re working indoors.
- Personal Protective Equipment (PPE): Wear appropriate PPE, including safety goggles, a dust mask or respirator, and protective gloves, to prevent eye irritation, inhalation of fumes, and skin contact.
- Read and Follow Instructions: Carefully read and follow the manufacturer’s instructions on the primer can regarding application techniques, drying times, and safety precautions.
- Work in Well-Lit Areas: Choose a well-lit area for better visibility while applying the primer. This will help you identify any missed spots or uneven coverage.
- Clean Up Properly: After completing the primer application, clean your tools, brushes, and rollers according to the manufacturer’s instructions. Dispose of any unused primer and empty cans responsibly.
By following these application techniques and safety measures, you’ll achieve a smooth, well-primed surface that serves as an excellent foundation for your paint job.
Special Cases in Primer Application
Switching Between Different Types of Paints
If you’re switching between different types of paints, such as from oil-based to latex-based or vice versa, it’s crucial to prime the surface accordingly. Follow these steps:
- Clean the Surface: Ensure the surface is clean, free from any dirt or dust.
- Sand the Surface: Lightly sand the existing paint to create a rough texture that promotes better adhesion.
- Apply Primer: Use a high-quality primer that is compatible with both the previous and new types of paint. This will ensure proper adhesion and minimize the risk of peeling or cracking.
- Allow Drying Time: Follow the manufacturer’s instructions regarding the drying time for the primer before applying the new paint. This will vary depending on the specific primer used.
Painting Over Stained or Damaged Surfaces
When painting over stained or damaged surfaces, it’s important to address these issues before applying primer. Here’s what you should do:
- Stain Blocking: For surfaces with stains, especially water or smoke stains, use a primer with excellent stain-blocking properties. Apply the primer directly over the stained areas to prevent them from bleeding through the new paint.
- Repair Damaged Areas: If there are any damaged or deteriorated areas, such as peeling paint or cracks, address them before priming. Scrape off loose paint, fill in cracks, and sand the repaired areas for a smooth finish.
- Apply Primer: Once the surface is properly repaired and cleaned, apply the appropriate primer to create a uniform and stable base for the new paint. Follow the manufacturer’s instructions for application techniques and drying times.
Painting Over Drastic Color Changes
When painting over surfaces with drastic color changes, using a primer can help achieve better coverage and color consistency. Follow these steps:
- Clean the Surface: Ensure the surface is clean and free from any dust, dirt, or grease.
- Apply Primer: Use a tinted primer that closely matches the new paint color. Tinting the primer helps neutralize the existing color and provides a better base for the new paint. Apply the primer evenly, covering the entire surface.
- Allow Drying Time: Follow the manufacturer’s instructions regarding the drying time for the primer before applying the new paint. This will ensure optimal adhesion and color consistency.
FAQ
How do I choose an interior primer?
When choosing an interior primer, consider the following: – Determine the surface type: Different primers are designed for specific surfaces like drywall, wood, or metal. – Consider the project: Determine if you’re painting walls, trim, or other surfaces to select an appropriate primer. – Check compatibility: Ensure the primer is compatible with the paint you plan to use for the best results. – Assess any specific needs: If you have stains, odors, or other issues, look for primers that address those concerns. – Consult professionals: Seek advice from experts or knowledgeable staff at paint stores for specific recommendations.
What primer to use for interior painting?
For interior painting, you can use several types of primers based on the surface: – Water-based primer: Suitable for most interior surfaces, including drywall, plaster, and previously painted walls. – Oil-based primer: Ideal for blocking stains, odors, and tannin bleed-through on wood or other porous surfaces. – Shellac-based primer: Effective for blocking severe stains, odors, and wood knots. – Stain-blocking primer: Designed to cover and block stains like water stains, nicotine, or grease marks. – High-adhesion primer: Useful for slick or glossy surfaces like tile, glass, or laminate.
What is the best primer for already painted walls?
To prime already painted walls, consider the following options: – High-quality latex primer: Suitable for most painted walls, providing good adhesion and coverage. – Stain-blocking primer: Use if there are stains, such as water stains or nicotine residue, to prevent them from bleeding through the new paint. – Gripping primer: Effective when the existing paint has a glossy or slick surface, providing better adhesion for the new paint. – Self-priming paint: Some paints have built-in primers, allowing you to skip a separate primer coat.
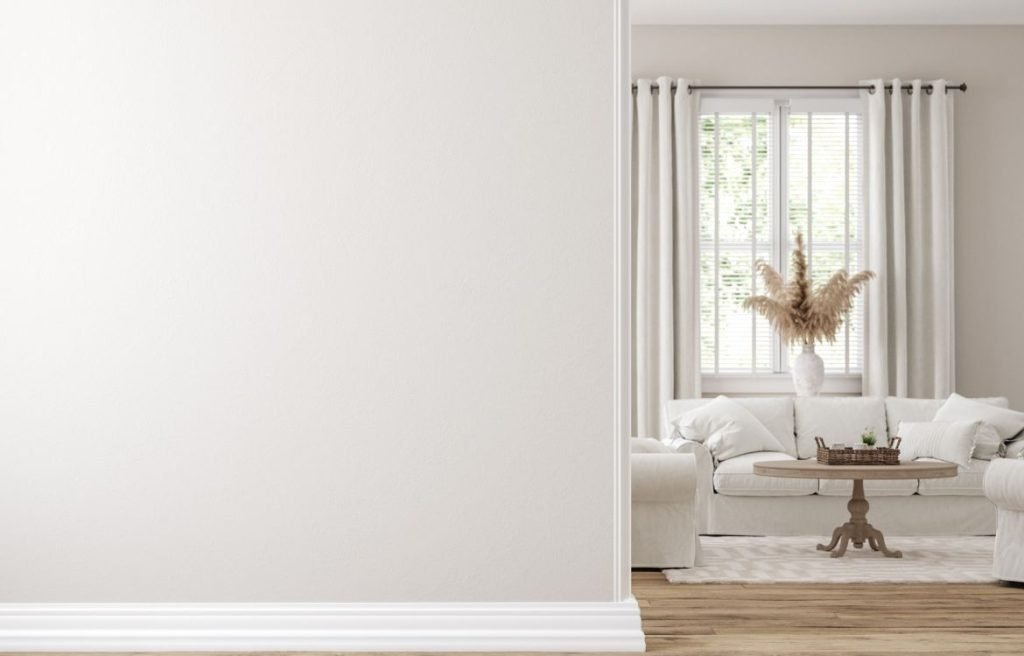
What is the best primer for trim and baseboards?
When priming trim and baseboards, consider the following options: – Oil-based primer: Provides excellent adhesion and durability for wood trim, preventing tannin bleed-through and improving paint adhesion. – Shellac-based primer: Ideal for blocking stains, sealing wood knots, and providing a smooth base for paint on trim and baseboards. – High-quality latex primer: Works well on primed or previously painted trim, providing good adhesion and coverage. – Stain-blocking primer: Use if there are stains on the trim or baseboards to prevent them from bleeding through the new paint.
What is the best primer for wood trim and doors?
For wood trim and doors, consider the following primers: – Oil-based primer: Provides excellent adhesion and blocks tannin bleed-through on bare or stained wood surfaces. – Shellac-based primer: Effective for sealing wood knots and preventing stains on wood trim and doors. – High-quality latex primer: Suitable for previously painted or primed wood surfaces, offering good adhesion and coverage. – Stain-blocking primer: Use if there are stains or discoloration on the wood trim or doors to prevent them from showing through the new paint.
What kind of primer to use on wood trim?
When priming wood trim, consider using these types of primers: – Oil-based primer: Offers excellent adhesion and stain-blocking properties, ideal for bare or stained wood trim. – Shellac-based primer: Effective for sealing knots, blocking stains, and providing a smooth base for paint on wood trim. – High-quality latex primer: Suitable for previously painted or primed wood trim, providing good adhesion and coverage. – Stain-blocking primer: Use if there are stains or discoloration on the wood trim to prevent them from bleeding through the paint.
Conclusion
We sincerely thank you for taking the time to explore our blog post on “Choosing the Right Primer for Interior Surfaces.” We hope that the information provided has not only educated and entertained you but has also instilled a sense of confidence in your ability to tackle your painting project with success.
Remember, at Horizon Painting, we’re always here to assist you on your journey. If you have any further questions, need personalized advice, or would like to enlist the expertise of our professional team, don’t hesitate to contact us. Let’s transform your home into a masterpiece together. Get in touch with Horizon Painting today and experience the difference of working with trusted painting professionals.