Common Mistakes to Avoid in Interior House Painting Surface Preparation
Are you about to embark on a house painting project and want to ensure flawless results? Look no further! Welcome to our comprehensive guide on the common mistakes to avoid in interior house painting surface preparation. If you’re seeking valuable information and expert tips to achieve a professional finish, you’re in the right place.
With our caregiver-like guidance, we’ll walk you through the ins and outs of painting surface preparation, ensuring your painting journey is smooth and rewarding. So, let’s dive in and discover how to steer clear of these common pitfalls for a stunning paint job that transforms your home.
Choosing the Wrong Color
When it comes to painting the interior of your house, one of the most common mistakes is relying solely on a color chip to choose your paint color. While those tiny swatches may look appealing in the store, they often don’t accurately represent how the color will appear on your walls. Lighting plays a significant role in how colors are perceived, and the lighting in stores is vastly different from the lighting conditions in your home. So, if you solely rely on a color chip without considering the actual environment in which it will be applied, you might end up with a shade that looks completely different from what you had envisioned.
To avoid the disappointment of choosing the wrong color, it’s crucial to test your paint colors in various lighting conditions before committing to a full paint job. Natural daylight, artificial lighting, and even the direction your windows face can all affect how colors appear on your walls. Take the time to paint small patches on different walls of the room and observe them at different times of the day. This will give you a better understanding of how the color changes under different lighting conditions. It’s a simple step that can save you from making a costly mistake and ensure that the color you choose truly complements your space.

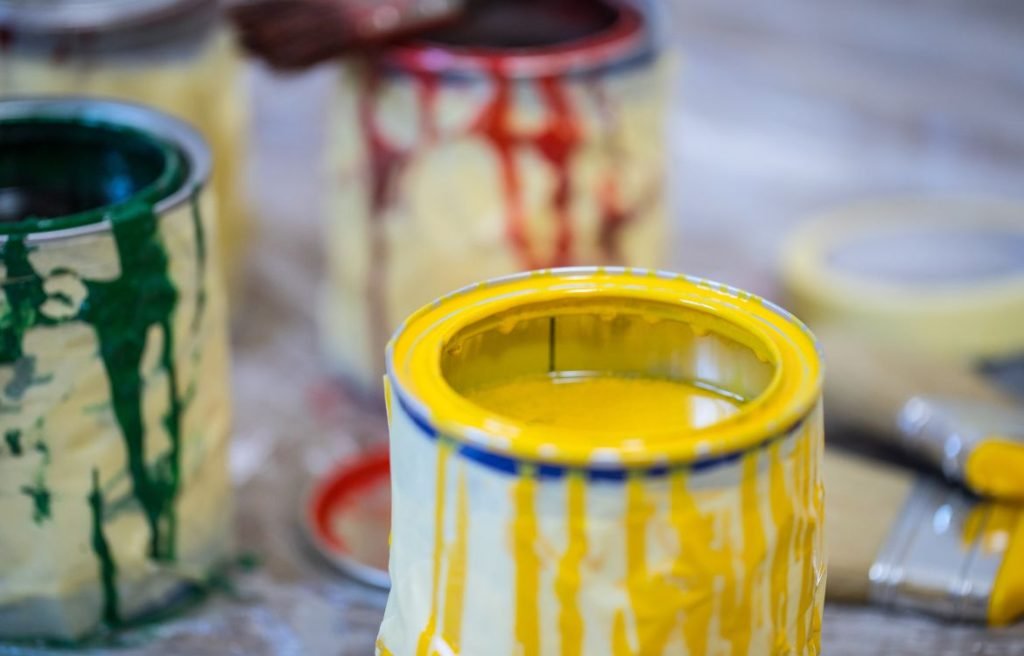
The issue with leaving the lid off of the paint can
As a rookie painter, it’s easy to get caught up in the excitement of starting your project and overlook simple yet essential steps. One common mistake is leaving the lid off of the paint can for extended periods of time. While it may seem convenient to have easy access to the paint, it can lead to disastrous consequences. Leaving the lid off allows air to enter the can, causing the paint to dry out and form a thick, unusable layer. This not only wastes paint but also makes it difficult to achieve a smooth and consistent finish on your walls. Always make sure to tightly seal the paint can when not in use to preserve its quality and longevity.
The problem with forgetting to lock out pets during painting
Pets are part of the family, but when it comes to interior painting, it’s important to create a safe and controlled environment for both them and your paint job. Forgetting to lock out your furry friends during painting can result in unwanted paw prints, hair, or even accidental brush swipes on freshly painted surfaces. These mishaps can ruin the smoothness and aesthetics of your work, leading to frustration and extra touch-up work. To avoid such issues, designate a pet-free zone or find a temporary home for your pets during the painting process. It’s a small precaution that can make a big difference in achieving a flawless finish.
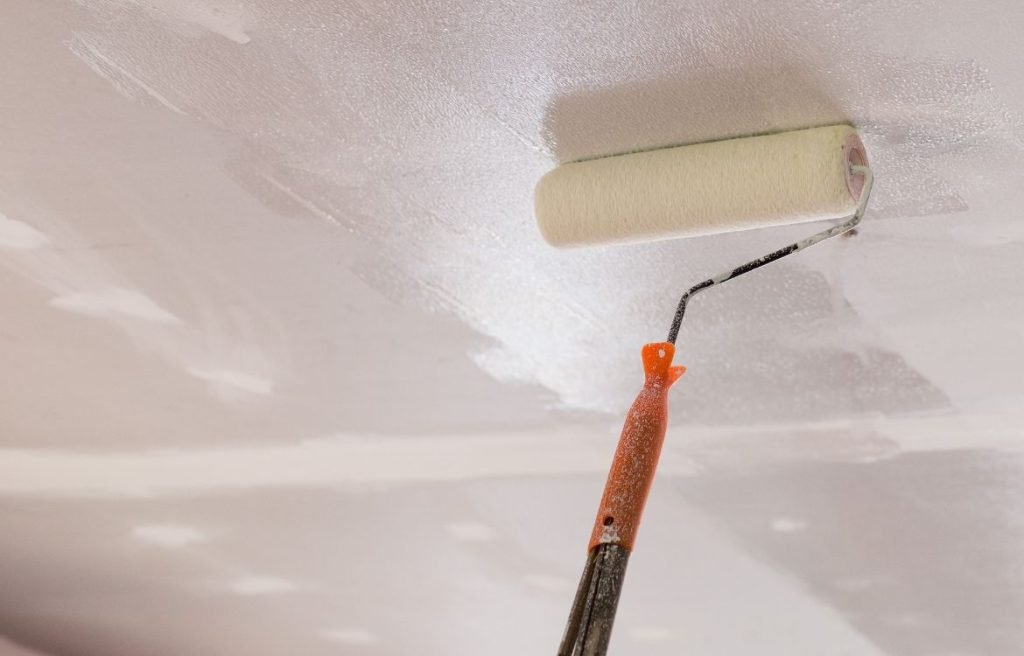
The common mistake of hitting the ceiling with the roller
One of the frustrating mishaps that can occur during interior house painting is accidentally hitting the ceiling with the roller. This often happens when you get too close to the ceiling line or apply too much pressure while rolling. Not only does it leave unsightly marks and streaks on the ceiling, but it also requires extra time and effort to fix. Bumping the ceiling with the roller can disrupt the clean lines and professional look you’re aiming for in your paint job.
Tips for avoiding this issue
To avoid the unwanted marks on your ceiling, it’s important to employ a few simple techniques. First, use a high-quality painter’s tape to create a clean and straight edge along the ceiling line. Ensure that the tape is firmly pressed to prevent paint bleed. Secondly, maintain a safe distance between the roller and the ceiling, keeping it about an inch or so away from the edge. This will give you more control and minimize the chances of accidental contact. Lastly, apply even and consistent pressure while rolling, avoiding excessive force that could lead to the roller touching the ceiling.
The problem with over-brushing
Over-brushing is a common mistake that can negatively impact the final appearance of your painted walls. It occurs when you excessively brush the paint, leading to visible brush strokes, streaks, and an uneven finish. Over-brushing not only diminishes the smoothness and uniformity of the painted surface but also creates an unprofessional look that can be hard to rectify.
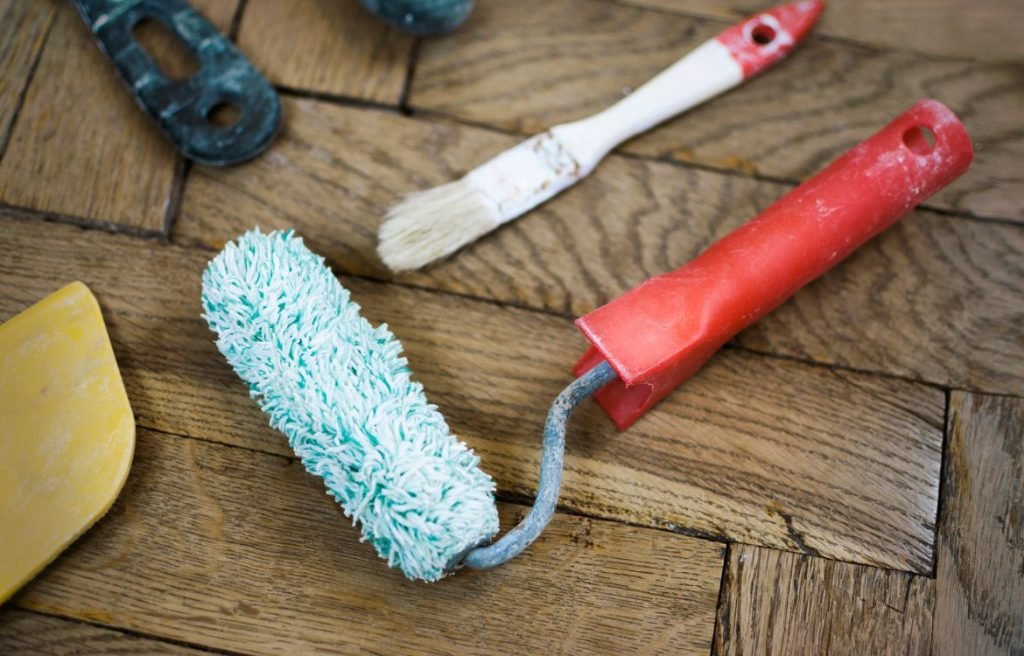
Tips for achieving a smooth finish
To achieve a flawless finish and avoid the pitfalls of over-brushing, consider the following tips. Firstly, choose the right paintbrush for the job. Opt for a high-quality brush with soft bristles designed for the type of paint you’re using. Secondly, use a light touch and avoid applying too much pressure when brushing the paint onto the surface. Allow the brush to glide smoothly, using long, even strokes in one direction. This will help minimize visible brush marks. Lastly, be mindful of the paint’s drying time and avoid going back over areas that have already started to dry. This will prevent disturbances in the paint film and promote a more consistent finish.
Painting in Extreme Temperatures
Painting in extreme temperatures, whether it’s excessively cold or scorchingly hot, can lead to several challenges. In cold temperatures, paint may not dry properly, resulting in extended drying times and potential issues with adhesion. On the other hand, painting in extremely hot conditions can cause the paint to dry too quickly, leading to visible brush marks and an uneven finish. Additionally, extreme temperatures can affect the consistency of the paint, making it difficult to work with and compromising the overall quality of your paint job.
Tips for painting in the right temperature conditions
To ensure optimal results, it’s crucial to paint in the right temperature conditions. Generally, it’s recommended to paint in temperatures between 50°F (10°C) and 85°F (29°C) for most paints. Before starting your project, check the manufacturer’s guidelines for the specific paint you’re using, as different products may have slightly different temperature recommendations. If it’s too cold, consider using a space heater to warm up the room or wait for a milder day. Similarly, if it’s too hot, try to paint during cooler hours or utilize fans to improve air circulation.
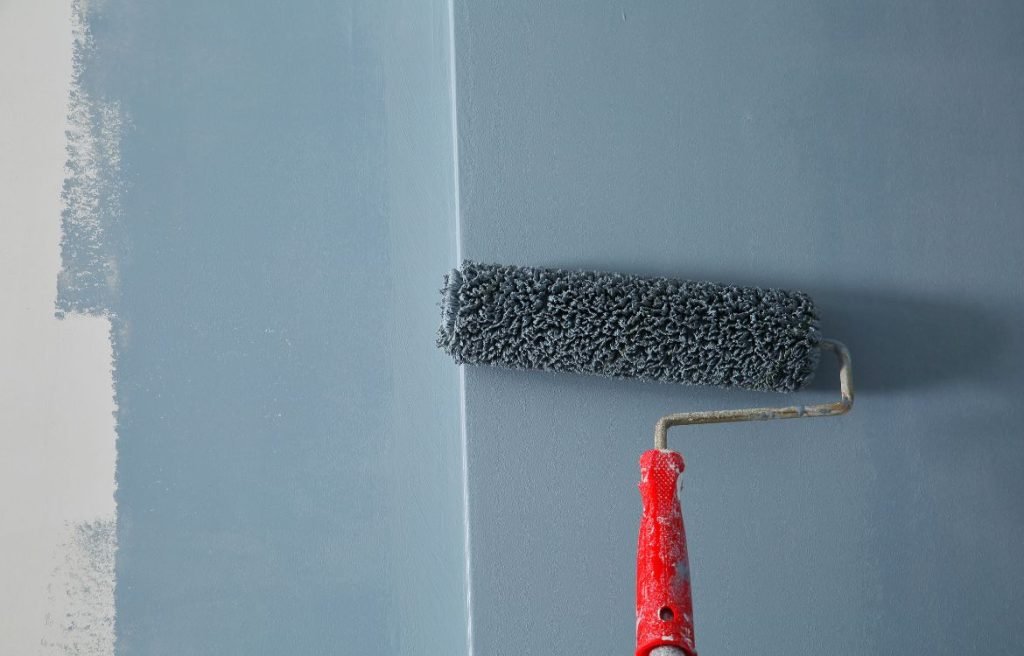
Letting the Roller Touch the Floor
Allowing the roller to touch the floor while painting can introduce a host of issues. Firstly, it increases the risk of picking up dirt, debris, or even hair from the floor, which can transfer onto the painted surface and mar the finish. Moreover, the contact between the roller and the floor can disrupt the smooth application of paint on the walls, causing drips or uneven coverage. Additionally, if you’re using a paint tray, the roller touching the floor can contaminate the tray and compromise the quality of the paint.
Tips for avoiding this issue
To avoid the roller touching the floor during painting, it’s important to maintain control and proper technique. Hold the roller securely and keep it elevated, ensuring that it only touches the wall surface. If you’re concerned about accidental contact with the floor, you can use a drop cloth or painter’s tape to create a barrier between the roller and the floor. This protective layer will catch any stray paint and prevent it from transferring onto the floor or compromising the quality of your paint job.
Painting Over Popcorn Ceilings Without Testing First
Painting over popcorn-textured ceilings without testing first can lead to unexpected problems. Popcorn ceilings, popular in the past, may contain asbestos, especially in homes built before the 1980s. If you disturb the ceiling without proper testing, you risk releasing harmful asbestos fibers into the air. Additionally, some popcorn ceilings may have been painted with oil-based paint, which can make it difficult for new paint to adhere properly. Without testing, you won’t know the composition of the popcorn texture or the existing paint, potentially compromising the quality and durability of your paint job.
Tips for testing before painting
Before painting over a popcorn ceiling, it’s crucial to conduct proper testing. Start by purchasing an asbestos testing kit or consult with a professional to determine if your ceiling contains asbestos. If asbestos is present, it’s important to consult with an abatement specialist for safe removal or encapsulation. For ceilings without asbestos, conduct a small test patch by lightly sanding or scraping a small area and applying a primer and paint. This test will help determine the adhesion of the paint and whether additional preparation, such as sealing or skim coating, is required.
Painting Over Glossy Finishes
Attempting to paint over glossy finishes without proper preparation can lead to poor adhesion and an uneven, unprofessional-looking result. Glossy surfaces, such as high-gloss or semi-gloss paint, varnish, or lacquer, create a smooth, non-porous barrier that makes it challenging for new paint to adhere effectively. Without proper preparation, the new paint may peel, bubble, or flake off, resulting in a frustrating and time-consuming repair process. Painting over glossy finishes requires careful attention to ensure the new paint bonds securely to the surface.
The importance of sanding or using a liquid deglosser
To achieve a successful paint job when painting over glossy finishes, it’s essential to prepare the surface properly. The first step is to sand the glossy surface lightly, using fine-grit sandpaper. This process creates a rougher texture that allows the new paint to adhere more effectively. Alternatively, you can use a liquid deglosser, following the manufacturer’s instructions, to chemically strip the glossy finish and promote better adhesion. After sanding or using a deglosser, thoroughly clean the surface to remove any dust or residue before applying a primer specifically designed for glossy surfaces. This primer will provide a suitable base for the new paint and ensure long-lasting adhesion and a smooth, professional finish.
Painting in Low Light
Painting in low light conditions can lead to several challenges and affect the quality of your paint job. Dim lighting makes it difficult to accurately assess the color and coverage of the paint as you apply it. Shadows and inadequate visibility can cause uneven application, missed spots, or streaks that become apparent once the paint dries. Additionally, low light can make it challenging to notice imperfections, such as drips or brush marks, resulting in a less professional finish overall.
The importance of having lots of bright light when painting
Having ample bright light is crucial when painting. Sufficient lighting allows you to clearly see the surface you’re working on, ensuring smooth and even application. It helps you identify any imperfections and make necessary corrections promptly. Bright light also enables you to accurately judge color, ensuring the shade you’ve chosen looks as intended on your walls. By painting in a well-lit environment, you’ll have better control over the entire process, leading to a more successful and satisfying paint job.
Using the Wrong Sheen
Selecting the wrong paint sheen can have a significant impact on the final appearance and durability of your painted surfaces. Different sheens, such as matte, eggshell, satin, semi-gloss, and high-gloss, have varying levels of shine and characteristics. Using the wrong sheen can result in unwanted outcomes. For example, using a glossy sheen on imperfect surfaces can accentuate flaws, while using a flat sheen in high-traffic areas can lead to difficulty in cleaning and maintenance.
Tips for choosing the right sheen for different surfaces
To achieve the best results, it’s important to choose the appropriate sheen for different surfaces in your home. Here are some tips to help you select the right sheen:
- Matte or flat sheen: Ideal for hiding surface imperfections, this low-sheen option works well on ceilings and walls in low-traffic areas where easy cleaning is not a priority.
- Eggshell or satin sheen: With a subtle shine, these sheens strike a balance between durability and easy maintenance. They are suitable for living rooms, bedrooms, and hallways.
- Semi-gloss or gloss sheen: These higher-sheen options offer increased durability and are excellent for high-traffic areas, such as kitchens, bathrooms, and trim. They are easier to clean and provide a more polished look.
Only Rolling in One Direction
When painting, rolling the paint in only one direction can result in visible overlap marks on the surface. These marks occur when the wet edges of adjacent roller strokes do not blend smoothly, creating a noticeable texture difference. This can be particularly problematic with certain types of paint or on larger surfaces. Overlap marks can detract from the overall appearance of your paint job and give it an uneven or patchy look.
Tips for avoiding overlap marks
To achieve a seamless and professional finish, it’s important to follow proper rolling techniques and avoid overlap marks. Start by loading the roller with an appropriate amount of paint, ensuring it is evenly distributed on the roller cover. When applying the paint, use a “W” or “M” motion pattern to distribute the paint evenly. This motion helps to blend the edges of each stroke and minimize overlap marks. Additionally, maintain a wet edge while painting by slightly overlapping each stroke with the previous one, ensuring a smooth and consistent appearance.
Not Adding a Paint Conditioner
Neglecting to add a paint conditioner to your paint can result in difficulties and unsatisfactory outcomes, especially in certain circumstances. Paint conditioners are additives that can be mixed with paint to enhance its performance and make it more manageable during application. Without a paint conditioner, you may encounter issues such as brush marks, uneven coverage, or a faster drying time, which can make it challenging to achieve a smooth and professional finish. Certain projects, such as painting in high temperatures or on porous surfaces, can benefit greatly from the use of a paint conditioner.
The benefits of using a paint conditioner
Using a paint conditioner offers several benefits that can improve the overall quality of your paint job. Firstly, it can help to reduce brush marks and create a smoother finish by slowing down the drying time of the paint. This allows for more even application and reduces visible brush strokes. Secondly, a paint conditioner can enhance the flow and workability of the paint, making it easier to spread and ensuring more consistent coverage. Additionally, some paint conditioners help to improve the adhesion of the paint to surfaces, promoting better longevity and durability.
Painting Wood Without a Stain Blocker
When painting certain types of wood, particularly those prone to bleed-through, failing to use a stain-blocking primer can lead to frustrating and unsightly results. Wood surfaces like pine, cedar, or redwood contain natural tannins and resins that can bleed through paint over time, causing discoloration and stains on the painted surface. Without a stain-blocking primer, these tannins and resins can seep through the paint, undermining the finish and requiring additional coats of paint or touch-ups.
The importance of using a stain-blocking primer for certain types of wood
Using a stain-blocking primer is essential when painting certain types of wood to prevent the unwanted effects of bleed-through. A stain-blocking primer creates a barrier that seals the wood’s tannins and resins, preventing them from coming through the paint and causing discoloration. By applying a stain-blocking primer before painting, you ensure that the paint adheres properly and maintains its true color over time. This step also saves you from the hassle of additional coats or trying to rectify stains after the paint job is complete.
When working with wood surfaces that are known to have a high likelihood of bleed-through, such as pine or cedar, investing in a high-quality stain-blocking primer is crucial. It will provide the necessary protection and ensure a long-lasting, professional-looking finish.
FAQ
How do you reduce moisture and mold?
To reduce moisture and mold, ensure proper ventilation in the affected areas, use dehumidifiers to control humidity levels, fix any water leaks or sources of moisture, promote air circulation, and keep surfaces dry. Regularly clean and maintain areas prone to moisture, such as bathrooms and basements, and promptly address any mold growth by cleaning it thoroughly or seeking professional assistance.
What types of material are most likely to develop mold when exposed to moisture?
Materials that are porous, organic, or prone to retaining moisture are most likely to develop mold when exposed to moisture. This includes materials such as wood, drywall, carpet, insulation, fabrics, paper, and cardboard. These materials provide a suitable environment for mold growth if they remain damp or wet for extended periods.
How do you address mold exposure?
If you suspect mold exposure, it is important to take appropriate measures. First, identify and address the source of the mold, such as water leaks or excessive moisture. Then, consider hiring a professional mold remediation company to safely remove the mold and mitigate the damage. Additionally, consult with a healthcare professional if you experience health symptoms related to mold exposure.
How do professionals deal with mold?
Professionals dealing with mold follow a systematic approach. They begin by identifying the source of moisture and fixing it. Then, they establish containment measures to prevent mold spores from spreading. The affected areas are thoroughly cleaned and treated using specialized equipment and cleaning agents. Finally, professionals conduct clearance testing to ensure the mold issue has been successfully resolved.
How do you get rid of surface mold?
To get rid of surface mold, use a solution of water and detergent or a commercial mold cleaner. Scrub the affected area with a brush or sponge, making sure to remove all visible mold. Rinse the area with clean water and dry it thoroughly. It is important to identify and address the underlying cause of mold growth to prevent its recurrence.
What is the best humidity level to prevent mold?
To prevent mold growth, maintain indoor humidity levels below 60% ideally between 30% to 50%. Use a hygrometer to measure humidity and utilize dehumidifiers or air conditioners in humid areas. Proper ventilation and air circulation also help in reducing moisture and maintaining a healthy humidity level.
What material is mold proof?
There is no material that is entirely mold-proof, as mold can grow on any organic material when conditions are suitable. However, certain materials like glass, metal, and plastic are less prone to mold growth as they are non-porous and do not provide a suitable food source for mold. Proper maintenance and moisture control are still necessary to prevent mold growth on these materials.
What kills mold spores in the air?
To kill mold spores in the air, use air purifiers or high-efficiency particulate air (HEPA) filters. These devices can capture and filter out airborne mold spores, reducing their concentration in the air. It is important to address the underlying cause of mold growth and maintain proper moisture control to prevent the recurrence of mold spores in the indoor environment.
Conclusion
We hope you found our blog post on the common mistakes to avoid in interior house painting surface preparation informative and insightful. At Horizon Painting, we’re dedicated to assisting homeowners like you in achieving exceptional results.
Remember, proper surface preparation sets the foundation for a successful paint job, and we’re here to help every step of the way. If you have any further questions or need expert assistance, don’t hesitate to contact us. Let’s bring your vision to life and create a beautifully painted home that you’ll enjoy for years to come.