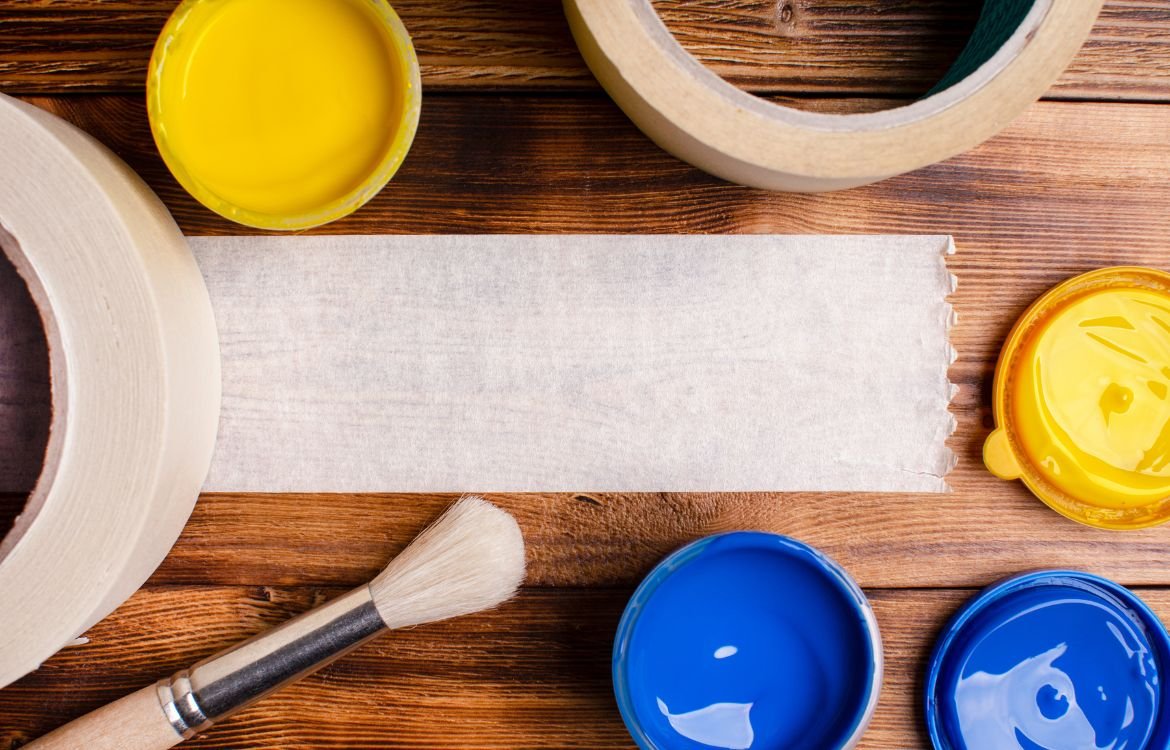
Masking and Taping Techniques for Clean Edges in Interior Painting
Are you ready to give your home a fresh, new look? If you’re a homeowner looking to paint your house and achieve clean, professional-looking edges, then you’ve come to the right place. Welcome to our comprehensive guide on Masking and Taping Techniques for Clean Edges in Interior Painting.
Whether you’re a novice DIY painter or have some experience under your belt, this article will equip you with the knowledge and skills needed to prepare your painting surface. Get ready to transform your living space and unleash your creativity as we dive into the world of masking and taping techniques. Let’s begin this exciting journey together!
Understanding the Basics of Masking and Taping
When it comes to interior painting, masking and taping play a crucial role in achieving clean, professional-looking edges. But what exactly do these terms mean, and why are they essential for a successful painting project?
Masking, in the context of painting, refers to the process of covering or protecting certain areas or surfaces that you don’t want to be painted. It involves using materials like tape, paper, or plastic film to create a barrier that prevents paint from reaching those areas.
Taping, on the other hand, involves applying tape to the edges of the surfaces you’re painting. The tape acts as a guide and creates a clean boundary, ensuring that the paint stays within the desired area and doesn’t bleed onto adjacent surfaces.
So, why are masking and taping important? Well, they serve several key purposes:
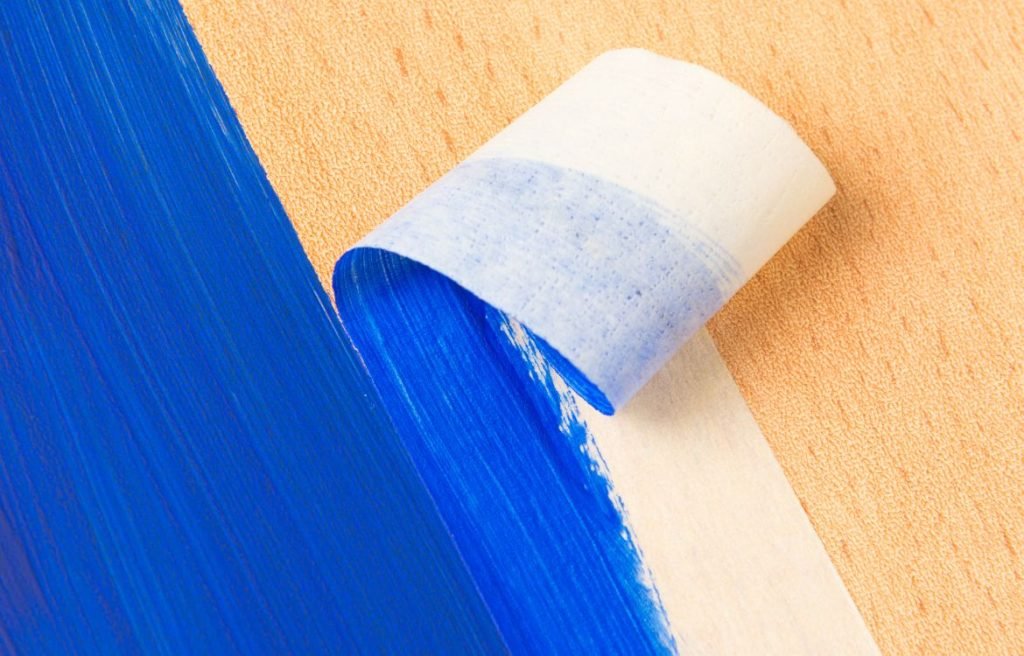
- Clean Edges: Masking and taping help create crisp, defined lines between painted and unpainted surfaces. They prevent paint from seeping under the edges, resulting in a polished, professional finish.
- Protection: By masking off areas that don’t need to be painted, you safeguard them from accidental splatters or drips. This ensures that your furniture, floors, or fixtures remain free from unwanted paint marks.
- Efficiency: When you use masking and taping techniques, you can paint with more precision and speed. By eliminating the need for time-consuming touch-ups or corrections, you’ll save valuable time and effort.

Types of Tapes for Interior Painting
Now that we understand the importance of masking and taping, let’s explore the different types of tapes commonly used in interior painting:
- Painter’s Tape: Painter’s tape is specifically designed for use on delicate surfaces such as walls, trim, or freshly painted areas. It has a low-to-medium adhesion level, making it easy to remove without damaging the underlying surface. Painter’s tape comes in various widths, typically ranging from 0.94 inches to 2 inches, allowing you to choose the most suitable size for your project.
- Masking Tape: Masking tape is a versatile tape that can be used for various household tasks, including painting. It has a medium-to-high adhesion level, making it suitable for surfaces that are less delicate or prone to damage. However, it’s important to note that masking tape may leave residue or damage some surfaces if left in place for an extended period. Therefore, it’s best to use masking tape for short-term masking needs.
Choosing the Right Tape for Your Project
When selecting a tape for your interior painting project, consider the following factors:
- Adhesion Strength: Determine the level of adhesion required for your surfaces. Delicate surfaces, like freshly painted walls, may benefit from painter’s tape with low adhesion, while more robust surfaces may require a tape with higher adhesion to ensure it stays in place.
- Longevity: Consider how long the tape needs to stay in place. If you’re working on a multi-day project, opt for a tape that can withstand prolonged exposure without losing its adhesion or leaving residue upon removal.
- Tape Width: Choose a tape width that suits the size of your project. For narrow edges or intricate details, a narrower tape may be more appropriate, while broader surfaces may require a wider tape for efficient masking.
- Color: Some tapes are available in different colors, such as blue or green, which can make them more visible and easier to spot during the painting process. This visibility can help ensure that the tape remains in place and prevents accidental paint application beyond the intended boundary.
Best Painter’s Tapes for Different Situations
To help you make an informed decision, here are some top-rated painter’s tapes recommended by experts:
- FrogTape: Known for its PaintBlock technology, FrogTape creates sharp, clean lines and prevents paint bleed. It’s ideal for achieving precise edges on various surfaces, including textured walls.
- ScotchBlue: ScotchBlue painter’s tape offers excellent adhesion and can be used on both smooth and delicate surfaces. It provides reliable protection against paint seepage, ensuring clean lines and hassle-free removal.
- 3M Delicate Surface Painter’s Tape: This tape is specifically designed for use on delicate surfaces, such as freshly painted walls, wallpaper, or decorative finishes. It offers gentle adhesion while still delivering sharp edges.
Remember, the tape you choose should align with the requirements of your specific project. It’s always a good idea to test a small area before committing to using a particular tape extensively.
Techniques for Applying Tape for Clean Edges
Achieving clean edges in your interior painting project relies on proper application of tape. Follow these step-by-step techniques to ensure precise lines and prevent paint seepage.
Step 1: Prepare the Surface Before applying tape, ensure that the surface is clean and free of dust, debris, or any imperfections. Smooth out any rough areas, and wipe the surface with a damp cloth if needed. Allow it to dry completely before proceeding.
Step 2: Measure and Mark Using a measuring tape and a pencil, mark the areas where you want to apply tape. Take precise measurements and use a level to ensure straight lines. For corners and curves, it’s helpful to use a flexible tape measure or a piece of string to measure the desired tape length.
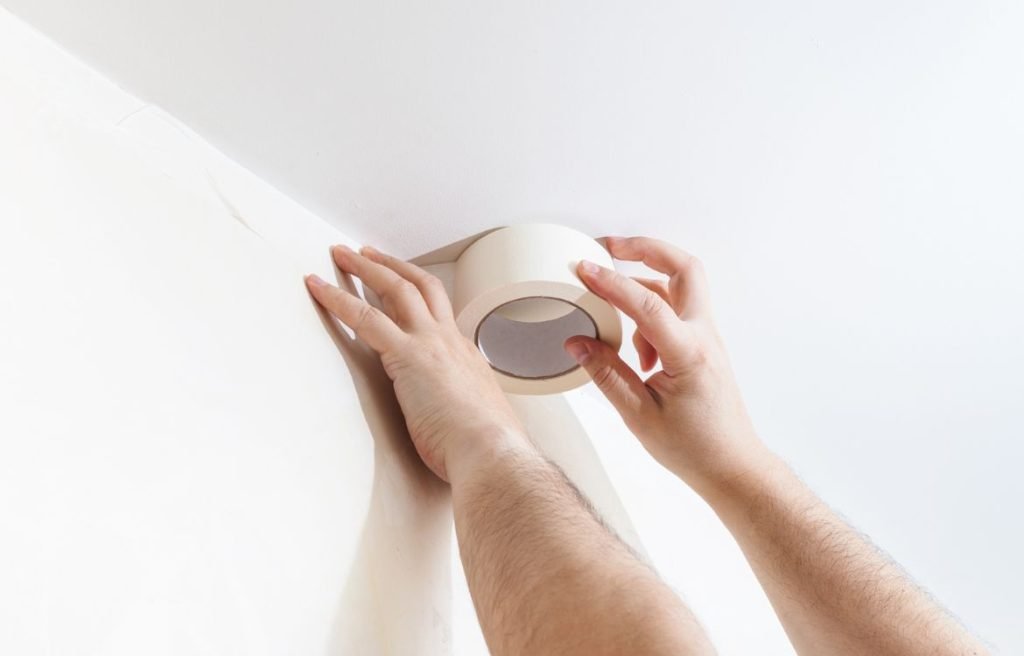
Step 3: Applying the Tape Begin by tearing off a piece of tape slightly longer than the measured length. Starting from one end, carefully press the tape onto the surface, following the marked line. Use your fingers or a putty knife to firmly press down along the length of the tape, ensuring a secure seal.
For corners: To achieve clean corners, cut the tape at a 45-degree angle where it meets the corner. Fold the excess tape onto the adjacent surface and press it firmly. This technique helps maintain a seamless line as you paint around the corner.
For curves: For curved edges, use small, overlapping pieces of tape to follow the contour of the curve. Gently press down on the tape to mold it along the curve. Make sure each piece slightly overlaps the previous one to ensure complete coverage.
Step 4: Seal the Edge To prevent paint from seeping under the edge of the tape, it’s essential to seal it. One effective method is to use a clear acrylic medium. Here’s how:
- Dip a small, clean paintbrush into the clear acrylic medium.
- Trace along the edge of the tape, applying a thin, even coat of the medium. Ensure that the edge is completely sealed, paying extra attention to the outer edge where paint is most likely to seep.
- Allow the acrylic medium to dry fully before applying paint.
The clear acrylic medium creates a barrier that prevents paint from bleeding under the tape while still allowing for clean removal once the paint is dry.
Step 5: Paint with Precision Once the tape is securely in place and sealed, it’s time to paint. Use a high-quality brush or roller to apply the paint smoothly and evenly. Start from the outer edges, working toward the taped area. Avoid applying too much pressure near the tape to minimize the risk of paint seepage.
Step 6: Removing the Tape Before the paint dries completely, gently remove the tape. Start from one corner, pulling it back at a 45-degree angle. Take care not to drag the tape across the painted surface, as this can mar the clean edge. If the paint has dried, use a utility knife to score along the edge of the tape before removing it.
Painting and Removing the Tape
To achieve clean, straight lines when painting near taped areas, follow these tips:
- Brushing Technique: When using a brush, start the stroke away from the tape and move towards it. This technique helps prevent paint from seeping under the tape. Use smooth, even strokes, and avoid applying too much pressure near the tape.
- Rolling Technique: If you’re using a roller, roll the paint onto the wall in a “W” or “M” shape, starting a few inches away from the tape. This method ensures an even distribution of paint and helps prevent accidental paint buildup along the tape.
- Multiple Coats: If your paint requires multiple coats, allow the first coat to dry completely before applying the next one. This helps prevent the paint from peeling or pulling away when you remove the tape.
Removing the tape requires a delicate touch to maintain those clean edges. Here’s how to do it effectively:
- Timing: It’s best to remove the tape while the paint is still slightly wet. This prevents the paint from drying and forming a strong bond with the tape, which can result in peeling or uneven edges. However, be cautious not to touch the painted surface with the tape as you remove it.
- Angle: When removing the tape, pull it back at a 45-degree angle, slowly and evenly. This angle reduces the risk of paint lifting or tearing. Avoid pulling the tape straight back or toward the painted surface, as this may cause the paint to chip or peel.
- Score the Edge: If the paint has dried completely, use a sharp utility knife to score along the edge of the tape before removing it. This prevents the paint from tearing or peeling away from the surface.
Special Techniques for Different Surfaces
Masking and taping techniques can vary depending on the surface you’re working on. Here are some tips for specific surfaces:
- Textured Walls: When masking and taping textured walls, use a flexible tape that can conform to the uneven surface. Press the tape firmly into the texture, ensuring it adheres well. You may need to use a putty knife or your fingers to gently press the tape into the crevices.
- Trim and Moldings: To achieve clean lines on trim and moldings, use a narrower tape that fits precisely along the edges. Take your time to ensure the tape is straight and firmly pressed onto the surface. For curved moldings, consider using small pieces of tape to follow the contours.
- Delicate Surfaces: When working with delicate surfaces like wallpaper, freshly painted walls, or decorative finishes, opt for low-adhesive painter’s tape specifically designed for delicate surfaces. Test the tape on a small, inconspicuous area first to ensure it won’t damage or peel off the delicate surface.
- Rough Surfaces: For rough or uneven surfaces, such as textured ceilings or rough wood, choose a tape with higher adhesion to ensure it sticks securely. Press the tape firmly into the rough texture, using a putty knife or your fingers to ensure good adhesion.
- Outdoor Surfaces: When painting exterior surfaces, consider using a weather-resistant tape that can withstand outdoor conditions. Ensure the surface is clean and dry before applying the tape, and follow the same techniques for application and removal as you would indoors.

FAQ
How do you clean paint edges with tape?
To clean paint edges with tape, wait for the paint to dry completely. Then, carefully remove the tape at a 45-degree angle, pulling it back on itself. Use a sharp utility knife to score along the edge of the tape before removing. If any paint has seeped under the tape, use a small brush to touch up the edges.
What painting tape has the cleanest edges?
There are several painting tapes available that offer clean edges. Look for painter’s tape labeled as “low tack” or “delicate surface” tape. These tapes are specifically designed to have less adhesive strength, making them easier to remove and reducing the likelihood of paint bleeding or residue. Test a small area before using on the entire surface.
How do you mask edges when painting?
To mask edges when painting, use painter’s tape or masking tape. Apply the tape along the edges you want to protect, pressing it down firmly to ensure good adhesion. Take care to align the tape straight and smooth out any bubbles or wrinkles. Paint within the taped area, and remove the tape while the paint is still slightly wet for clean edges.
How do you clean paint edges on walls?
To clean paint edges on walls, wait for the paint to dry completely. Then, use a sharp utility knife or a paint scraper to carefully scrape off any paint ridges or imperfections along the edges. Be gentle to avoid damaging the wall surface. If needed, touch up the edges with a small brush and matching paint.
How do you clean messy paint edges?
To clean messy paint edges, wait for the paint to dry completely. Then, use a damp cloth or sponge to gently wipe away any excess or smeared paint along the edges. Be careful not to rub too hard to avoid removing paint from the intended area. If necessary, touch up the edges with a small brush and matching paint.
How do professional painters edge?
Professional painters use various techniques to achieve clean edges. They may use high-quality painter’s tape or masking tape to mask off edges. Some painters also use techniques like “cutting in,” where they carefully paint along edges freehand using a high-quality angled brush. Practice and experience play a significant role in achieving professional-looking paint edges.
Conclusion
Thank you for joining us on this informative and inspiring journey through the world of Masking and Taping Techniques for Clean Edges in Interior Painting. We hope this guide has provided you with valuable insights and practical tips to make your painting project a success.
Remember, at Horizon Painting, we’re here to support you every step of the way. If you have any further questions or need professional assistance, don’t hesitate to contact us. Our team of experts is ready to help you turn your vision into reality. So, go ahead and take the next step towards transforming your home. Contact us at Horizon Painting today and let’s bring your dream space to life!