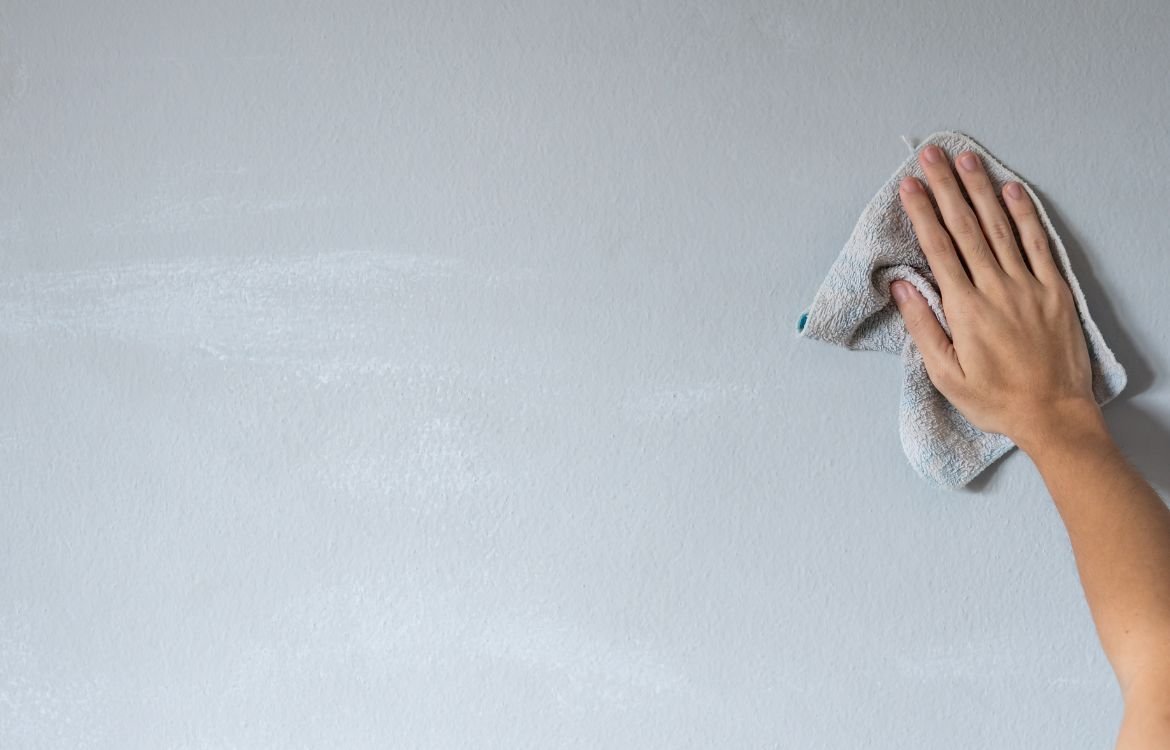
Cleaning and Washing Interior Surfaces for Painting
Welcome! If you’re a homeowner ready to give your house a fresh new look with a paint job, you’ve come to the right place. In this comprehensive guide, we will delve into the art of cleaning and washing interior surfaces for painting.
Whether you’re a seasoned DIY enthusiast or just starting your journey, our goal is to equip you with the knowledge and techniques necessary to transform your space with confidence. So, let’s dive in and discover the secrets that will help you prepare your surface for painting and achieve stunning, professional-quality painting results!
Introduction
A fresh coat of paint can work wonders in transforming the look and feel of your home. However, achieving that flawless finish requires more than just a steady hand and a brush. One crucial step that often gets overlooked is cleaning and washing the interior surfaces before painting.
Cleaning and washing the interior surfaces serve as the vital groundwork that ensures the paint adheres properly and lasts longer. Dust, dirt, grease, and other contaminants can create a barrier between the paint and the surface, leading to poor adhesion and eventual paint failure.
Imagine painting over a greasy kitchen wall or a dusty living room surface. The consequences can be disastrous. Dirty surfaces compromise the ability of the paint to adhere uniformly, leading to uneven coverage, streaks, and potential peeling or chipping over time. Moreover, contaminants on the surface can react with the paint, causing discoloration and affecting the overall aesthetic appeal.
Preparing the Workspace
To ensure a smooth and successful painting process, it’s essential to prepare your workspace properly.
Gathering Necessary Materials and Tools:
Before diving into the cleaning process, gather all the materials and tools you’ll need.
Cleaning solutions: Choose appropriate cleaning solutions based on the surface material and the type of stains or dirt you need to tackle. Common options include mild detergent, vinegar solutions, or specialized cleaners for specific surfaces.
Cleaning tools: Equip yourself with an array of cleaning tools such as microfiber cloths, sponges, scrub brushes, soft-bristle brushes, and scrub pads. Having a variety of tools ensures you can effectively clean different types of surfaces without causing damage.
Protective gear: Prioritize your safety by wearing gloves, safety glasses, and a mask to protect yourself from any harmful chemicals or particles during the cleaning process.
Ensuring Proper Ventilation in the Area: Proper ventilation is crucial during the cleaning and painting process. Open windows and doors to allow fresh air to circulate, helping to dissipate any fumes or odors from the cleaning solutions. If possible, use fans or set up exhaust systems to enhance air circulation and ensure a healthy and comfortable working environment.
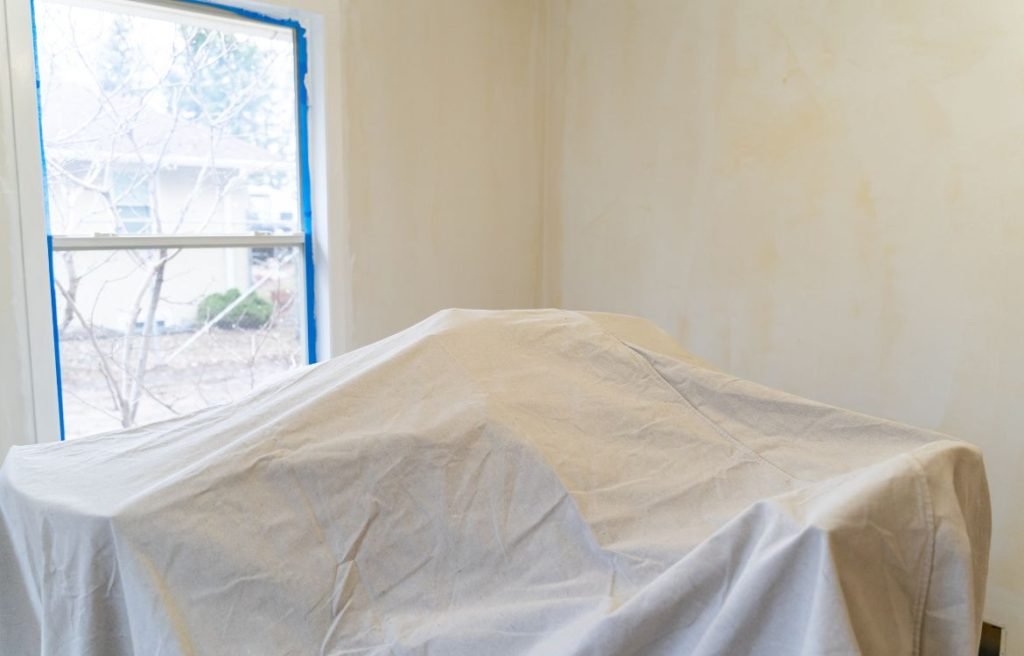
Removing Furniture and Fixtures, or Covering Them Appropriately: To prevent damage or accidental splatters, it’s best to remove furniture, fixtures, and other items from the area you’ll be cleaning. If removing them is not feasible, cover them securely with plastic sheets or drop cloths to protect them from potential drips or splashes of cleaning solutions.
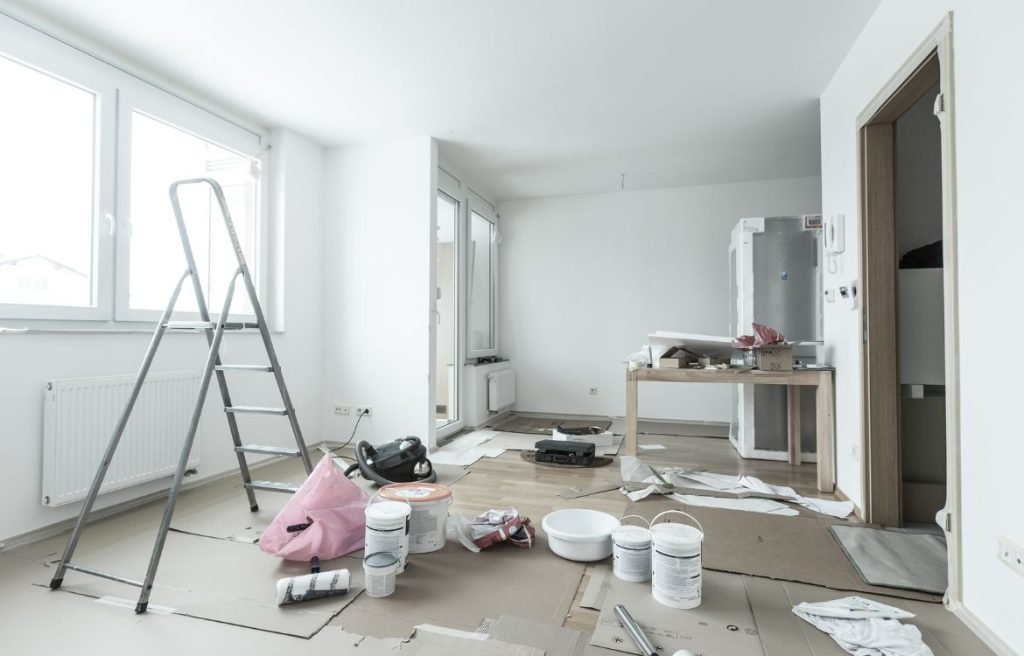
Protecting Floors and Other Surfaces from Potential Damage: Cleaning and washing interior surfaces can be a messy process, and you want to avoid any accidental damage to your floors or other surfaces. Place protective materials such as drop cloths, plastic sheets, or cardboard on the floor to catch any drips or spills. Additionally, use painter’s tape to cover baseboards, trim, or any areas where you want to avoid contact with cleaning solutions.
Assessing the Surface
Before diving into the cleaning process, it’s crucial to assess the condition of the interior surfaces you’ll be working with. This assessment will help you understand the type of surface, identify any existing damage or imperfections, and determine if any repairs are necessary before proceeding with the cleaning.
Identifying the Type of Surface:
Different interior surfaces require specific cleaning approaches to ensure effective and safe cleaning. Identify the type of surface you’re dealing with, whether it’s drywall, plaster, wood, or any other material commonly found in homes. Each surface may have unique characteristics and cleaning requirements, so understanding the material will guide you in selecting appropriate cleaning methods and solutions.
Checking for Existing Damage or Imperfections:
Take the time to carefully inspect the interior surfaces for any visible damage or imperfections. Look out for cracks, holes, chipped paint, or other signs of wear and tear. Identifying these issues early on allows you to address them before proceeding with the cleaning process. If you come across any significant damage that requires professional attention, it’s advisable to consult a qualified contractor or painter.
Determining if Any Repairs are Necessary Before Cleaning:
If you notice any damage or imperfections during your assessment, determine whether repairs are needed before initiating the cleaning process. Repairing cracks, holes, or damaged areas ensures a smooth and even surface, providing the best canvas for painting. Small repairs can often be handled on your own with the appropriate tools and materials, while larger repairs may require professional assistance.
Safety Precautions
Wearing Appropriate Protective Gear:
Before starting the cleaning process, make sure to wear the necessary protective gear. This typically includes gloves, goggles, and a mask or respirator. Gloves protect your hands from chemicals and potential skin irritants, while goggles safeguard your eyes from splashes or debris. A mask or respirator helps filter out any airborne particles or fumes from cleaning solutions, ensuring you breathe clean air.
Using Environmentally Friendly Cleaning Products:
Opt for environmentally friendly cleaning products whenever possible. These products are typically less harsh on surfaces, safer for your health, and kinder to the environment. Look for cleaning solutions that are labeled as eco-friendly, non-toxic, or biodegradable. They offer effective cleaning power while minimizing the impact on both your indoor air quality and the planet.
Following Manufacturer’s Instructions for Cleaning Solutions:
Always read and follow the manufacturer’s instructions when using cleaning solutions. Different products have specific usage guidelines, dilution ratios, and safety precautions. Adhering to these instructions ensures you use the cleaning solutions properly, achieving the desired results without any adverse effects. Remember to handle cleaning solutions with care, storing them in a secure place out of reach of children and pets.
Cleaning Techniques
Now that we have assessed the surface and taken safety precautions, it’s time to dive into the cleaning process.
Dry Cleaning Methods:
Dusting and Vacuuming the Surface: Start by dusting the surface using a microfiber cloth or a soft-bristle brush. This helps remove loose dirt, cobwebs, and other debris. Follow up by vacuuming the surface with a brush attachment or a handheld vacuum to capture any remaining dust or particles.
Using Dry Cloths or Brushes to Remove Loose Dirt or Debris: After dusting and vacuuming, use dry cloths or brushes to further eliminate loose dirt or debris. Microfiber cloths are particularly effective in picking up fine particles without scratching the surface. Gently wipe or brush the surface in a circular motion to ensure thorough cleaning.
Wet Cleaning Methods:
Diluting Cleaning Solutions as Recommended: Prepare the appropriate cleaning solution as per the manufacturer’s instructions. Dilute the cleaning solution with water if necessary, following the recommended ratios. Be mindful not to use overly harsh or abrasive solutions that could damage the surface.
Applying the Cleaning Solution to the Surface: Dip a sponge, soft cloth, or scrub brush into the diluted cleaning solution and apply it to the surface. Start from the top and work your way down, ensuring even coverage. Allow the cleaning solution to sit on the surface for a few minutes to penetrate and loosen any stubborn stains or grime.
Using Appropriate Tools for Scrubbing: Depending on the surface material, use suitable tools such as sponges, brushes, or scrub pads to gently scrub the surface. Apply moderate pressure, focusing on areas with stains or buildup. Be cautious not to scrub too aggressively, especially on delicate surfaces, to avoid damage.
Rinsing the Surface with Clean Water: After scrubbing, rinse the surface thoroughly with clean water. Use a clean sponge or cloth soaked in water to remove the cleaning solution and any remaining residue. Change the water as needed to ensure effective rinsing.
Drying the Surface Thoroughly: Once rinsed, dry the surface completely using clean, absorbent cloths or towels. This step is crucial to prevent moisture from seeping into the surface, which could lead to paint adhesion issues or potential damage. Ensure the surface is completely dry before proceeding with painting.
Dealing with Specific Stains or Contaminants
Grease and Oil Stains: To tackle grease and oil stains, use a degreasing agent or a mixture of warm water and mild dish soap. Apply the solution to the stain and gently scrub with a soft brush or sponge. Rinse the area thoroughly with clean water and dry it completely.
Crayon or Marker Marks: Crayon or marker marks can be challenging to remove. Start by applying a small amount of toothpaste or a non-abrasive eraser to the affected area. Gently scrub the marks in a circular motion until they begin to fade. Wipe away any residue with a clean, damp cloth.
Smoke or Nicotine Residue: Smoke or nicotine residue can leave stubborn stains on interior surfaces. Use a mixture of warm water and white vinegar in equal parts. Apply the solution to the affected area and let it sit for a few minutes. Scrub gently with a sponge or soft brush, then rinse with clean water and dry thoroughly.
Water Stains or Mold/Mildew: For water stains, create a paste using equal parts baking soda and water. Apply the paste to the stain and gently scrub with a soft brush. Rinse with clean water and dry the surface thoroughly. In the case of mold or mildew, use a mixture of bleach and water (follow the manufacturer’s instructions for proper dilution) or a specialized mold/mildew cleaner. Apply the solution, scrub the affected area, rinse, and ensure the surface is completely dry.
Other Common Stains or Contaminants: Different surfaces may encounter various stains or contaminants. Research and select appropriate cleaning solutions or methods based on the specific stain. Always test the cleaning solution on a small, inconspicuous area first to ensure it does not damage or discolor the surface. Follow the instructions provided by the manufacturer or seek professional advice if needed.
Drying and Curing Time
After completing the cleaning process, it’s important to allow sufficient time for the surface to dry completely before proceeding with painting.
Allowing Sufficient Time for the Surface to Dry Completely: Ensure that the surface is completely dry before moving forward. The drying time can vary depending on factors such as the type of surface, temperature, humidity levels, and the cleaning solutions used. Follow the manufacturer’s recommendations for drying time, and consider allowing additional time if needed to ensure thorough drying.
Factors Affecting Drying Time: Several factors can impact the drying time of interior surfaces. Higher temperatures and lower humidity levels generally facilitate faster drying. Conversely, cooler temperatures and higher humidity can prolong the drying process. Take these factors into account when planning your painting timeline to ensure optimal results.
Ensuring Proper Ventilation During the Drying Process: Adequate ventilation is crucial during the drying process. Open windows or use fans to promote air circulation, which helps expedite the drying time and prevent the buildup of moisture. Proper ventilation also aids in minimizing potential odors from cleaning solutions and ensures a healthier indoor environment.
Sanding and Surface Preparation
In some cases, sanding is necessary to achieve a smooth and uniform surface before painting.
Assessing the Need for Sanding: Assess the surface after it has dried completely to determine if sanding is necessary. Sanding is typically required to smooth out rough patches, remove imperfections, or create a better bonding surface for the paint. If the surface is already smooth and in good condition, sanding may not be needed.
Selecting the Appropriate Sandpaper Grit: Choose the right sandpaper grit based on the surface condition. For minor imperfections or preparing previously painted surfaces, a medium-grit sandpaper (around 120-150 grit) is generally suitable. For rough surfaces or significant repairs, start with a coarser grit (around 80-100 grit) and gradually progress to a finer grit (220-320) for a smoother finish.
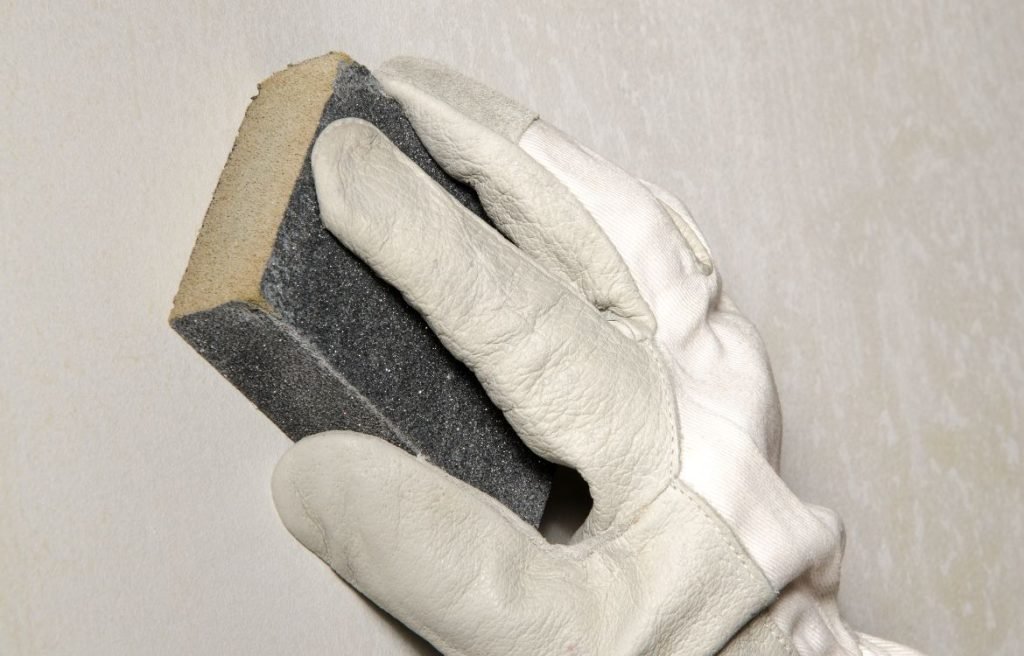
Proper Sanding Techniques for Different Surfaces: When sanding, apply light pressure and move the sandpaper in a circular or back-and-forth motion. Follow the natural contours of the surface to ensure even sanding. For flat surfaces, use a sanding block or sanding sponge to maintain a consistent pressure. Be careful not to oversand, as it can damage the surface.
Note: Some surfaces, such as drywall or plaster, may require additional preparation steps, such as applying a primer or joint compound to repair imperfections. Follow the appropriate techniques for each specific surface to achieve the best results.
Final Surface Inspection
Before proceeding with painting, it’s crucial to perform a final surface inspection to ensure that the cleaned and prepped surface is ready for the next steps.
Checking for Any Remaining Dirt, Stains, or Imperfections: Carefully examine the surface for any signs of remaining dirt, stains, or imperfections. Use a bright light source or shine a flashlight at different angles to spot any overlooked areas. Address any remaining dirt or stains by repeating the appropriate cleaning techniques outlined earlier in this guide.
Touching Up Any Damaged Areas: If you notice any areas that require touch-ups, such as scratches, chips, or dents, take the necessary steps to repair them. Fill in small imperfections with spackle or putty, sand them smooth, and clean away any dust or debris. For larger repairs, consider using a joint compound or patching material specific to the surface type.
Ensuring the Surface Is Ready for Painting: Once you have thoroughly inspected and touched up the surface, ensure that it is smooth, clean, and free from any remaining contaminants or damages. Run your hand across the surface to check for any rough patches or inconsistencies. When the surface feels smooth and even, it is ready for the painting process.
FAQ
What is the best way to clean interior walls before painting?
To clean interior walls before painting, start by dusting or vacuuming the surface to remove loose dirt and debris. Next, mix a mild detergent or wall cleaner with warm water and use a sponge or soft cloth to gently scrub the walls. Rinse with clean water and allow the walls to dry thoroughly before painting.
What do you wash surfaces with before painting?
Before painting, surfaces can be washed with a mixture of warm water and mild detergent or a specialized wall cleaner. Use a sponge or soft cloth to gently scrub the surfaces, removing dirt, grease, and stains. Rinse the surfaces with clean water and ensure they are completely dry before applying paint.
What do professional painters use to clean walls before painting?
Professional painters often use a mild detergent mixed with warm water to clean walls before painting. They may also use specialized wall cleaners or degreasers for tougher stains or grease. Additionally, they ensure that the surfaces are thoroughly rinsed and dried before proceeding with the painting process.
Can I use Dawn to wash walls before painting?
Yes, Dawn dish soap can be used to wash walls before painting. Mix a small amount of Dawn with warm water to create a cleaning solution. Use a sponge or soft cloth to gently scrub the walls, removing dirt and stains. Rinse the walls with clean water and allow them to dry completely before painting.
Can I wash walls with vinegar before painting?
Yes, vinegar can be used to wash walls before painting. Mix equal parts of vinegar and water to create a cleaning solution. Use a sponge or soft cloth to gently scrub the walls, removing dirt, grease, and stains. Rinse the walls with clean water and ensure they are completely dry before applying paint.
Do interior walls need to be washed before painting?
Yes, it is recommended to wash interior walls before painting. Washing the walls helps remove dirt, grease, and stains, ensuring better paint adhesion and a smoother finish. It also helps to create a clean and fresh surface for the new paint. Cleaning the walls before painting is an important step for a successful paint job.
What do you clean walls and cabinets with before painting?
Before painting walls and cabinets, you can clean them with a mild detergent mixed with warm water. Use a sponge or soft cloth to gently scrub the surfaces, removing dirt, grease, and stains. For tougher stains, you may need to use specialized cleaners or degreasers. Rinse the surfaces with clean water and allow them to dry thoroughly.
Conclusion
We sincerely thank you for joining us on this enlightening journey through the realm of cleaning and washing interior surfaces for painting. We hope that the valuable insights and practical tips provided in this guide have empowered you to embark on your painting project with confidence.
Remember, attention to detail during the preparation phase sets the foundation for a flawless finish. If you have any further questions or require professional assistance, don’t hesitate to reach out to our team at Horizon Painting. We are dedicated to helping you achieve the home of your dreams. Contact us today and let’s transform your space together!
