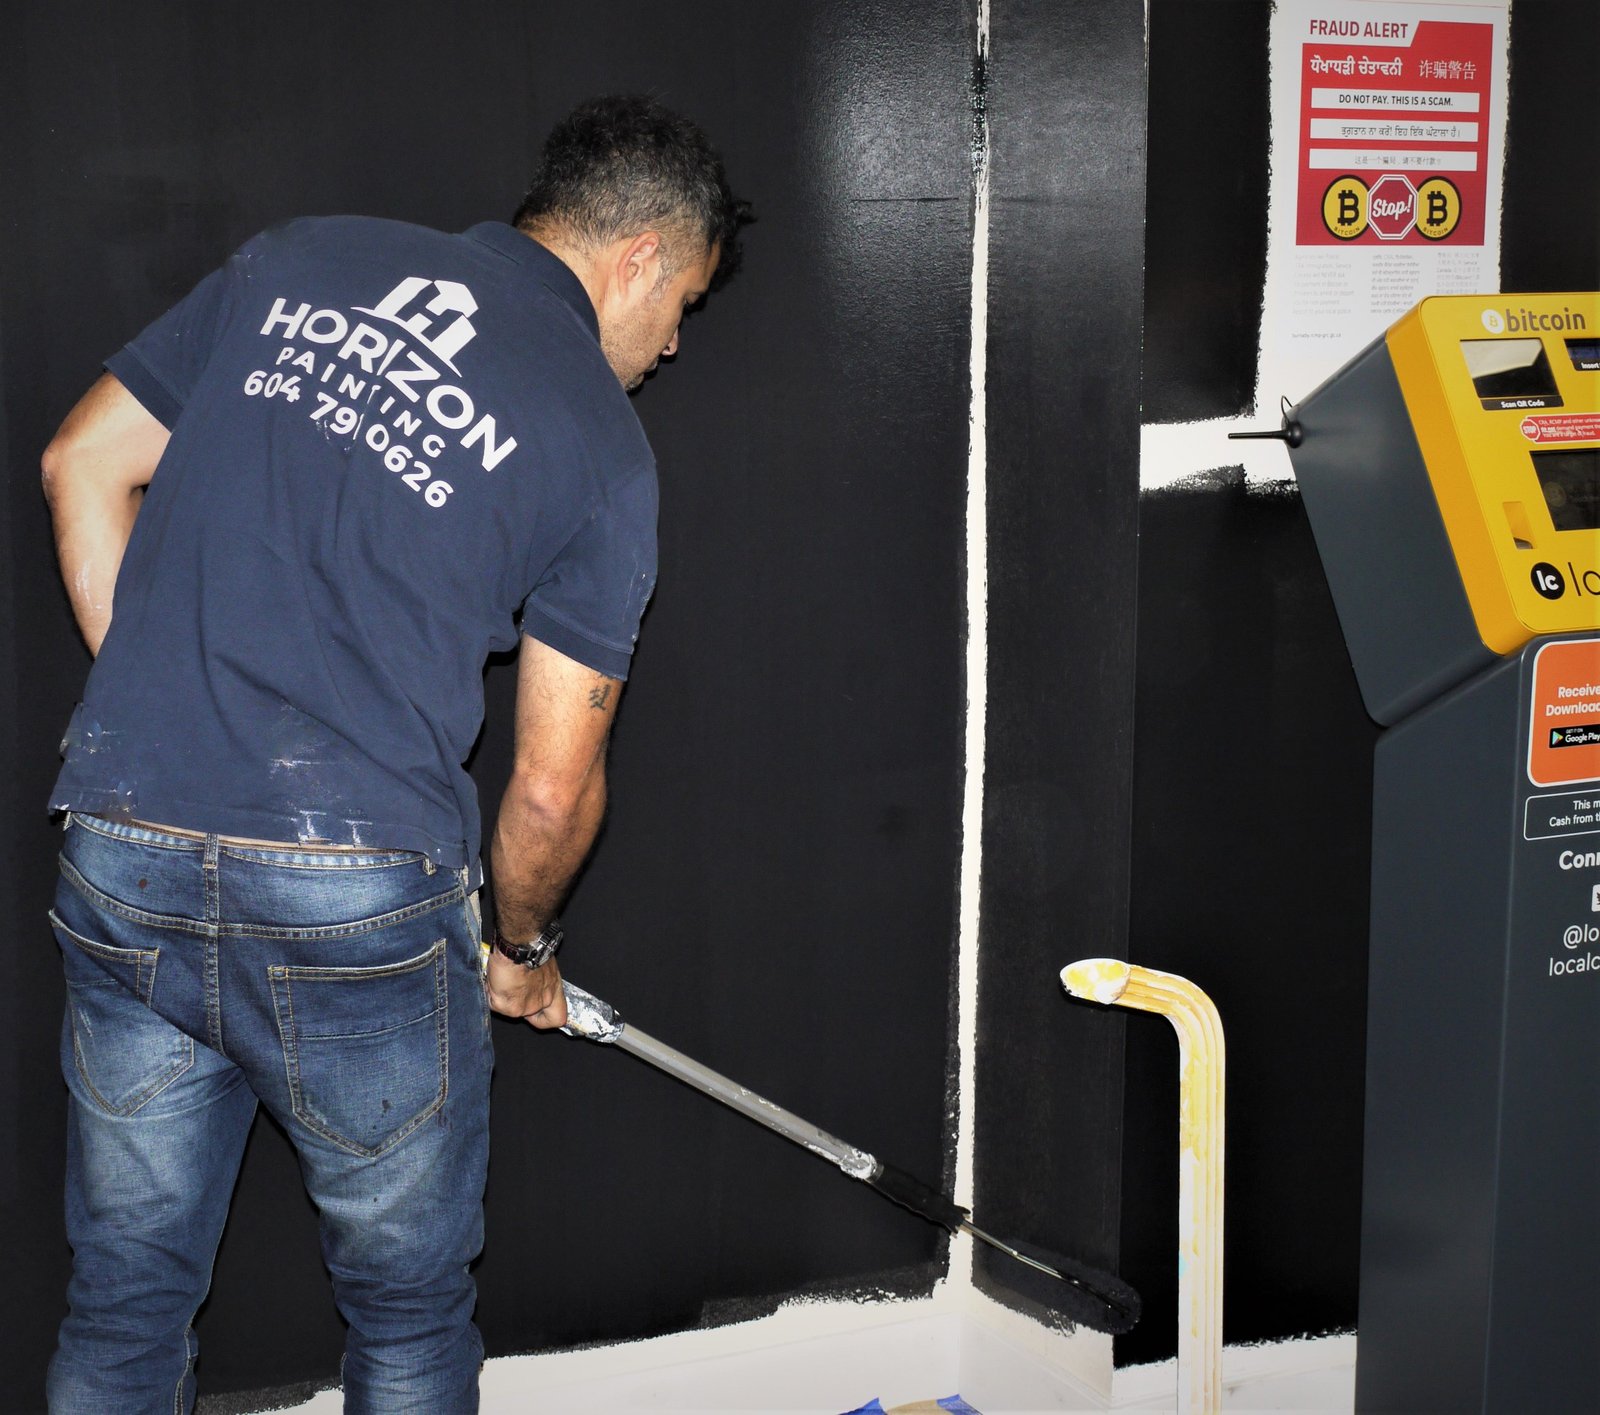
Whenever you’re thinking of painting the interior of your home, it’s important to know what the process entails. Home interior painting can be a big job, but with the right preparation and execution, it can be a relatively easy project. In this blog post, we’ll walk you through the entire interior painting process from start to finish. We’ll cover everything from preparing the walls for the paint to choosing the right colors. So whether you’re considering painting the interior of your home yourself or hiring a professional painter, this blog post is for you!
Plan your approach
What areas are you painting?
As the first task of business, decide which areas of your home need a new coat of paint. Measure them to determine the scope of the project and how much paint you’ll need to purchase.
Wall surface
Know the surface of your walls and what type of paint covers them. This will affect how you prep the walls for painting and what type of paint you’ll need to use.
How to choose a paint type
Choose an interior wall coating suited to the surface and room. Water-based acrylic or latex wall paints are common options; specialist primers are a separate part of the coating system.
Shellac-based products such as Zinsser B-I-N are stain-blocking primer-sealers, not a general-purpose finish coat for busy kitchens or bathrooms. Select a compatible topcoat and follow the primer and paint labels rather than assuming one paint type is suitable for every surface.
How to choose the paint color?
The color you choose will depend on the look you’re going for in your home. If you want a bright and cheery space, opt for lighter colors. If you want a more subdued and relaxing space, go for darker colors.
Neutral colors are always a good choice if you’re not sure what you want or if you’re painting a rental property. That way, you can easily repaint the space when it’s time to move out.
Choosing a color is a process on its own. We recommend you to read out How to choose a paint color blog post to find a color that you’ll love.
Prepare your materials and tools
Brush
Choose the right size and thickness of brush depending on the painting you will be doing.
Choose a brush compatible with the coating. For water-based wall paint, a suitable synthetic brush is a practical choice; follow the paint manufacturer’s applicator recommendations.
Roller
Pick a roller with the same considerations in mind as you would a brush.
The exception is that instead of bristles, rollers have naps.
Match the roller cover material and nap to the coating and surface texture, not simply to whether the paint is oil- or water-based.
Shorter naps suit smoother surfaces.
More textured surfaces generally need a thicker nap to reach the recesses.
Check the roller and paint manufacturer’s recommendations for your particular surface and desired finish.
Other painting equipment
Paint tray and liners, roller frame, roller cover, paint comb, painter’s tape, stirring stick, and extension pole for the roller. Drop cloth to protect the floor and furniture. A metal spiral bit to mix the paint.
Cleaning equipment
Sponge and dishwashing liquid to clean walls from dust and stains.
Safety equipment
Use eye protection, suitable gloves and the ventilation and respiratory protection specified on the product label and safety data sheet. A basic dust mask is not a substitute for appropriate protection against hazardous dust or solvent vapours.
Other helpful tools
Use a stable ladder and adequate task lighting. Keep the work area ventilated during application and drying, following the product safety instructions.
Primer and paint
Select primer for the substrate, existing coating and any stains. Tint it only as the manufacturer permits. Primer does not guarantee that fewer finish coats will be needed.
Preparation of the room
Start with clearing the area and removing all the obstacles. You will minimize the risk of tripping and secondly, you want to keep them free of paint.
Move furniture out or protect it with drop cloths, and cover the floor. Remove wall decorations and only the removable switch plates and outlet cover plates, not electrical devices or wiring. If electrical work is needed, use a qualified electrician.
Use painter’s tape to seal off areas you don’t want to be painted like the edge of the ceiling, the trim, windows, and door frames. Create a “wet paint” sign to warn people not to touch the walls.
Prep the walls
Address leaks and dampness before decorating. Before scraping or sanding an old coating, assess the risk of lead or other hazardous materials; obtain qualified advice where needed. For suitable surfaces, clean away contamination, repair defects, allow repairs to dry, smooth them as appropriate and remove dust. The surface must be clean and dry before coating.
Priming
Primer is a specially formulated paint that is applied before painting to improve the paint’s adhesion to the surface, cover up dark colors, seal porous surfaces, protect the surface from stains, and provide a more uniform paint color. You can use a paintbrush, roller, or sprayer to apply primer.
Choose primer for the surface and coating system. Sound previously painted walls may not require full priming; bare or repaired areas and stains may need a suitable primer. Follow the product instructions.
Apply primer evenly using its specified method and coverage. Follow its label or technical data sheet for drying and recoating under the actual conditions. There is no universal four-hour minimum for every primer.
Putty
For wall defects, use a filler or patching compound suitable for the substrate. This repair normally belongs in surface preparation before priming, despite this section appearing later in the guide. Allow it to dry, smooth it where appropriate, remove dust and prime the repaired area as directed.
Painting
Stir paint thoroughly. If combining containers for colour consistency, use only the same compatible product, colour and sheen. Do not mix unrelated paints, primers or solvents.
If you’re painting with a paintbrush, pour the paint into a paint bucket. If you’re using a roller, pour the paint into a paint tray.
Before you start painting, it’s a good idea to test the paint color on a small section of the wall to make sure you like it. Once you’re happy with the color, start painting!
Paint the edges first with a brush and then roll on the paint in 3-foot wide by 3-foot high W-shaped sections. Start at the top of the wall and work your way down. Reload your brush or roller as needed.
Follow the paint label or technical data sheet for the recoat interval; temperature, humidity and ventilation affect drying. Clean brushes and rollers using the method specified for that coating. Do not store paint-covered tools with food.
If you need to, apply a second coat of paint using the same process as before.
Finish
Finish means sheen. Choose it alongside the product’s washability and suitability for the room, not traffic alone. Kitchens and bathrooms do not always require high gloss: specialist bathroom paints are also available in matte finishes. Review the product guidance before choosing.
Inspect and finish your painting process
Inspect coverage and touch up missed areas as directed. Remove masking according to the tape instructions, and reinstall removable cover plates and wall decorations when it is safe to do so. Do not remove or reinstall electrical devices as part of painting.
Clean up your painting supplies and any paint that spilled. You can store your paint in the original container or transfer it to a sealable bucket or jar. Be sure to label the container with the name of the paint, the date it was used, and the name of the room it was used in.
You’re done! Pat yourself on the back and enjoy your newly painted room!
Conclusion
This guide outlines the interior painting process from preparation through final checks. For help planning your project, contact us.