Techniques for Preparing Interior Doors and Windows for Painting
Are you looking for expert guidance on Techniques for Preparing Interior Doors and Windows for Painting? Look no further! You’ve landed in the right place. At Horizon Painting, we understand the importance of painting surface preparation that bring new life to your home.
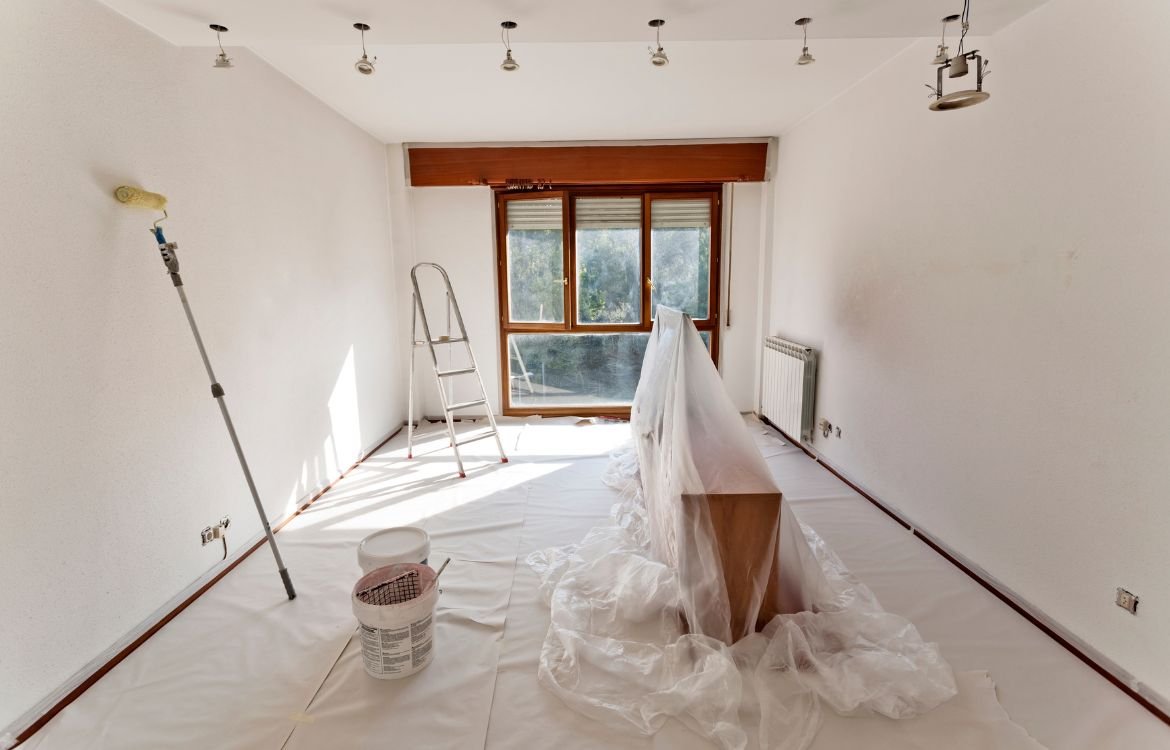
In this comprehensive guide, we’ll walk you through the essential techniques for preparing your interior doors and windows, ensuring a smooth and successful painting project. Get ready to unlock the secrets that will transform your space into a work of art. So, let’s dive in and explore the world of interior painting preparation together.
Cleaning the Surfaces
Proper cleaning of the surfaces is a crucial step in preparing interior doors and windows for painting. Cleaning removes dust, dirt, grease, and other residues that can hinder paint adhesion and result in an uneven finish. By ensuring a clean surface, you create the ideal foundation for a flawless and long-lasting paint job.
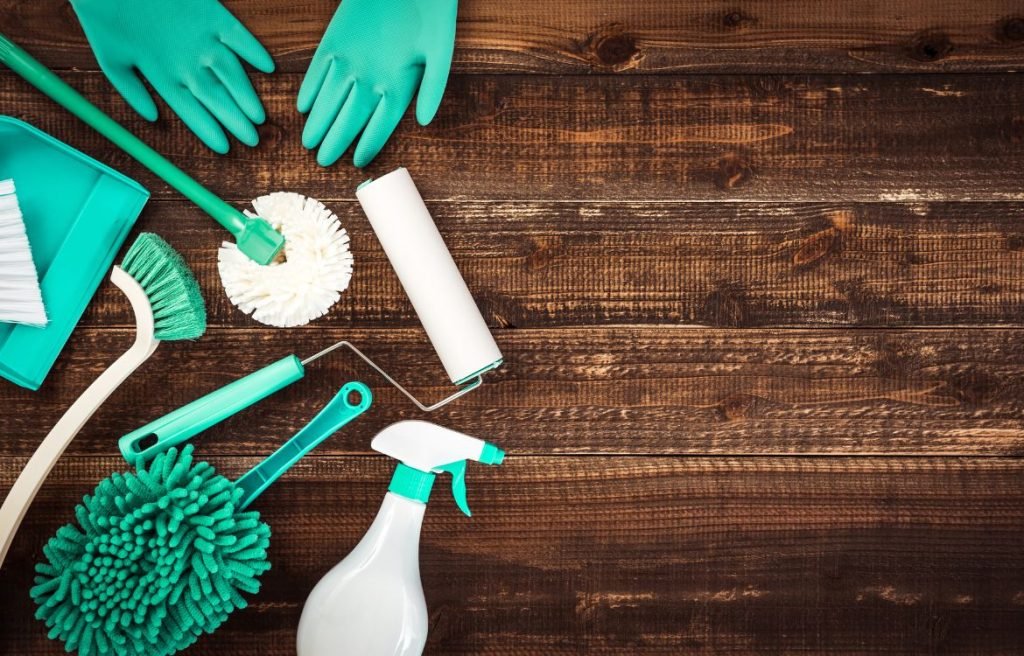
- Tools and Materials Needed
Gather the following tools and materials to effectively clean the surfaces:
- Mild detergent or cleaner: Choose a gentle yet effective cleaning solution suitable for the surfaces you’ll be cleaning.
- Water: Use clean water for rinsing the surfaces after cleaning.
- Soft sponge or cloth: Opt for a non-abrasive sponge or cloth to avoid scratching the surfaces.
- Bucket: A bucket will be handy for preparing the cleaning solution and rinsing the sponge or cloth.
- Step-by-step Cleaning Process
Follow these step-by-step instructions to clean the surfaces before painting:
- Prepare the cleaning solution by diluting the mild detergent or cleaner in water according to the manufacturer’s instructions.
- Dip the soft sponge or cloth into the cleaning solution and wring out any excess liquid.
- Gently scrub the doors and windows, paying attention to areas with visible dirt or grime buildup.
- Rinse the surfaces thoroughly with clean water to remove any soap residue.
- Dry the surfaces using a clean cloth or allow them to air dry completely before proceeding to the next preparation step.
Sanding the Surfaces
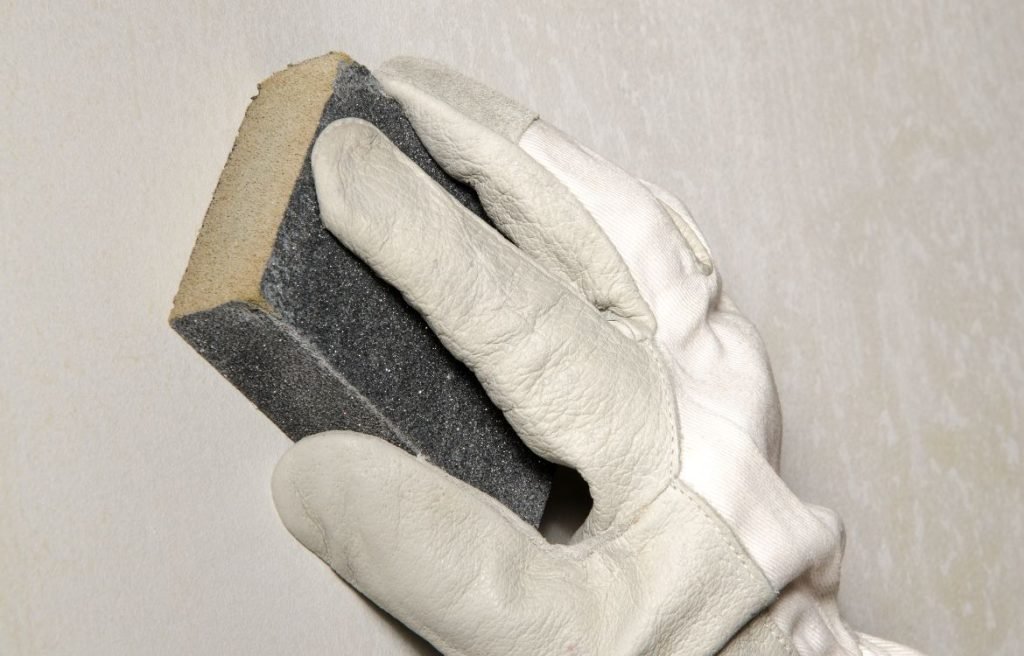
- Purpose of Sanding
Sanding is a critical step in preparing doors and windows for painting. It helps smooth out imperfections, such as rough spots, previous paint drips, or uneven surfaces. By sanding, you create a smooth and uniform surface, allowing the paint to adhere evenly and resulting in a professional-looking finish.
- Choosing the Right Sandpaper
Selecting the appropriate sandpaper is essential for achieving the desired results:
- Grit selection: Depending on the condition of the surfaces, choose a sandpaper with the appropriate grit. For rough surfaces or the removal of old paint, start with a coarse-grit sandpaper (around 80-120 grit). For smoother surfaces or preparing between paint coats, use a medium to fine-grit sandpaper (around 120-220 grit).
- Sandpaper type: Consider using aluminum oxide sandpaper, as it is durable and suitable for most surfaces. For specialized surfaces, such as metal or fiberglass, choose sandpaper specifically designed for those materials.
- Sanding Techniques for Flat and Contoured Surfaces
When sanding flat surfaces, follow these techniques:
- Sand in the direction of the wood grain using long, even strokes.
- Apply gentle pressure to avoid gouging the surface.
- Regularly check the smoothness of the surface by running your hand over it.
For contoured surfaces, such as paneled doors or windows with intricate designs, adapt the following techniques:
- Use sanding sponges or sanding blocks to reach into the nooks and crannies.
- Follow the contours of the surface while maintaining consistent pressure.
- Ensure a uniform finish by periodically checking the smoothness with your hand.
Priming the Surfaces
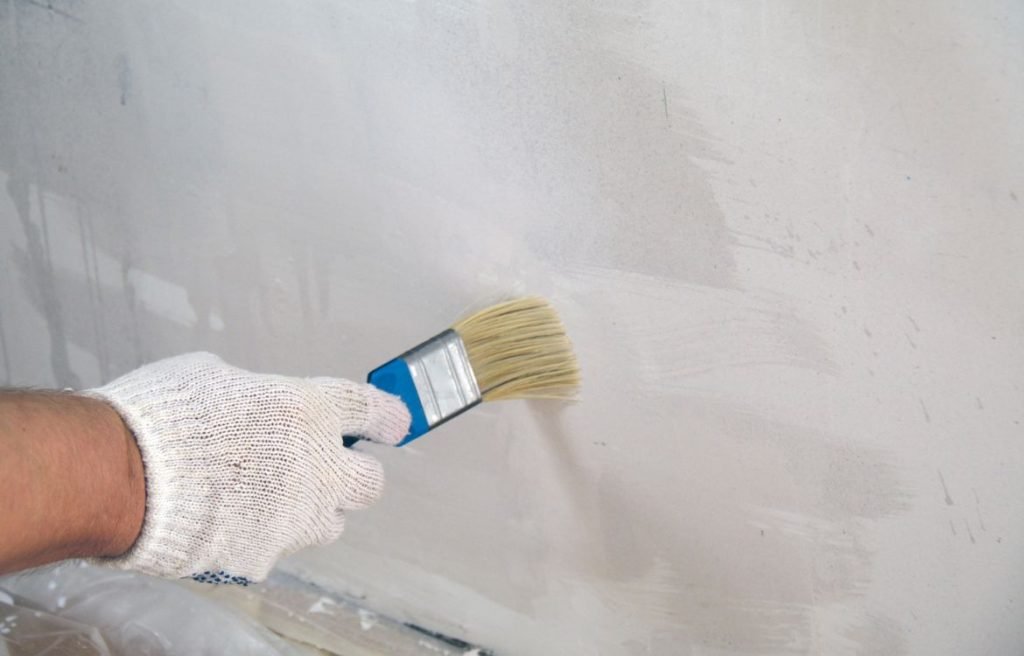
- Importance of Priming
Priming is a vital step in the preparation process as it provides several benefits. Primers create a smooth, uniform surface for the paint to adhere to, enhance paint durability, and improve color coverage. Additionally, priming helps seal porous surfaces, prevents stains from bleeding through, and promotes better paint adhesion.
- Choosing the Right Primer
Selecting the appropriate primer will depend on the surface material and the type of paint you’ll be using. Consider the following:
- Surface type: Choose a primer specifically formulated for the material you’re painting, such as wood, metal, or plastic.
- Paint compatibility: Ensure the primer is compatible with the type of paint you’ll be applying, whether it’s latex-based or oil-based.
- Application Techniques for Primer
Follow these steps for proper primer application:
- Prepare the surface by ensuring it is clean, dry, and free from dust or debris.
- Stir the primer thoroughly to achieve a consistent texture and ensure any settling pigments are evenly mixed.
- Apply the primer using a brush or roller, working in smooth and even strokes.
- Start from the top and work your way down, covering the entire surface.
- Pay extra attention to corners, edges, and any areas that require additional coverage.
- Allow the primer to dry completely according to the manufacturer’s instructions before proceeding with the painting process.
Repairing Damages
Filling Holes and Cracks
Before painting your interior doors and windows, it’s essential to fill any holes or cracks in the surfaces. Choosing the right filler ensures a seamless repair. Consider the following factors:
- Type of surface: Select a filler that is suitable for the material you’re working with, such as wood filler for wooden surfaces or spackling compound for drywall.
- Size of the hole or crack: Different fillers are designed for specific hole or crack sizes. Ensure the filler you choose can adequately fill the damage without shrinking or cracking.
- Process of Filling Holes and Cracks
Follow these steps to fill holes and cracks effectively:
- Clean the area around the hole or crack, removing any loose debris or old paint.
- Using a putty knife or a filling knife, apply the filler into the hole or crack, ensuring it is slightly overfilled.
- Smooth out the excess filler using the putty knife, leveling it with the surrounding surface.
- Allow the filler to dry according to the manufacturer’s instructions.
- Once dry, sand the filled area lightly with fine-grit sandpaper until it is smooth and flush with the surface.
- Wipe away any dust or debris before proceeding to the next step of preparation.
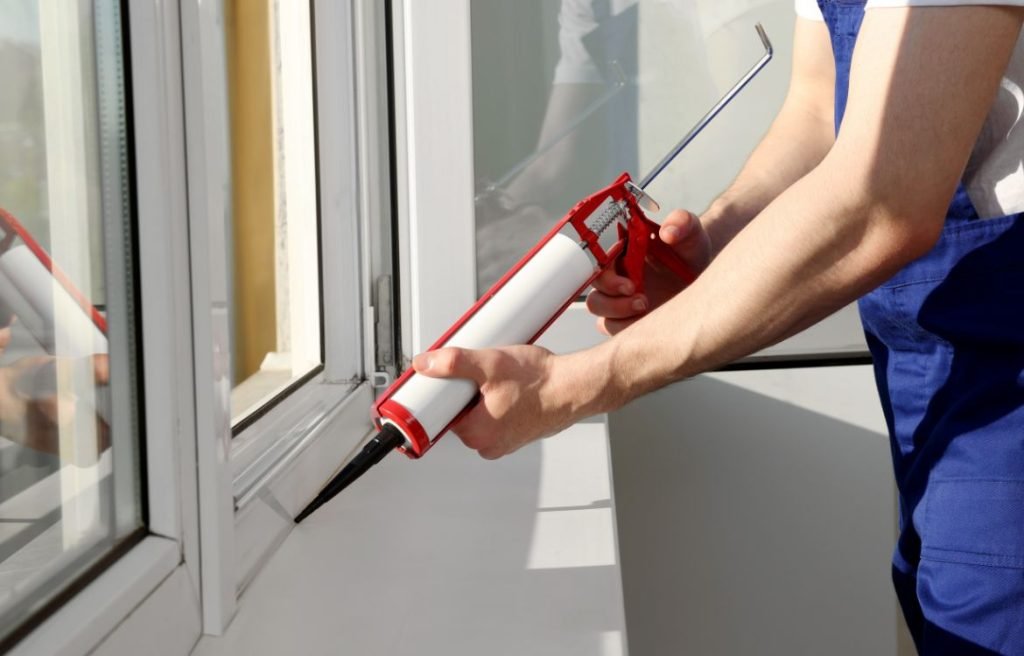
Caulking Joints
Caulking serves multiple purposes when preparing doors and windows for painting. It helps to seal gaps, cracks, and joints, preventing air and moisture infiltration. Caulking also enhances the appearance of the finished paint job, creating a neat and finished look.
When selecting caulk for your doors and windows, consider the following factors:
- Material compatibility: Ensure the caulk is compatible with the surface material, whether it’s wood, metal, or plastic.
- Paintability: Choose a caulk that is specifically labeled as paintable to allow for seamless paint application.
- Environmental factors: If the caulked area is exposed to water or extreme temperature fluctuations, select a caulk designed for those conditions.
- Techniques for Applying Caulk
Follow these techniques to apply caulk effectively:
- Clean the area to be caulked, removing any old caulk or debris.
- Cut the caulk tube nozzle at a 45-degree angle, ensuring an appropriate-sized opening for the joint or gap.
- Load the caulk tube into a caulking gun and apply consistent pressure to dispense the caulk.
- Hold the gun at a 45-degree angle to the joint and smoothly apply the caulk, ensuring it fills the gap completely.
- Use a caulk smoothing tool or a moistened finger to smooth the caulk, creating a neat and even finish.
- Wipe away any excess caulk with a damp cloth before it dries.
Painting the Doors and Windows
Choosing the Right Paint
Selecting the right paint is essential for achieving a professional and long-lasting finish on your interior doors and windows. Consider the following factors when choosing your paint:
- Type of surface: Determine whether your doors and windows are made of wood, metal, or another material, and choose a paint specifically formulated for that surface.
- Finish: Decide on the desired finish, such as matte, satin, or gloss, based on your personal preference and the overall aesthetic of the space.
- Paint quality: Opt for high-quality paint that offers good coverage, durability, and washability, as these factors contribute to a successful paint job.
Techniques for Painting Doors
When painting doors, you have the option of using a brush or a roller. Each method has its advantages:
- Brushing: Brushing allows for better control and precision, especially when painting detailed or paneled doors. It helps ensure even coverage and enables you to reach into corners and crevices effectively.
- Rolling: Rolling is a quicker method suitable for smooth, flat doors. It provides a smooth and consistent finish and is ideal for larger, less detailed surfaces.
- Painting Sequence for Doors
Follow this sequence when painting doors:
- Begin with the recessed or detailed areas, such as panels or moldings. Use a brush to apply paint evenly, working in the direction of the wood grain.
- Move on to the flat surfaces, such as the main door panels, using a brush or roller depending on the door’s characteristics. Maintain a smooth and even application.
- Allow the paint to dry completely before considering a second coat, if needed.
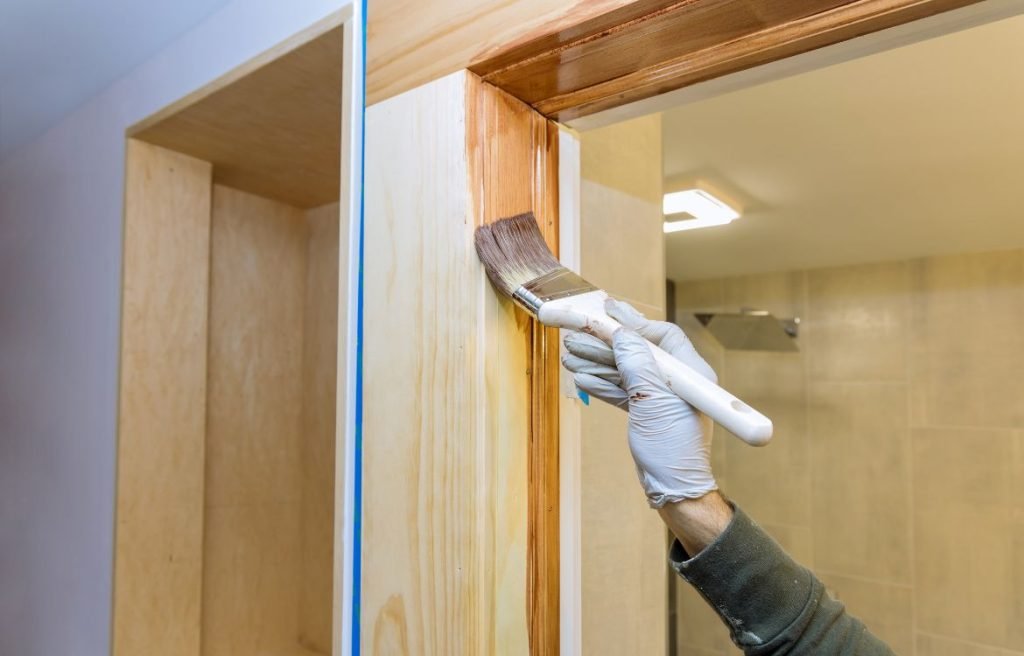
Techniques for Painting Windows
Follow this sequence when painting windows:
- Start with the window frames and sashes, using a brush to apply paint evenly. Pay attention to corners, edges, and any detailed areas.
- Proceed to the window mullions or dividers, applying paint in a methodical and even manner. A brush works best for reaching into narrow spaces.
- If your windows have trim or casings, paint them last, ensuring a smooth and consistent application.
- Tips for Avoiding Paint on Glass
To avoid getting paint on the glass while painting windows, consider the following tips:
- Use painter’s tape: Apply painter’s tape along the edges of the glass, creating a barrier between the glass and the paint.
- Use a steady hand: Exercise caution and maintain a steady hand while painting near the glass. Take your time and apply paint carefully to prevent any accidental smudges or drips.
Second Coat Application
- When and Why a Second Coat is Necessary
Applying a second coat of paint is often necessary to achieve optimal coverage and a more vibrant, even finish. Consider applying a second coat under the following circumstances:
- Thin coverage: If the first coat appears thin or does not completely cover the surface, a second coat will ensure a more consistent and uniform appearance.
- Desired color intensity: A second coat can deepen the color and provide a more intense hue, especially when using lighter shades.
- Durability and longevity: Applying a second coat enhances the durability and longevity of the paint job, providing better protection against wear and tear.
- Techniques for Applying the Second Coat
When applying a second coat, follow these techniques:
- Allow the first coat to dry completely before applying the second coat. Refer to the paint manufacturer’s instructions for recommended drying times.
- Use the same application method (brushing or rolling) as the first coat to ensure consistent coverage and texture.
- Apply the second coat using smooth and even strokes, working in the same direction as the first coat.
- Check for any missed spots or areas of uneven coverage and address them while applying the second coat.
- Allow the second coat to dry thoroughly before considering additional coats, if necessary.
Post-Painting Cleanup and Maintenance
Removing Paint from Glass
Accidental paint splatters on glass surfaces can be unsightly, but with the right approach, you can easily remove them. Follow these steps to remove paint from glass
- Allow the paint to dry completely. Trying to remove wet paint may cause it to spread and smear.
- Carefully scrape off the dried paint using a plastic scraper or a razor blade held at a shallow angle. Be cautious not to scratch the glass surface.
- Moisten a clean cloth or sponge with warm, soapy water, and gently rub the remaining paint marks. Rinse the cloth frequently and continue until the paint is fully removed.
- For stubborn paint spots, you can use a commercial paint remover specifically designed for glass surfaces. Follow the instructions provided by the manufacturer.
- After removing the paint, clean the glass with a glass cleaner to restore its shine and clarity.
Cleaning and Storing Brushes and Rollers
Proper cleaning and storage of your painting tools ensure their longevity and allow for reuse in future projects. Follow these steps to clean and store your brushes and rollers:
- Immediately after painting, remove excess paint from brushes or rollers by scraping them against the rim of the paint can.
- For water-based paints, rinse brushes or rollers with warm soapy water until the water runs clear. For oil-based paints, use an appropriate solvent for cleaning, following the manufacturer’s instructions.
- Use your fingers or a brush comb to remove any remaining paint residue from the bristles or nap of the roller.
- Rinse the tools thoroughly, ensuring all paint is removed.
- Gently squeeze out excess water from the brushes or rollers, reshape them, and allow them to air dry completely.
- Once dry, store brushes by hanging them or placing them in a brush keeper to maintain their shape. Rollers can be stored by standing them upright or placing them in a plastic bag to prevent drying out.
Maintaining Painted Doors and Windows
To keep your freshly painted doors and windows looking their best, follow these maintenance tips:
- Regular cleaning: Dust and clean painted surfaces regularly to remove dirt and debris. Use a soft cloth or a duster to avoid scratching the paint.
- Avoid harsh chemicals: When cleaning painted surfaces, avoid using harsh or abrasive cleaners that can damage the paint. Stick to mild, non-abrasive cleaning solutions and gentle scrubbing.
- Handle with care: Be mindful of objects or furniture that may bump or scratch the painted surfaces. Take care when opening and closing doors or windows to prevent unnecessary wear and tear.
- Touch-up as needed: Over time, painted surfaces may experience minor scuffs or chips. Keep some leftover paint for touch-ups and address any imperfections promptly to maintain a pristine appearance.
- Protect against moisture: Doors and windows are exposed to moisture, so ensure they are properly sealed and caulked to prevent water damage. Regularly inspect for any signs of moisture intrusion and address them promptly.
FAQ
How do you reduce moisture and mold?
To reduce moisture and mold, ensure proper ventilation in the affected areas, use dehumidifiers to control humidity levels, fix any water leaks or sources of moisture, promote air circulation, and keep surfaces dry. Regularly clean and maintain areas prone to moisture, such as bathrooms and basements, and promptly address any mold growth by cleaning it thoroughly or seeking professional assistance.
What types of material are most likely to develop mold when exposed to moisture?
Materials that are porous, organic, or prone to retaining moisture are most likely to develop mold when exposed to moisture. This includes materials such as wood, drywall, carpet, insulation, fabrics, paper, and cardboard. These materials provide a suitable environment for mold growth if they remain damp or wet for extended periods.
How do you address mold exposure?
If you suspect mold exposure, it is important to take appropriate measures. First, identify and address the source of the mold, such as water leaks or excessive moisture. Then, consider hiring a professional mold remediation company to safely remove the mold and mitigate the damage. Additionally, consult with a healthcare professional if you experience health symptoms related to mold exposure.
How do professionals deal with mold?
Professionals dealing with mold follow a systematic approach. They begin by identifying the source of moisture and fixing it. Then, they establish containment measures to prevent mold spores from spreading. The affected areas are thoroughly cleaned and treated using specialized equipment and cleaning agents. Finally, professionals conduct clearance testing to ensure the mold issue has been successfully resolved.
How do you get rid of surface mold?
To get rid of surface mold, use a solution of water and detergent or a commercial mold cleaner. Scrub the affected area with a brush or sponge, making sure to remove all visible mold. Rinse the area with clean water and dry it thoroughly. It is important to identify and address the underlying cause of mold growth to prevent its recurrence.
What is the best humidity level to prevent mold?
To prevent mold growth, maintain indoor humidity levels below 60% ideally between 30% to 50%. Use a hygrometer to measure humidity and utilize dehumidifiers or air conditioners in humid areas. Proper ventilation and air circulation also help in reducing moisture and maintaining a healthy humidity level.
What material is mold proof?
There is no material that is entirely mold-proof, as mold can grow on any organic material when conditions are suitable. However, certain materials like glass, metal, and plastic are less prone to mold growth as they are non-porous and do not provide a suitable food source for mold. Proper maintenance and moisture control are still necessary to prevent mold growth on these materials.
What kills mold spores in the air?
To kill mold spores in the air, use air purifiers or high-efficiency particulate air (HEPA) filters. These devices can capture and filter out airborne mold spores, reducing their concentration in the air. It is important to address the underlying cause of mold growth and maintain proper moisture control to prevent the recurrence of mold spores in the indoor environment.
Conclusion
Thank you for joining us on this journey to discover the Techniques for Preparing Interior Doors and Windows for Painting. We hope this guide has provided you with valuable insights and practical tips to make your painting project a resounding success.
Remember, at Horizon Painting, we’re here to support you every step of the way. If you have any questions or need professional assistance, don’t hesitate to contact our team of experts. Let’s turn your vision into a reality. Reach out to us at Horizon Painting and let’s create a masterpiece together.